Wed 1 Apr 2009
Nick’s Railroad Part 3
Posted by Daniel Swearingen under first micro layout , Model Building[2] comments / Leave a comment
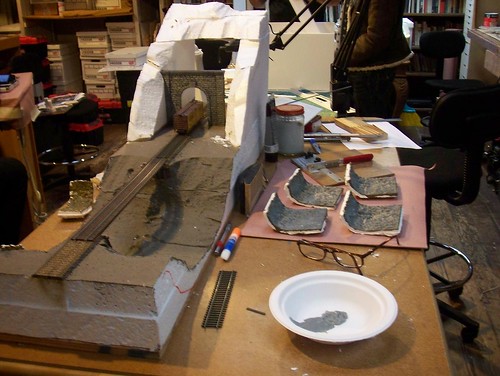
We started building out the bridge abutments by cutting away the Styrofoam and making a retaining wall out of scribed siding a stolen from an old Campbell tunnel portal kit.
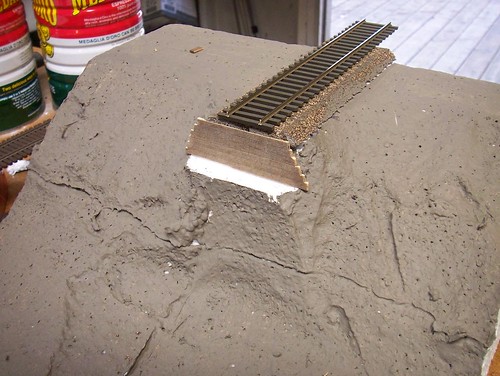
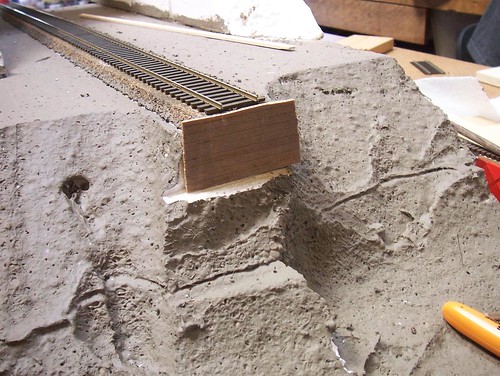
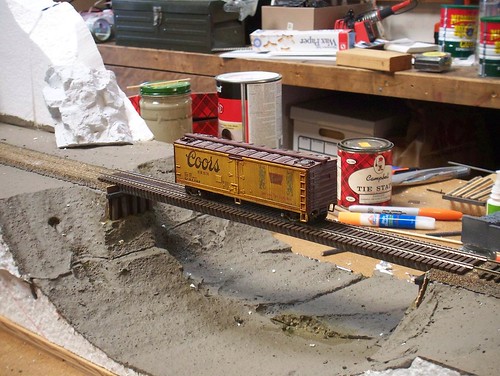
Note that we pre-stained the wood with a simple ink-alcohol mix. Here’s the other side of the bridge.
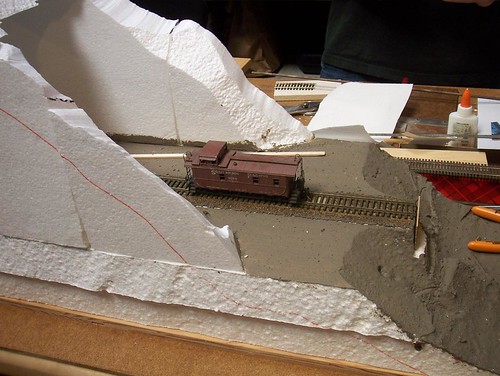
The temptation to play with a train is just too much to resist!
We made little bents to go against the retaining boards glued earlier — the white glue is wet and still visible here.
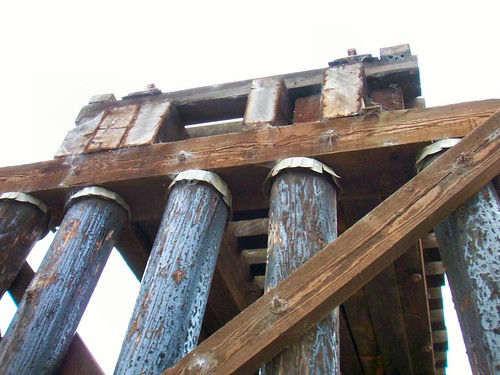
We’re following the basic construction techniques of the Northwestern Pacific Railroad as seen in their Corte Madera Creek bridges since we can walk up and inspect them today.
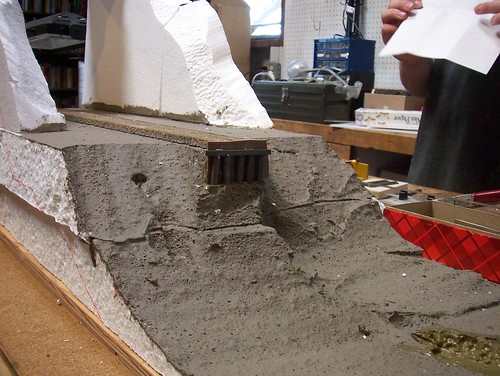
Using six scale beams glued in two groups of three I made the main span and glued some Micro Engineering code 83 bridge track onto it.
In parallel while glue is drying we’re making more tunnel lining castings and painting the tunnel portal.
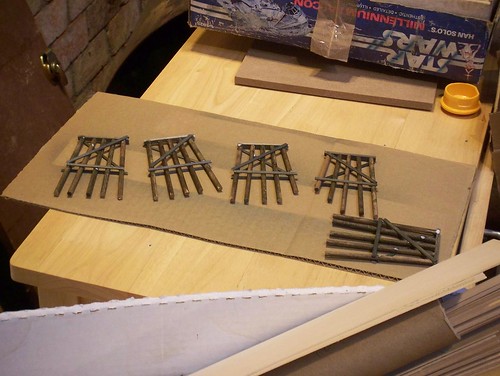
Using our jig we made the five trestle bents with profiles roughly matching the ground under them.
August 25th, 2009 at 10:58 pm
What train kit is it? I used to create model railways using the Hornby kits and trains, great memories!
August 31st, 2009 at 8:45 am
No kits for the bridge — that was from scratch. The cars are old Athearn kits I have from when I was 12 or 13.