first micro layout


Nicks Layout

Finishing up!

Nick uses plaster-cloth to cover the hillside above the tunnel.

Nick Building the Hill

We painted and ballasted the track, added a retaining wall and added an initial layer of dirt-glue-celluclay ground cover.

Retaining Wall

Nick's Train Approaches Tunnel

Ready for trim: we cut some pieces to cover all four sides.

Cutting masonite on the band saw

Fitting masonite trim boards

Gluing the trim.

Nick Glues

Now for some grass and trees.

Picture 005

A tree grows

Nick's railroad

Pretty much finished.

Nick's railroad

Our one structure is an outhouse.

When you gotta go ...

Nick's railroad

Nicks Layout

Continuing with construction of the bridge.

Bridge Abutment

Using a “storey pole” marked with the locations of the bents, we shaped each bent pretty closely to the contour of the ground where they would be planted.

Nick Measures for the Bridge

Then we glued the bents to the span — laid out upside down on the bench.

Upside Down Bridge

Once the glue dried a bit we set the bridge up and started gluing on teh cross braces. This really strengthens the bridge.

Building the Bridge

Dan and Nick Glueing

Finally we test fit the bridge in place.

Nick's Bridge

Once the bridge was planted we soldered up the approach tracks and it’s time to test that track again!

Nick testing the trestle

Next we made some guard rails by shaping rails as if they were going to be frog rails and soldering them together.

Nick soldering guard rails

All for now!

We started building out the bridge abutments by cutting away the Styrofoam and making a retaining wall out of scribed siding a stolen from an old Campbell tunnel portal kit.

Picture 017

Note that we pre-stained the wood with a simple ink-alcohol mix. Here’s the other side of the bridge.

Picture 018

The temptation to play with a train is just too much to resist!

Picture 030

We made little bents to go against the retaining boards glued earlier — the white glue is wet and still visible here.

Going Toward Tunnel

We’re following the basic construction techniques of the Northwestern Pacific Railroad as seen in their Corte Madera Creek bridges since we can walk up and inspect them today.

Picture016

Using six scale beams glued in two groups of three I made the main span and glued some Micro Engineering code 83 bridge track onto it.

Nick Needs a Bridge

In parallel while glue is drying we’re making more tunnel lining castings and painting the tunnel portal.

Tunnel Walls Drying

Using our jig we made the five trestle bents with profiles roughly matching the ground under them.

Trestle bents

Continuing our build out of Nick’s HO micro layout.

Nick's railroad

Once the base was set up and roadbed established we started to build up the hill and tunnel out of 4″ thick Styrofoam.

Picture 058

We cut a mock tunnel portal for sizing.

Picture 071

Then we gave everything that would become “ground” a good coat of dirt-colored latex paint.

Nick Paints Dirt

Then we started preparation for the installation of the trestle bridge by hot-knifing the end abutments and here I’m making a “story pole” that will be used as a template for the location and height of the bents. The track has been rough cut and painted but is not yet installed.

Picture 008

We used Micro Engineering code 83 flex track and here we’re preparing some matching Micro Engineering code 83 bridge flex track with appropriate ties and spacing.

Picture 013

To make the bents we made a jig into which 3/16″ dowels will be held while being glued.

Jig for Bridge Trussle Bents

Picture 004

While the glue dries on bent assemblies we started to make plaster molds of the tunnel interior using a Woodland Scenics mold.

Mold For Tunnel Walls

Nick's railroad

Nick joined our “build stuff” group with no idea what he wanted to build. We suggested he look though our library of books and he saw my copy of Stindt’s “Northwestern Pacific Railroad” and started explaining to me that this was the railroad that used to run through our neigborhood.

Lounging Research

This, I knew. What I had not known is that Nick was a rail fan.

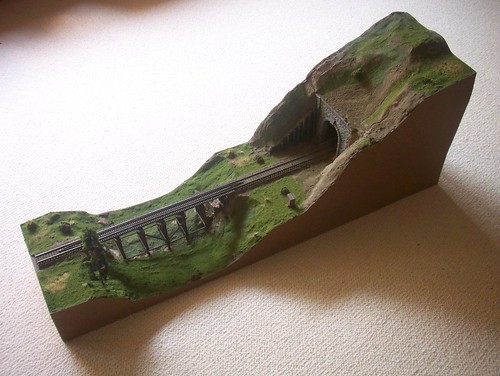
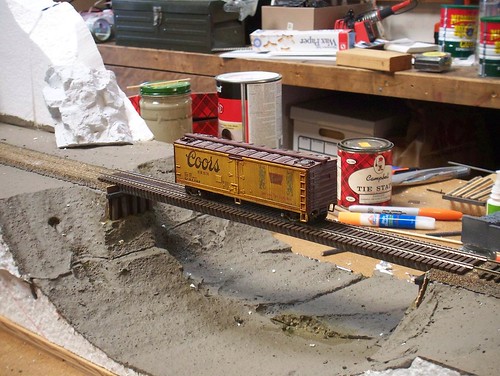
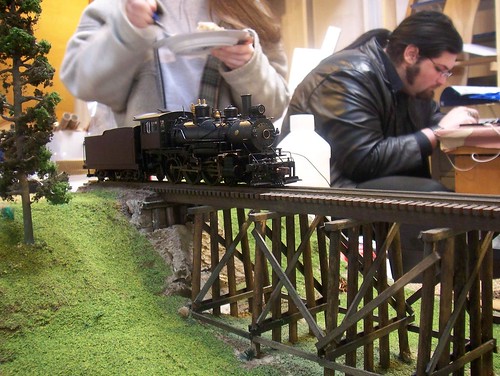
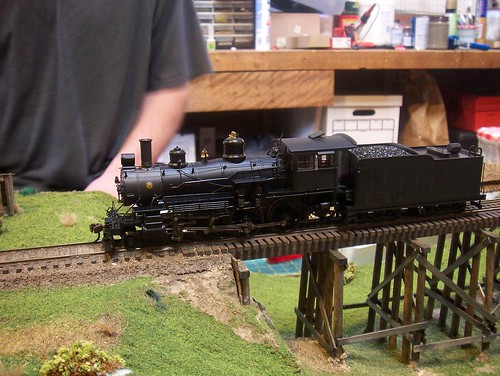
We had Nick sort through and tag all the photos in the books he liked and ended up with a concept of a micro-layout with a tunnel and a bridge.  We had about 50 building hours available to us in the project series so things needed to be kept small and simple.

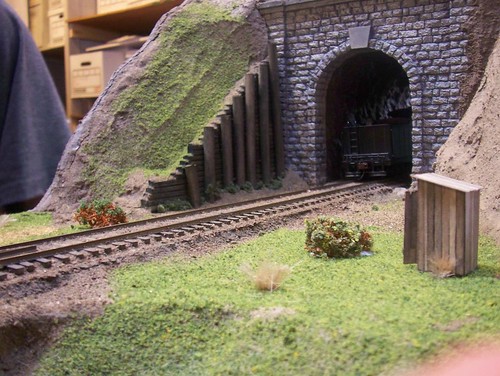
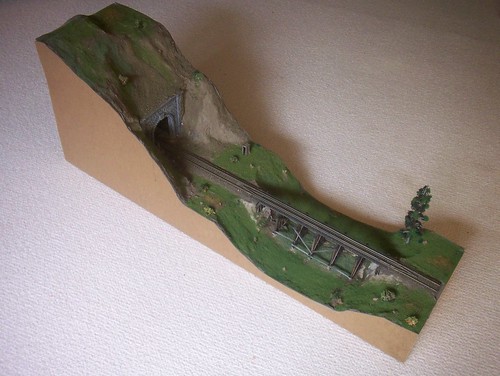
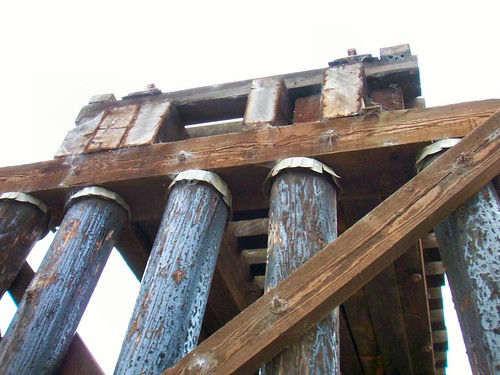
Nick tagged about 50 different photos and we scanned them quickly at low resolution so we could see them all together. We all saw that Nick was strongly attracted to tunnels and trestle bridges so I proposed a small diorama with a hill, creek bed, tunnel and a bridge.

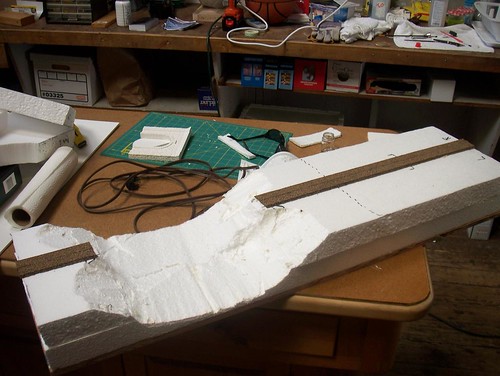
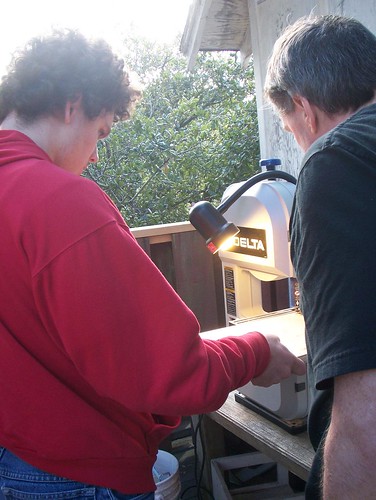
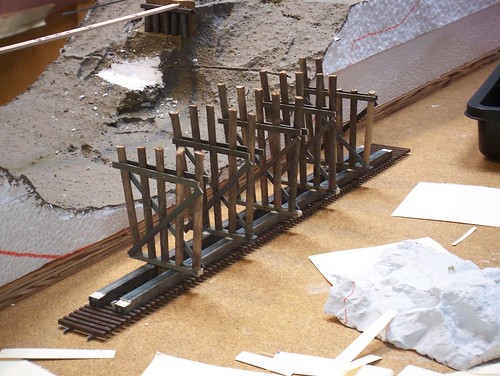
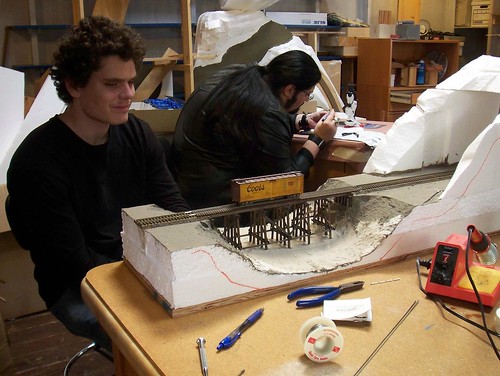
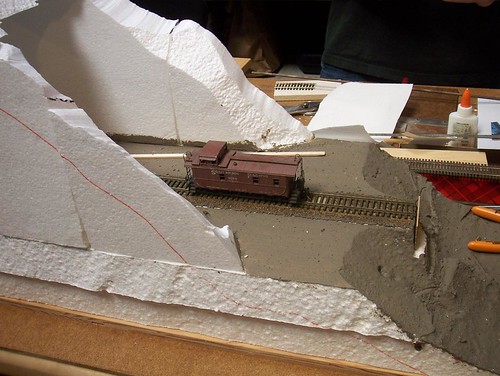
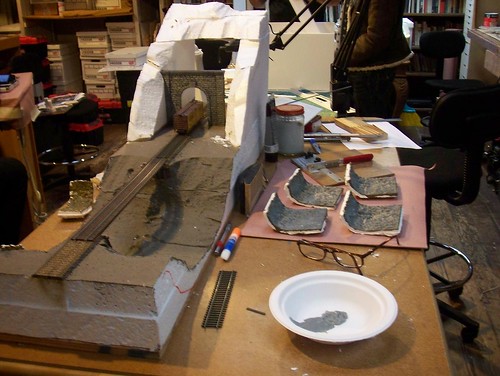
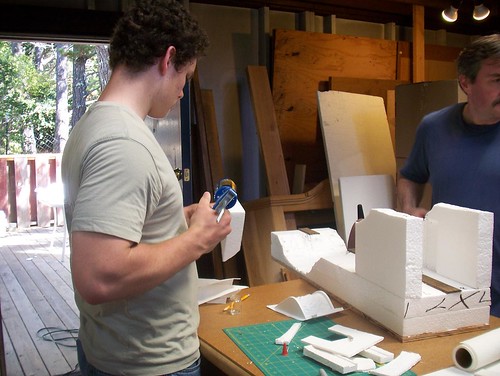
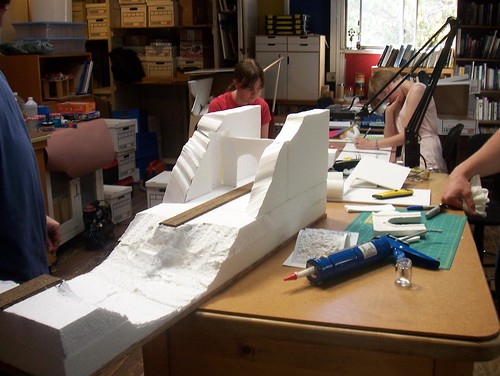
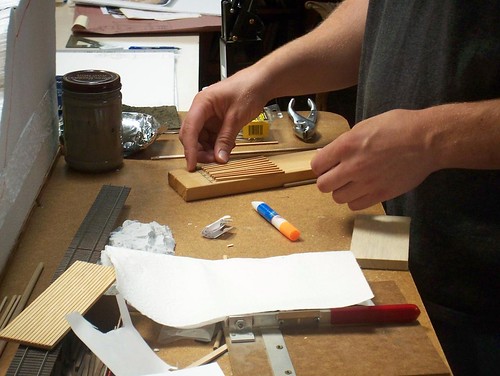
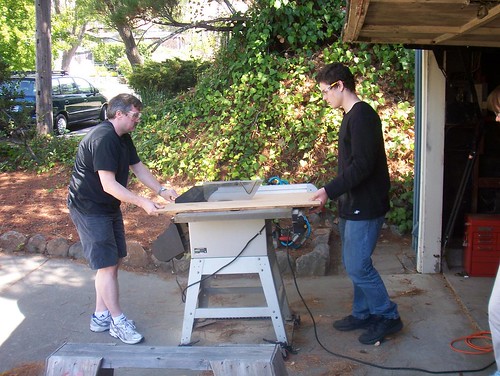
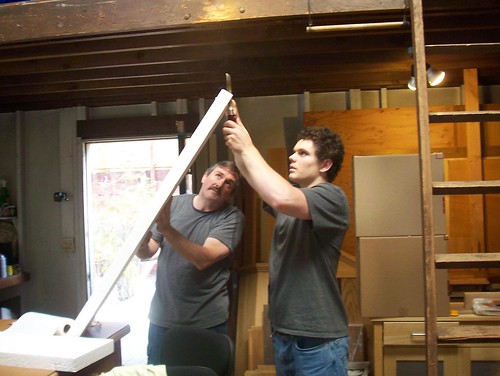
To get things started we cut some plywood to define the footprint.

Dan Pulls

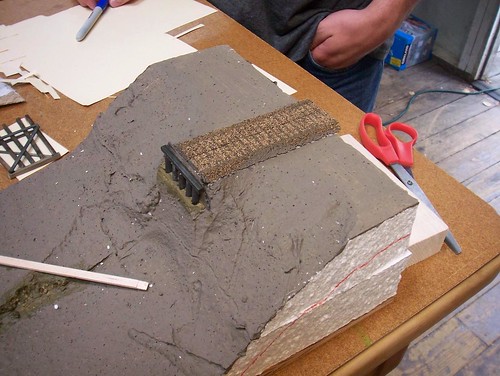
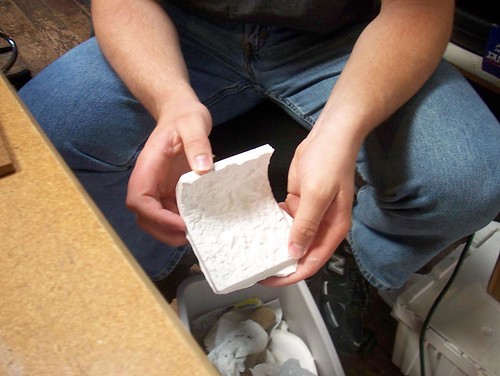
Although it is not my favorite technique, I had a lot of styrofoam around so we cut and built up layers of foam.

Nick Starts his First Cut

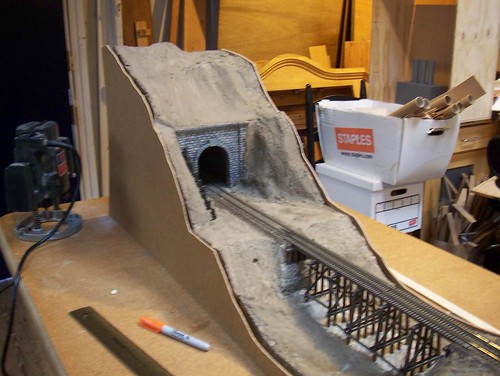
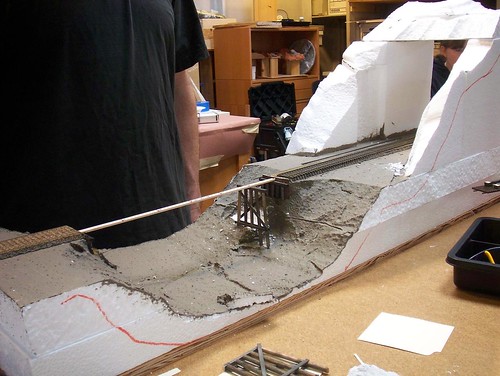
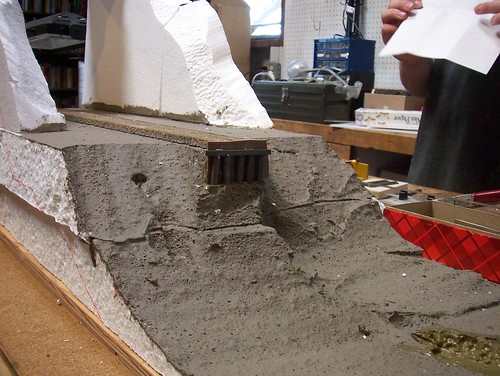
We marked where the tracks, bridge and tunnel would be. I suggested making the tracks “skewed” (not parallel) to the layout edge but Nick insisted he wanted it straight.

Nick's diorama

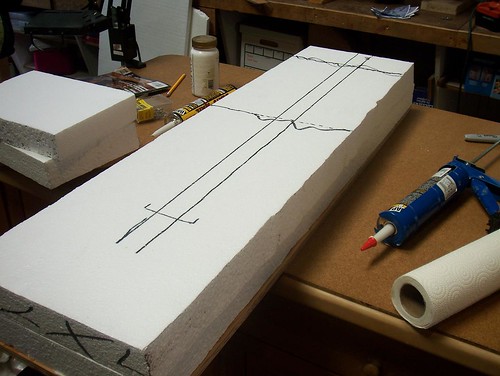
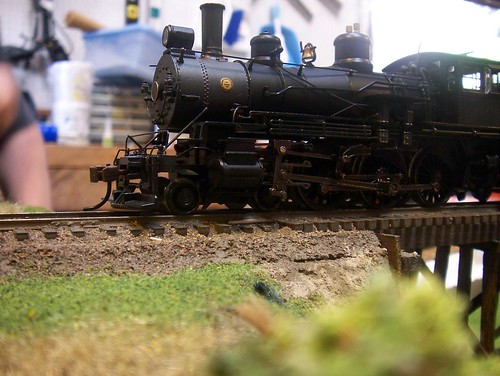
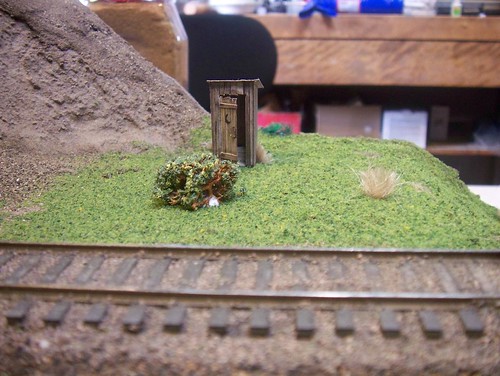
Pretty soon, we had something starting to look like a micro-layout.

Picture 051