No, the title is not a typo…
I’ve always loved photos of early Tiburon, California. Tiburon grew as the “town at the end of the tracks.” Those tracks belonged to the San Francisco & North Pacific Railroad and later the Northwestern Pacific Railroad.
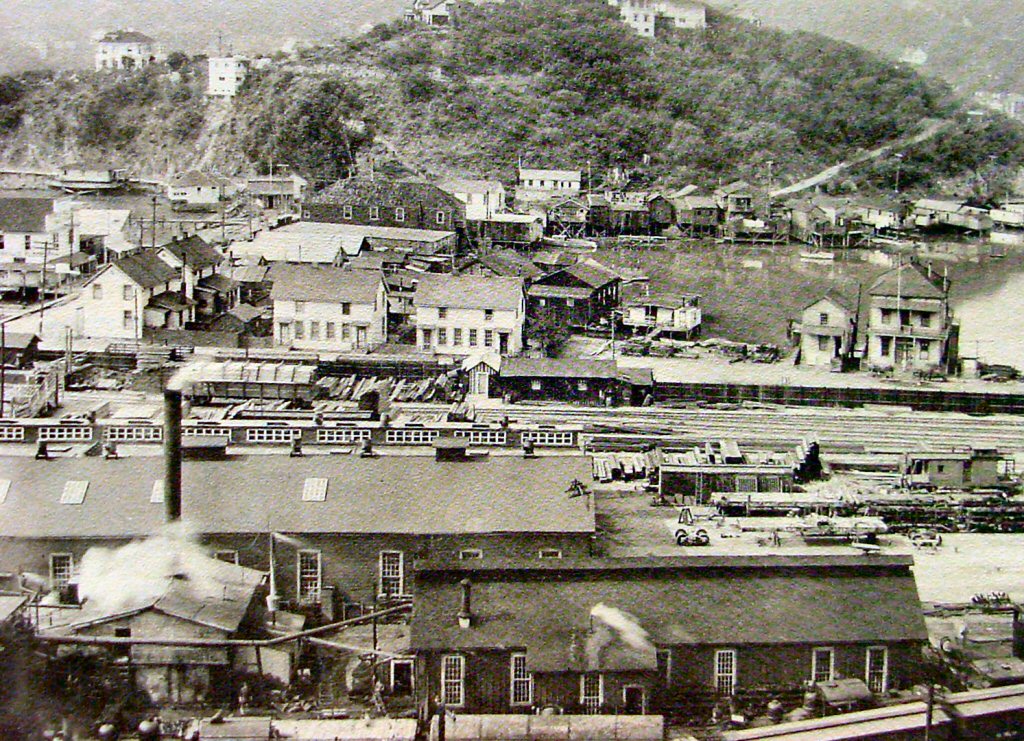
By the 1920’s Tiburon housed a dense cluster of rail yards, ferry piers, and shops. It was also home to an extremely wild bunch of buildings that grew organically around the end of tracks.
Because the shore near Tiburon was extremely steep, any flat ground was created entirely by filling in the surrounding bay. The railroad did a pretty organized job of it. The townspeople just threw dirt in as needed, drove piles into the remaining shallow water and threw up their structures in a way that would strike terror into the heart of any modern building inspector, fire marshal, or health inspector. Here could be found hotels, cheap housing for railroad workers, bars, cathouses, and stores.
The picture above is looking west. If you looked to the east of the yards and shops you would find much more respectable (but to me less interesting) housing.
I want a town on my layout that captures some of the feel and spirit of Tiburon of this era. However, given my tiny amount of available space I cannot make a serious attempt to model anything about Tiburon of the 1920’s except its “feel.” Additionally I’m going to emphasize, to the point of exaggeration, many of the more colorful aspects of the town so I decided to highlight that by dubbing my version of the town “TiburBon.” Amazing what the simple addition of a “b” does.
Locals insist Tiburbon is pronounced “Tiburr-bon” although visitors seeking a bottle of liquor (found here in abundance despite Prohibition) unfailingly pronounce it “Ti-bourbon.”
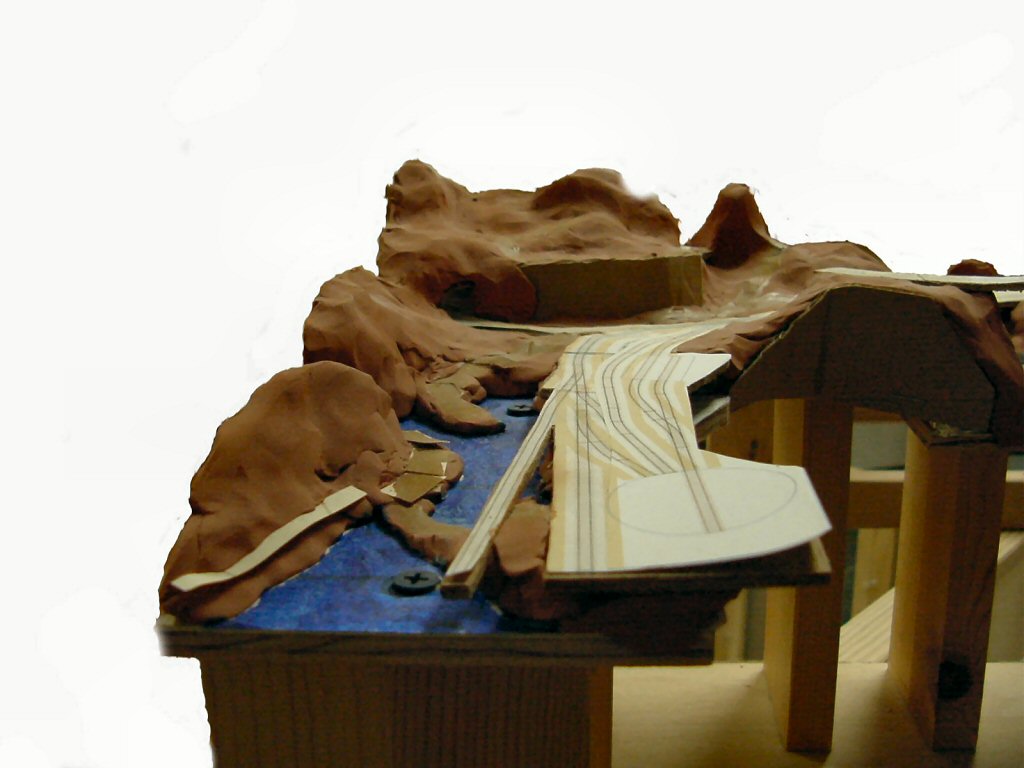
After looking at maps and photos of Tiburon in the past and walking the streets today (I live in Tiburon) I shaped an idea for the land and water around Tiburbon onto my planning model.
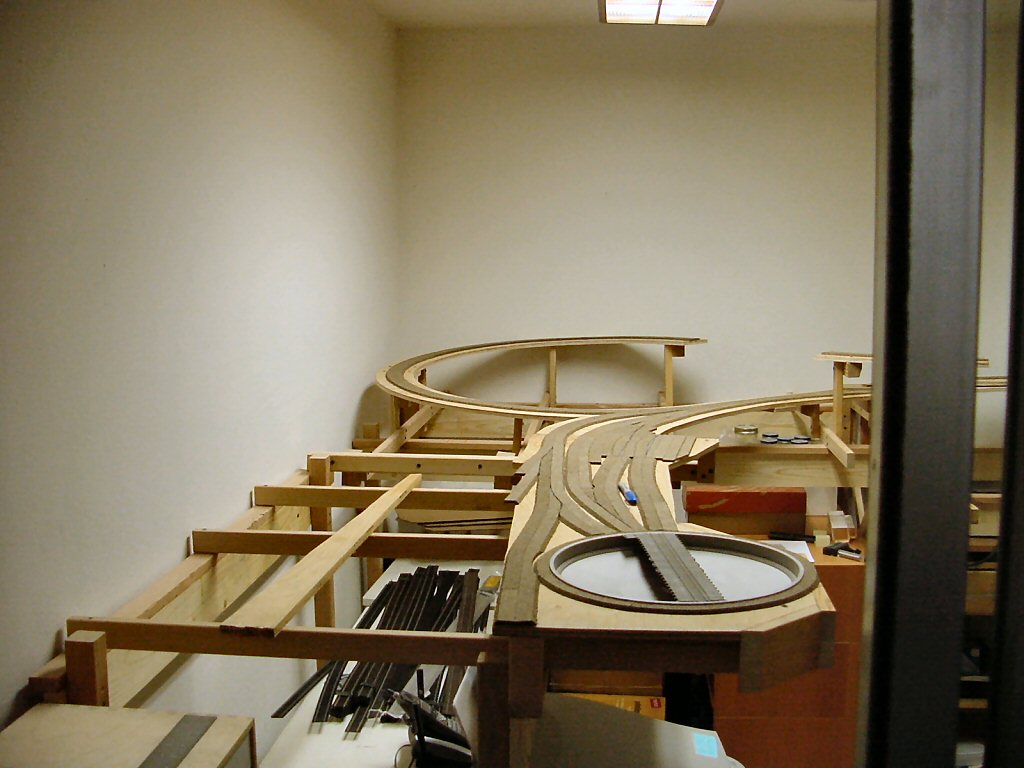
Before I go further with the track work in Tiburbon I decided I’d get a start on the rough scenery here since the town will end up a highly detailed scene behind the tracks and will be easier to work on before the track is laid in.
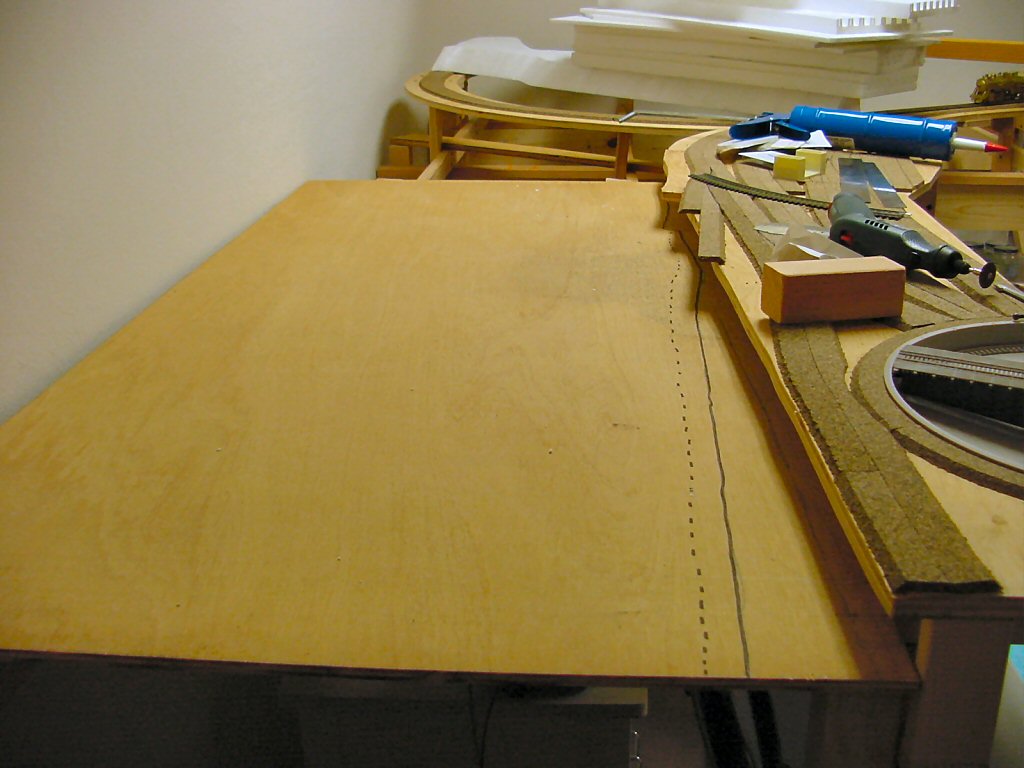
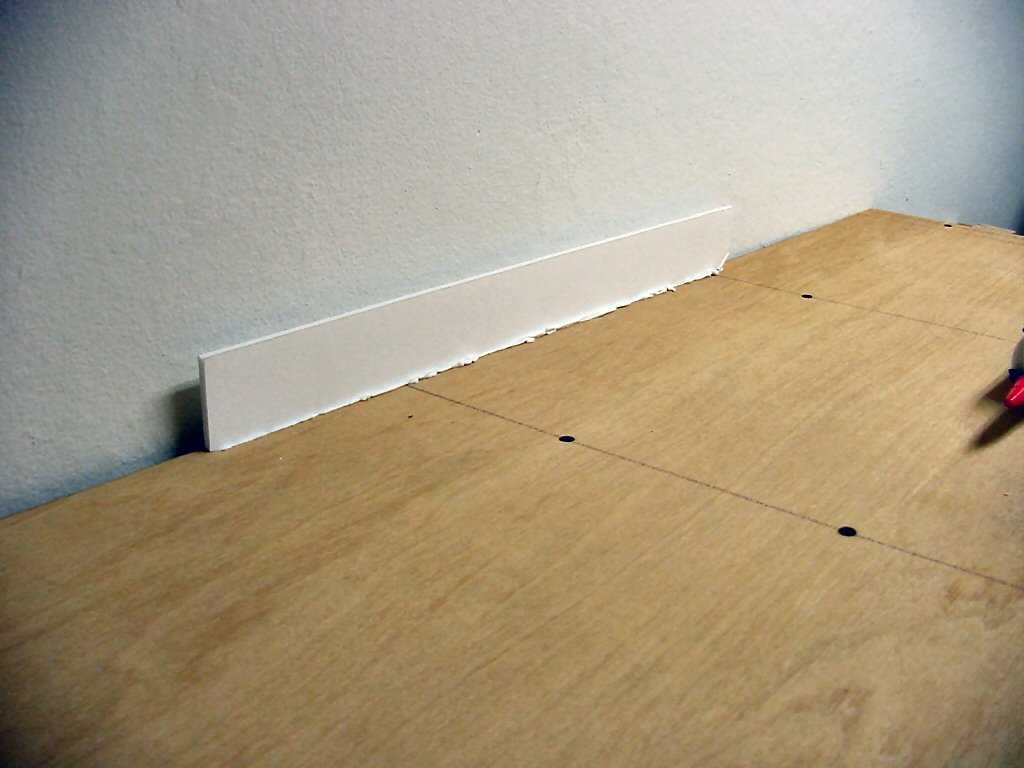
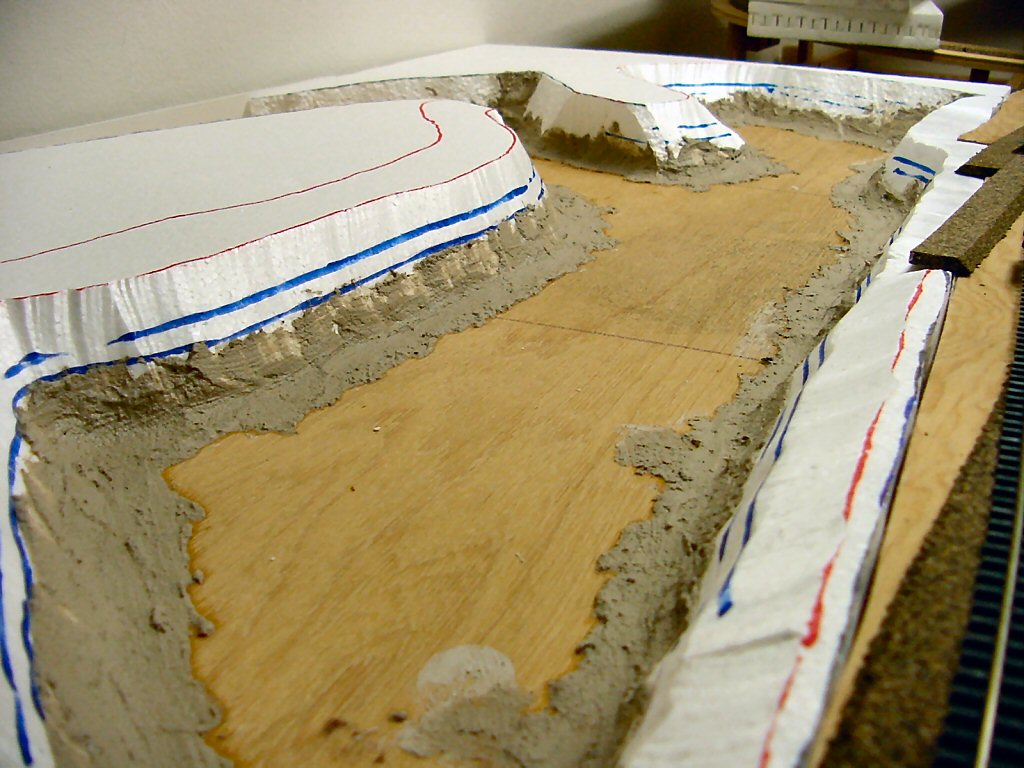
First I cut a sheet of ¼” plywood to fit which runs the full length of this module. This plywood will be the bottom of the bay. Everything goes up from here.
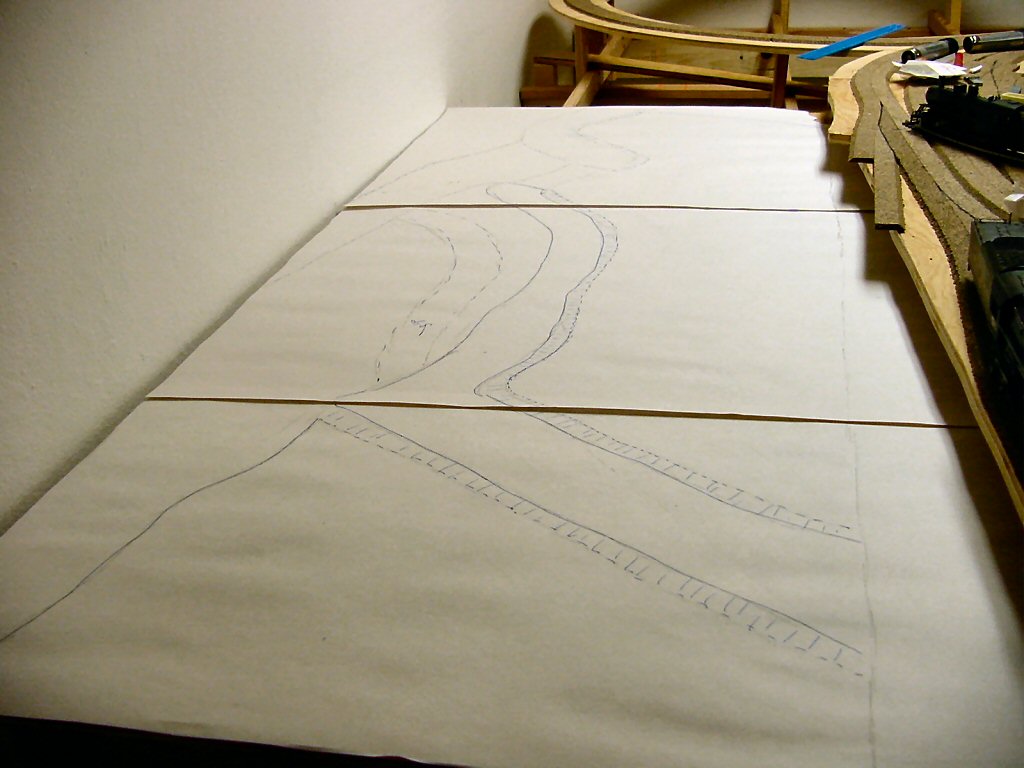
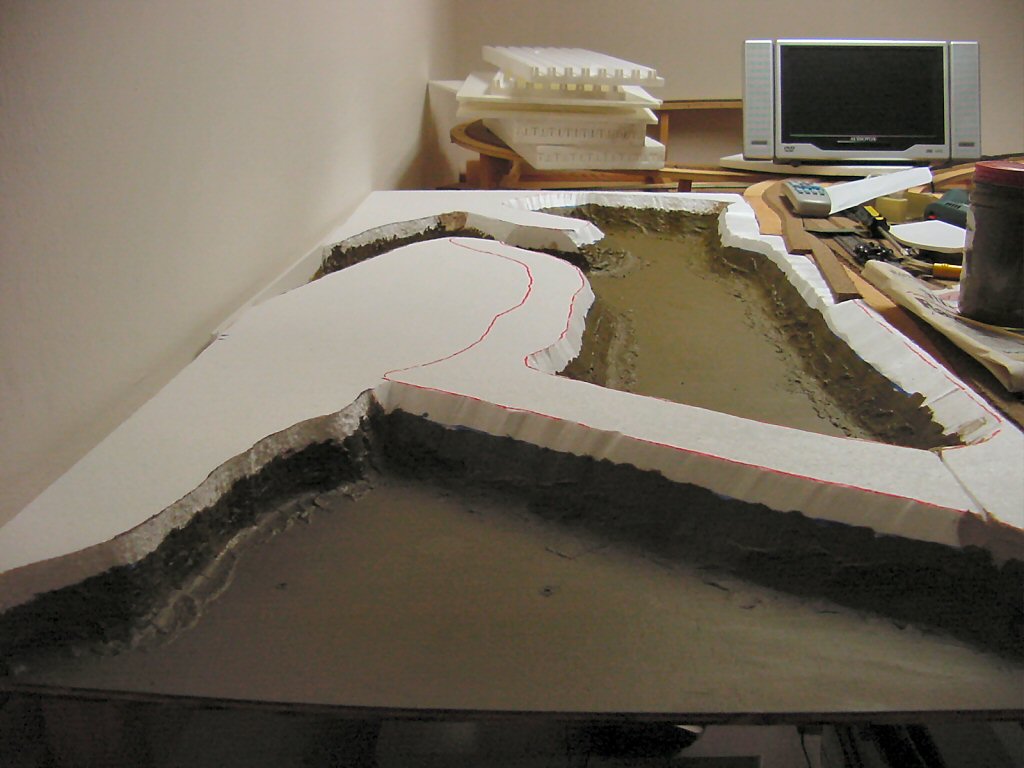
I laid out paper on the plywood and penciled out shapes guided by what I had on the planning model but I always find that I end up making adjustments once doing it full size. Once I was satisfied I re-traced it in pen.
I cut the paper plan into a templates and cut the shape I needed out of 2” thick bead board sheets. I use a Woodland Scenics hot wire cutter and an electric hot knife to cut Styrofoam. I wear a mask for the fumes and do as much as I can outdoors but as far as I’m concerned heat-cutting foam is the only way to go. Here I’m test fitting them before gluing.
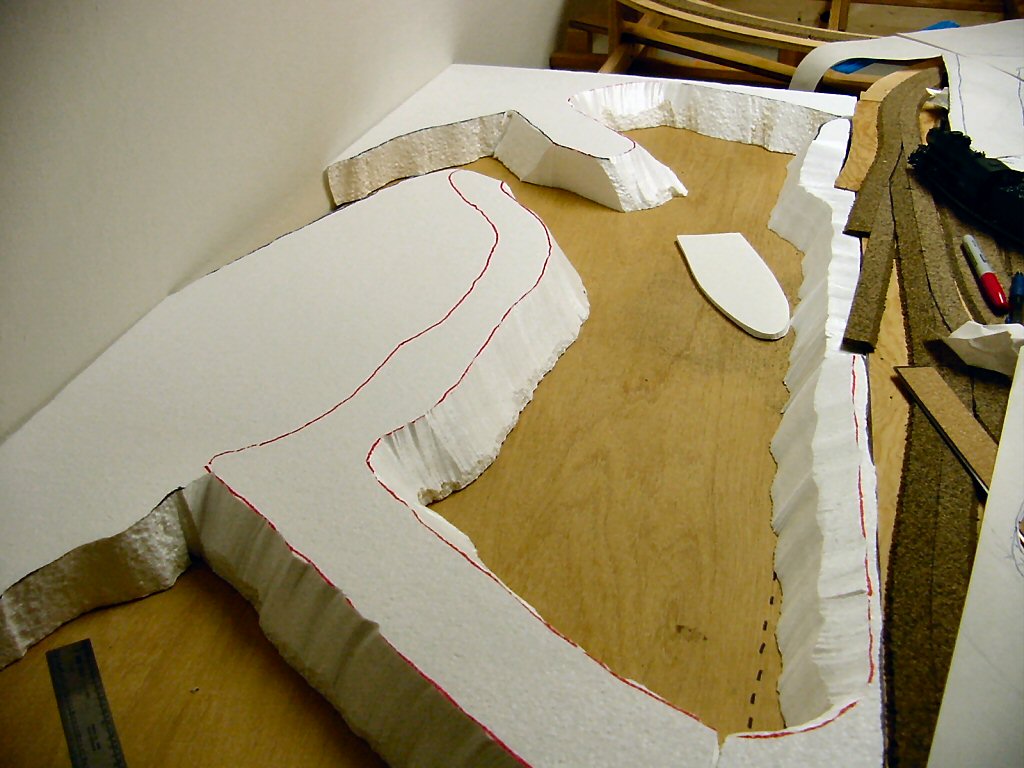
The boat shaped piece of foam board is testing the size of a 60 foot boat.
There’s a gap in the back and eventually I’ll be pouring in my bay water so I laid a piece of 3/16” foam core board there as a dam and glued it down with liquid nails.
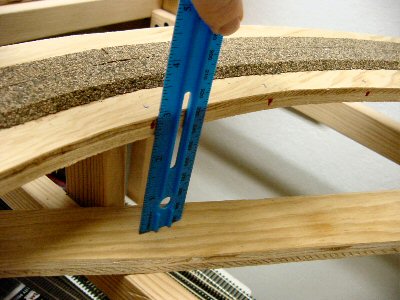
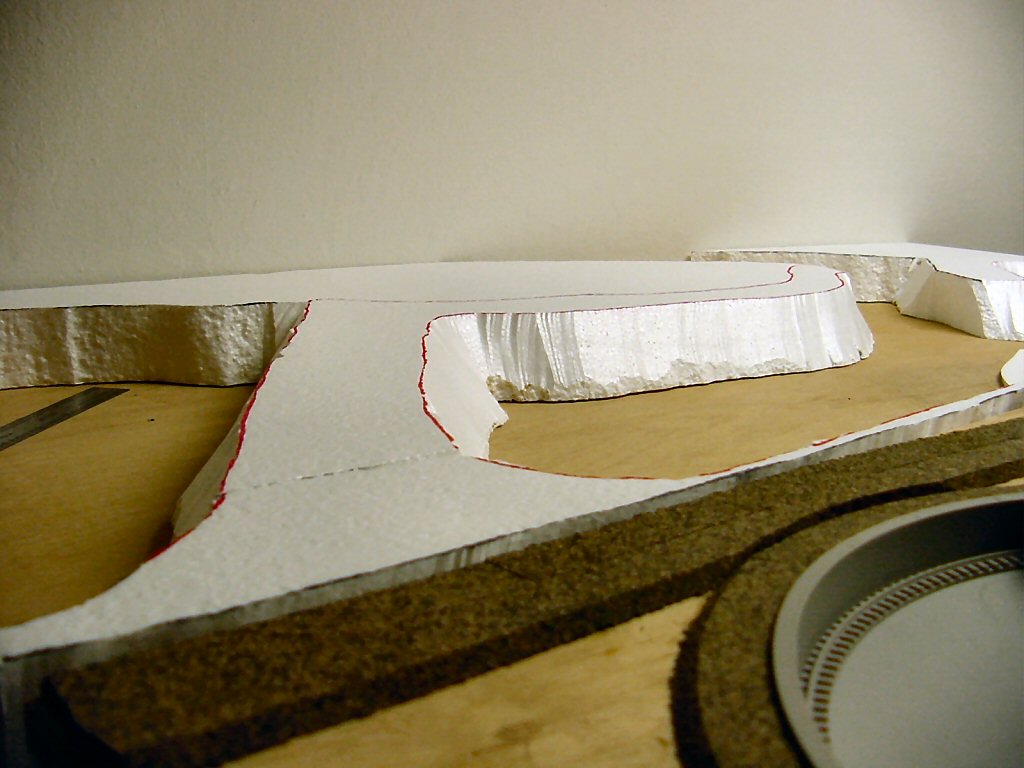
The first base level exactly matches the height of the top of the cork roadbed in the adjacent rail yard (good planning on my part). I cut stacks of 2” foam boards up to until I liked the height. I’ll carve these down with the hot knife and glue them down later.
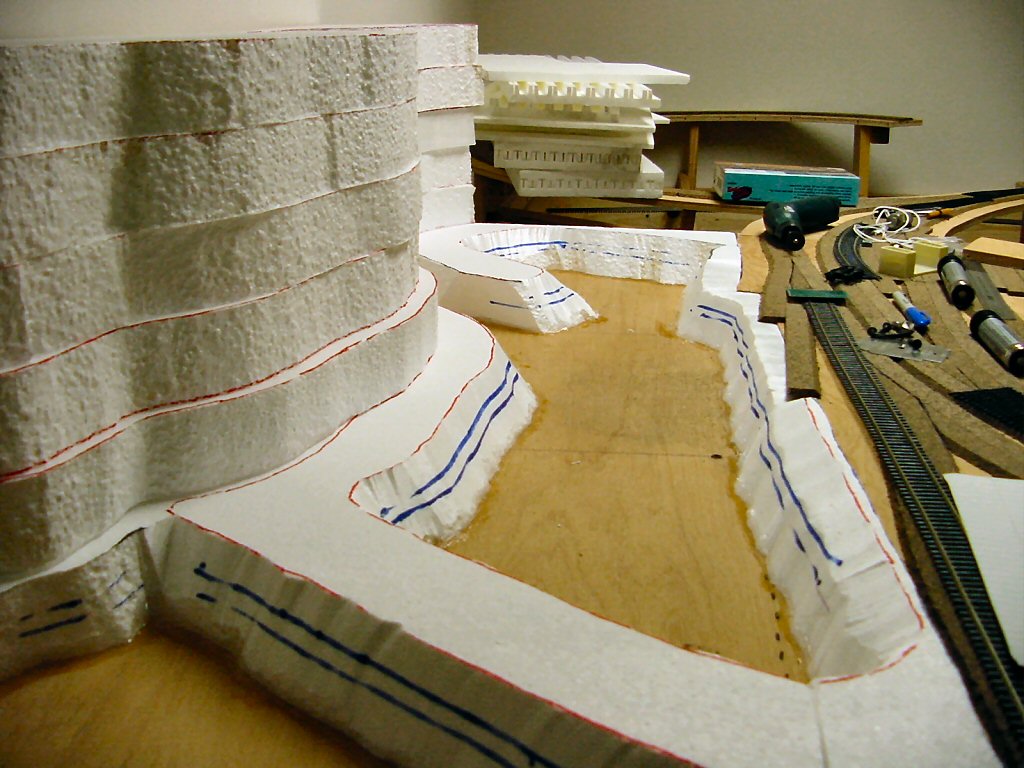
Most materials used to model water (I haven’t decided what I’ll use yet) will seep through any available holes so I sealed the edges with silicon sealant.
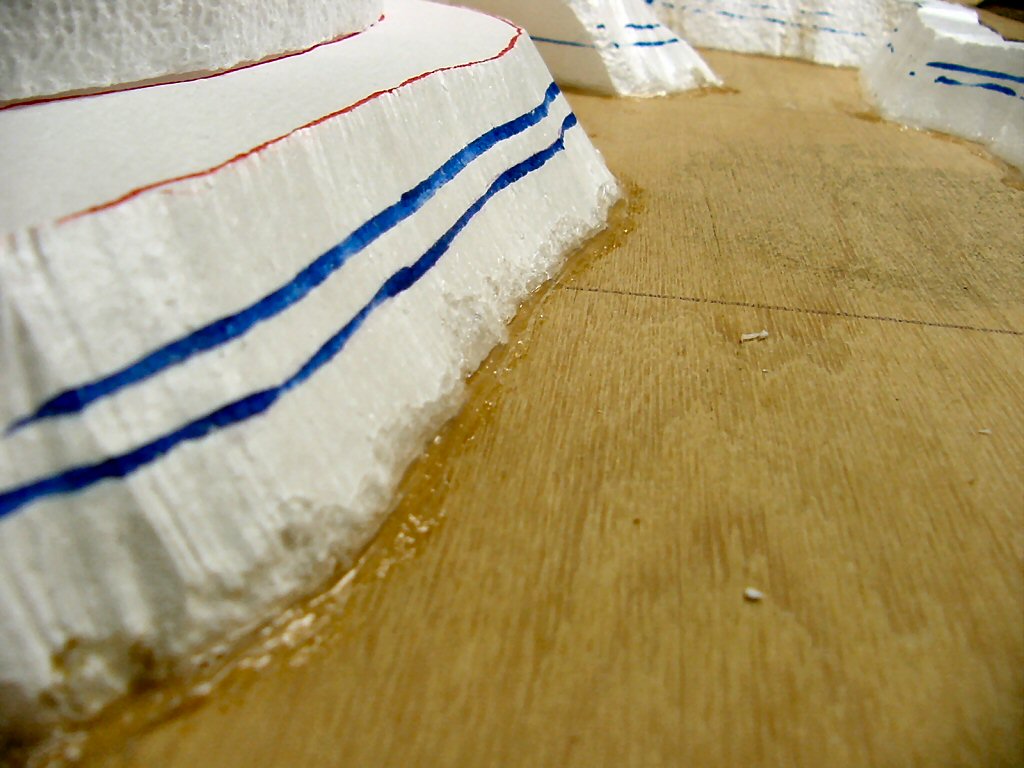
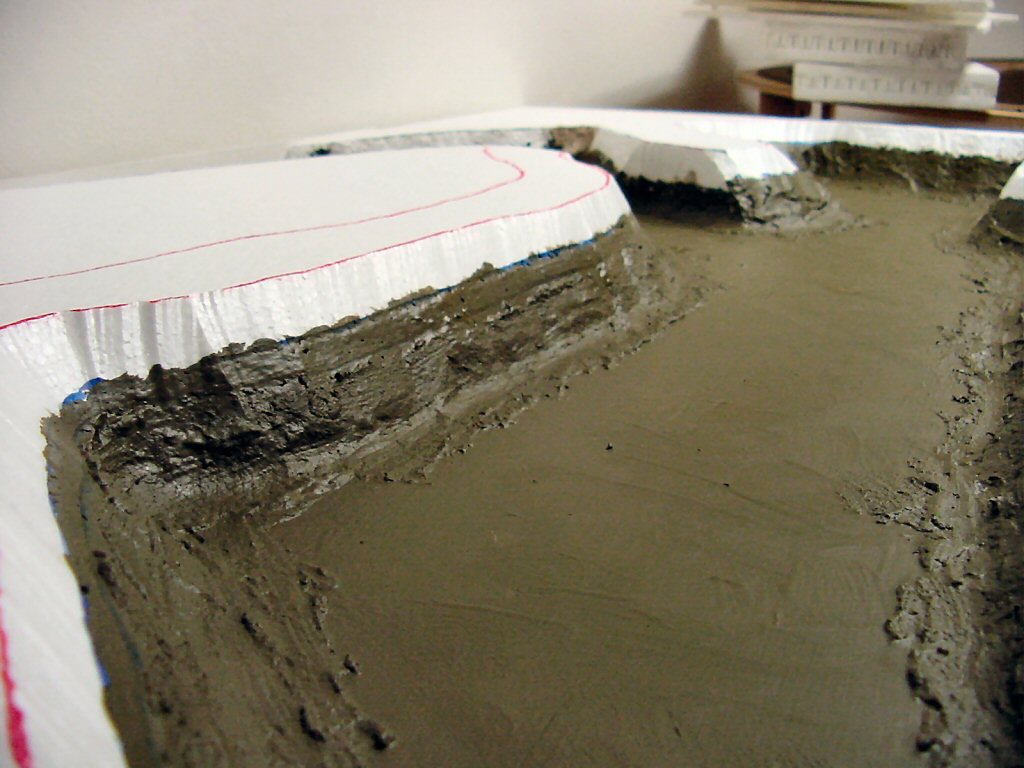
The two blue lines were different ideas I had about the water level. Looking at the photos, Tiburon was (and is) built very close to high tide level so I’ve settled on the higher water mark.
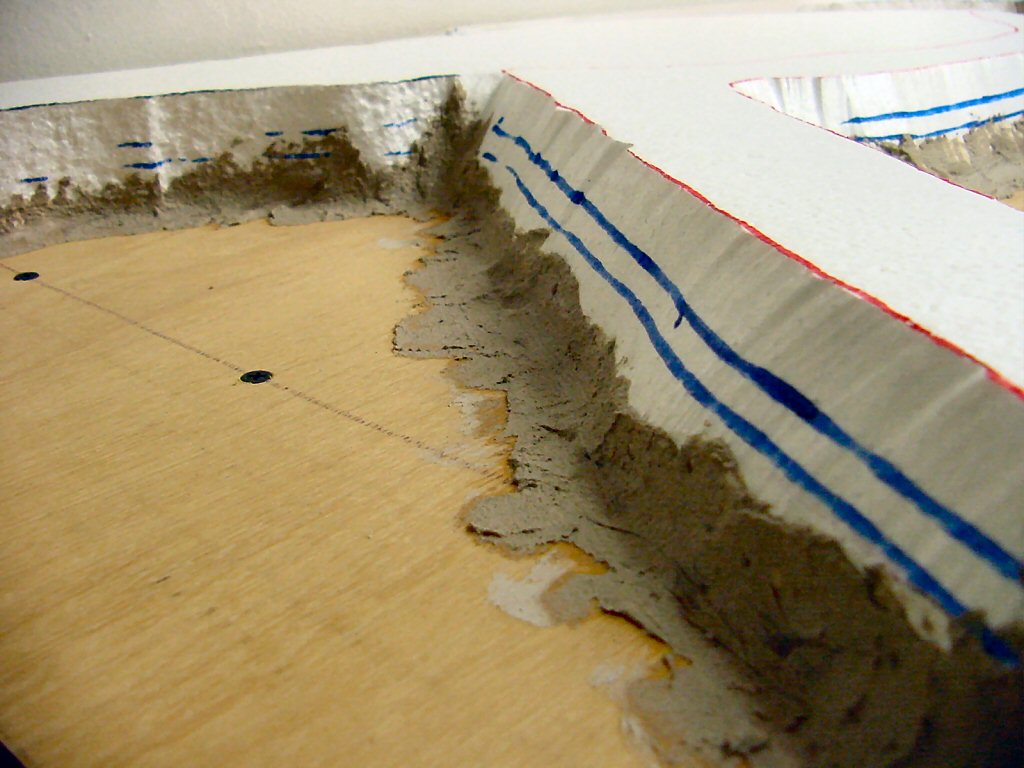
I added a fillet of paper mache. This is needed since most paints refuse to stick to the silicone sealant and I want to start to build up the texture.
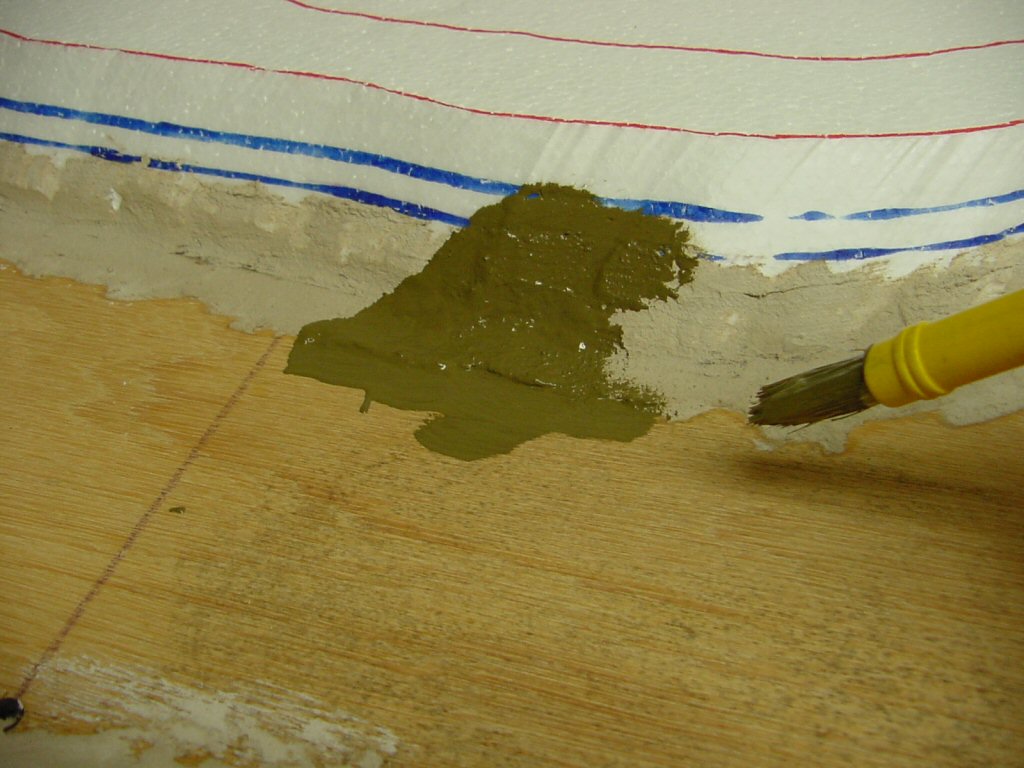
I painted everything from the high water mark down with my “wet mud” color. This is a base color I had made in latex paint and I use it everywhere under dirt. The color ends up basically olive drab. I’ll probably paint black any areas I want to appear as deep water.
Well, this is all I’m going to fit in on Labor Day weekend.