Sat 13 May 2006
Cutting and fitting the new turntable hole
Posted by Daniel Swearingen under Layout Progress , Track , TurntableComments Off
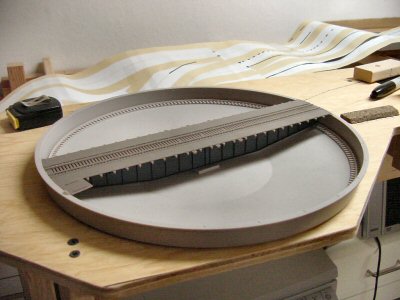
As I left off last time I had decided to buy a Walthers 90’ turntable instead of scratchbuilding.
Placing it into the rough cut 11” hole I had already cut, it was clearly going to need a bigger (and more perfectly circular!) hole.
The Walther’s turntable needs a 12-1/2” diameter hole. On my trackplan I superimposed that size hole where I had the smaller hole and it was a tight fit, but it did fit.
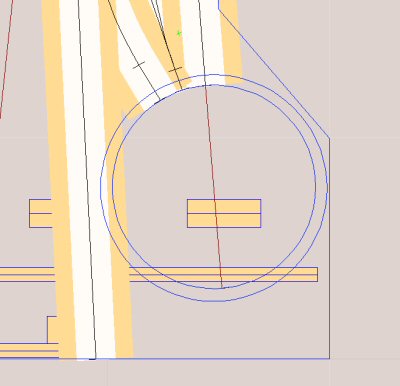
It is a good idea to read the instructions: closer reading reveals that the turntable needs a 12-5/8” hole. As usual – everything ends up taking a bit more space than you initially plan.
First I needed to draw a really accurate circle on the plywood. Normally this is no big deal but there’s a hole in the plywood where the center needs to be so I clamp a piece of ¼” plywood over the hole from below.
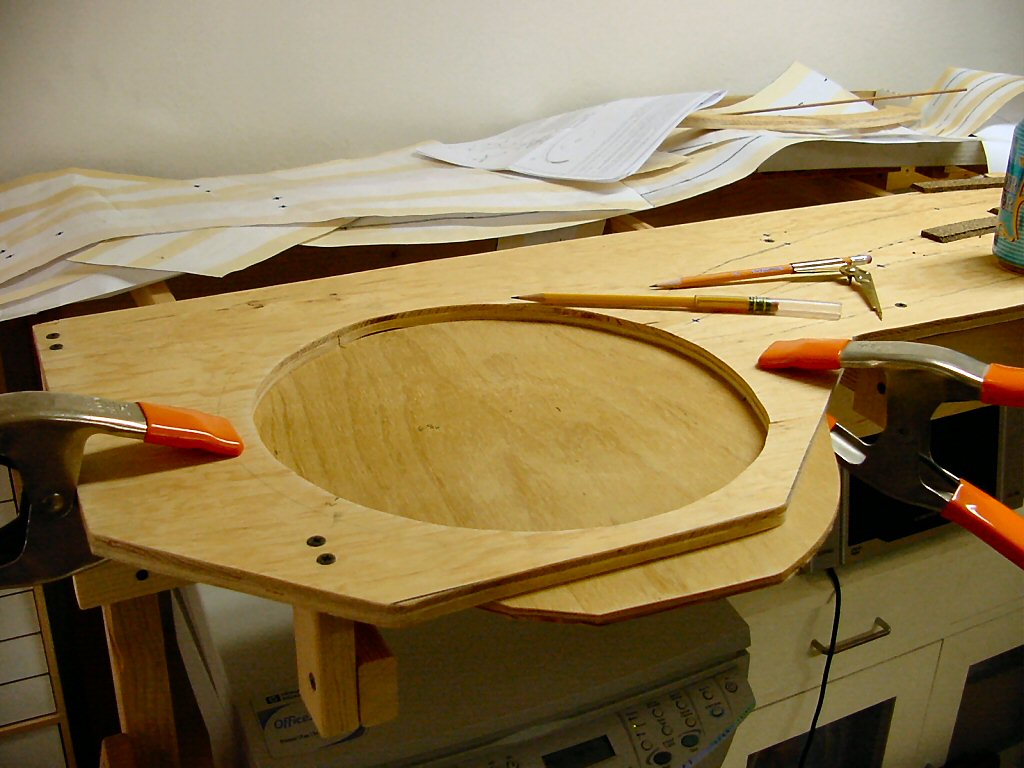
Next I need to mark the center of the circle. The approach tracks to the turntable are already laid out and their centerlines should cross exactly at the center of the circle. Using a flexible clear plastic ruler I draw lines out and where they cross will be the center of the new enlarged hole.
Drawing the first line.
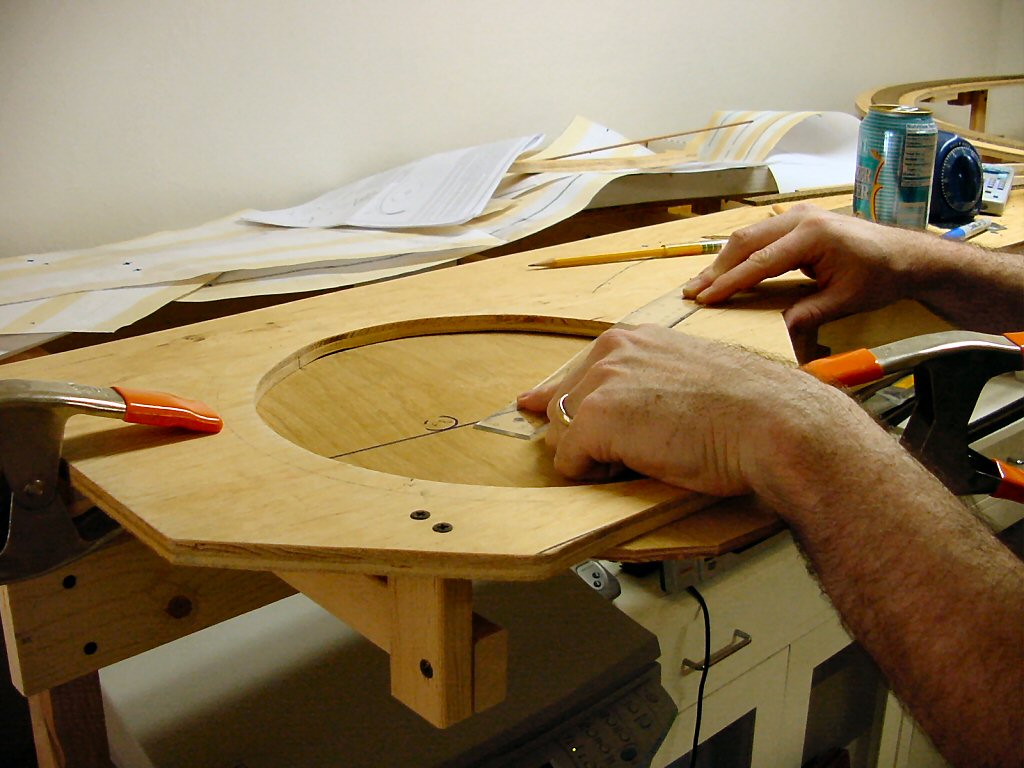
Drawing the second line. Where it crosses the first is the center for the new hole.
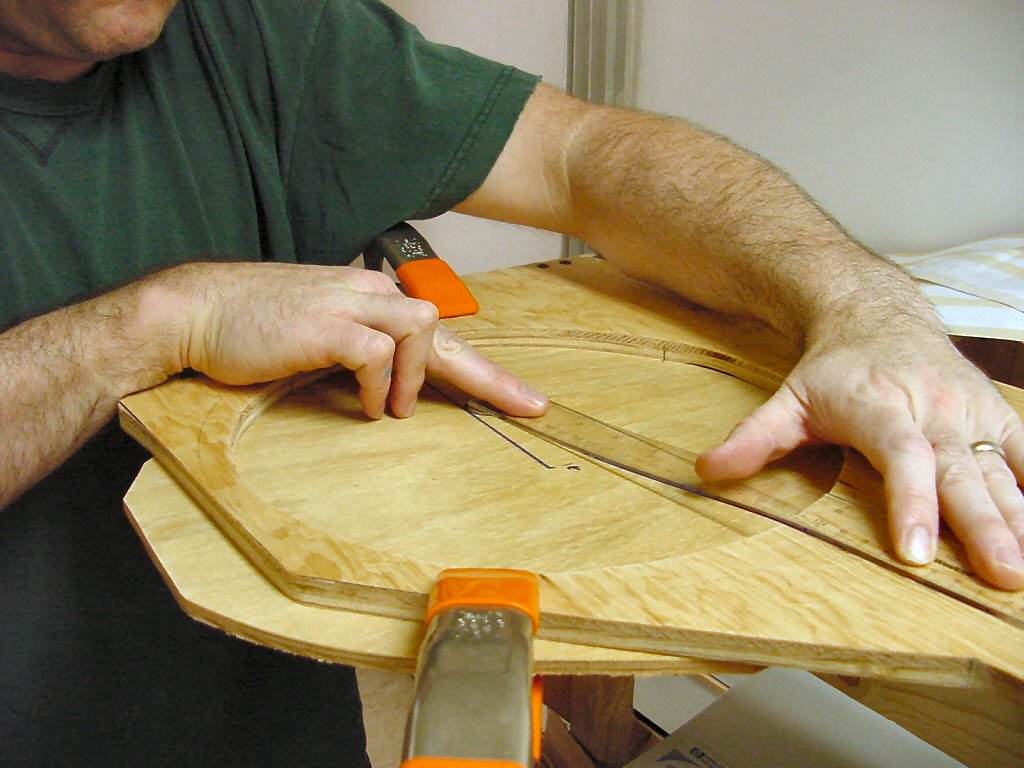
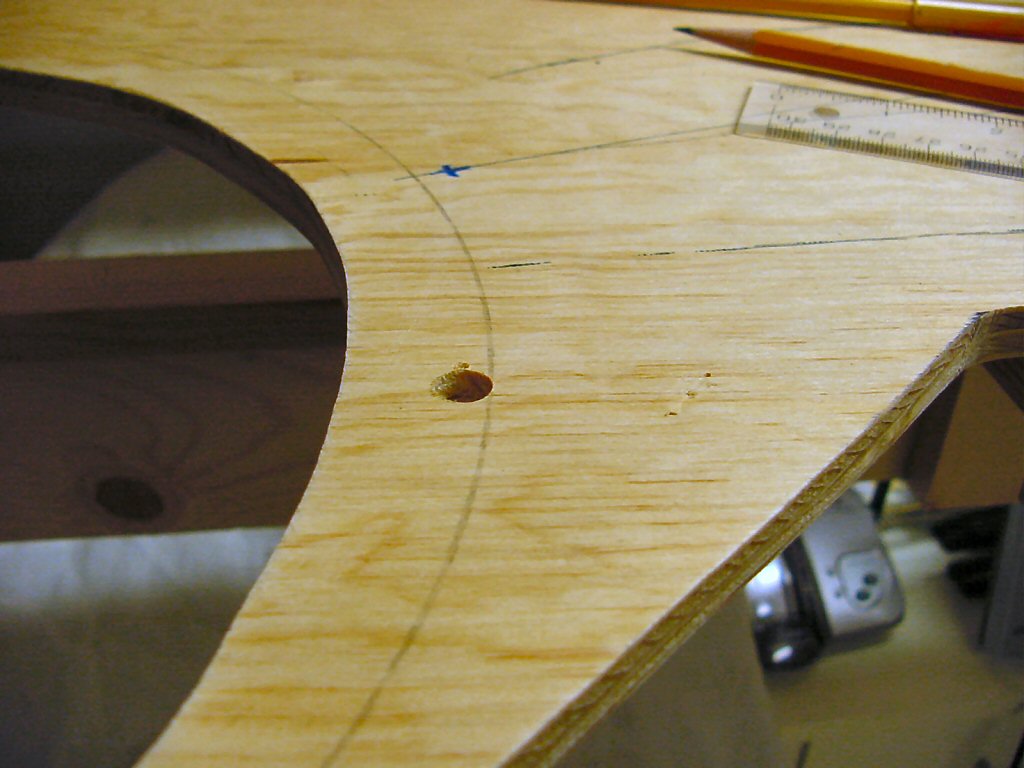
From the center just marked I use an inexpensive compass and a sharp pencil set for a 6-5/16” radius to gently mark out the new circle’s outline. This kind of compass works fine as long as you use very little force.

Drill a starter hole for the saber saw.
Cut the hole
Somehow I forgot to take any photos of this step. Maybe it was because I was holding the saw with both hands!
Anyway, I carefully cut the hole with a new blade in the saber saw and with a little bit of shaving the new hole works great.

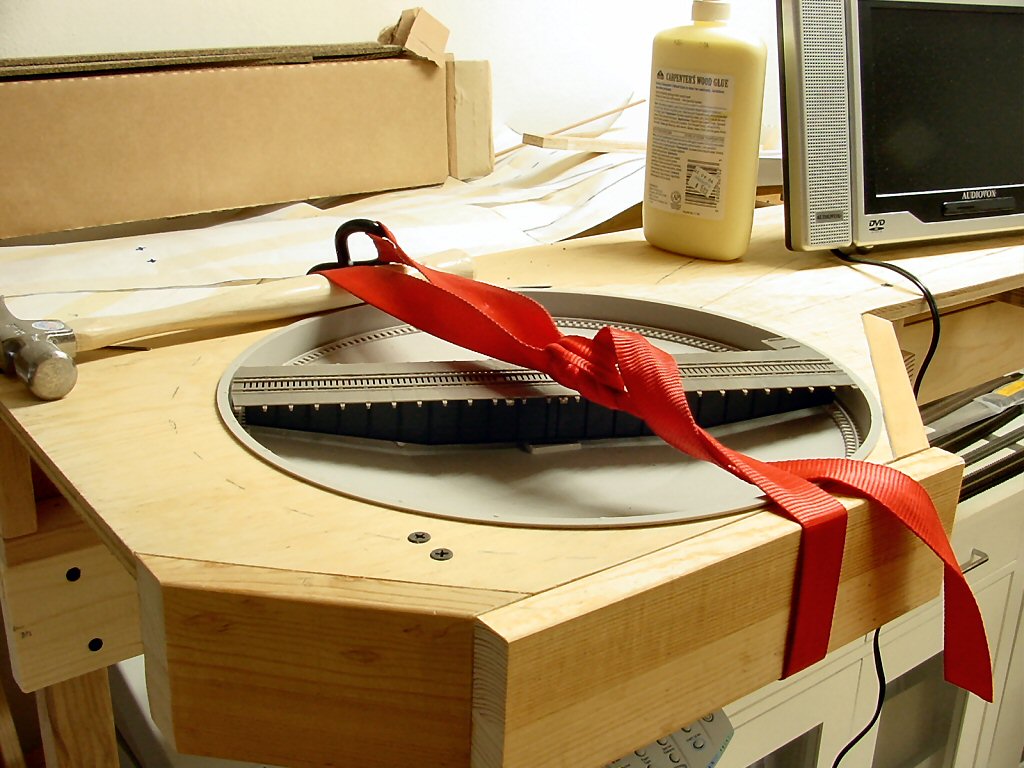
The edge of my plywood base for the yard area is now dangerously close to the edge of the turntable so I immediately add some pine 1×3 facing boards and use a cargo strap to hold them while I glue and screw them in place.
The plastic lip of the turntable is exactly the same thickness as the ties under my track. Since my track is riding on cork roadbed I need to raise the turntable to match the track height. The easy way to do this is to run a ring of roadbed around the turntable hole to use it as a riser. Then I just cut away the bevel where the approach tracks come in.

I still have to actually assemble the turntable but I’m moving on to laying the track first.