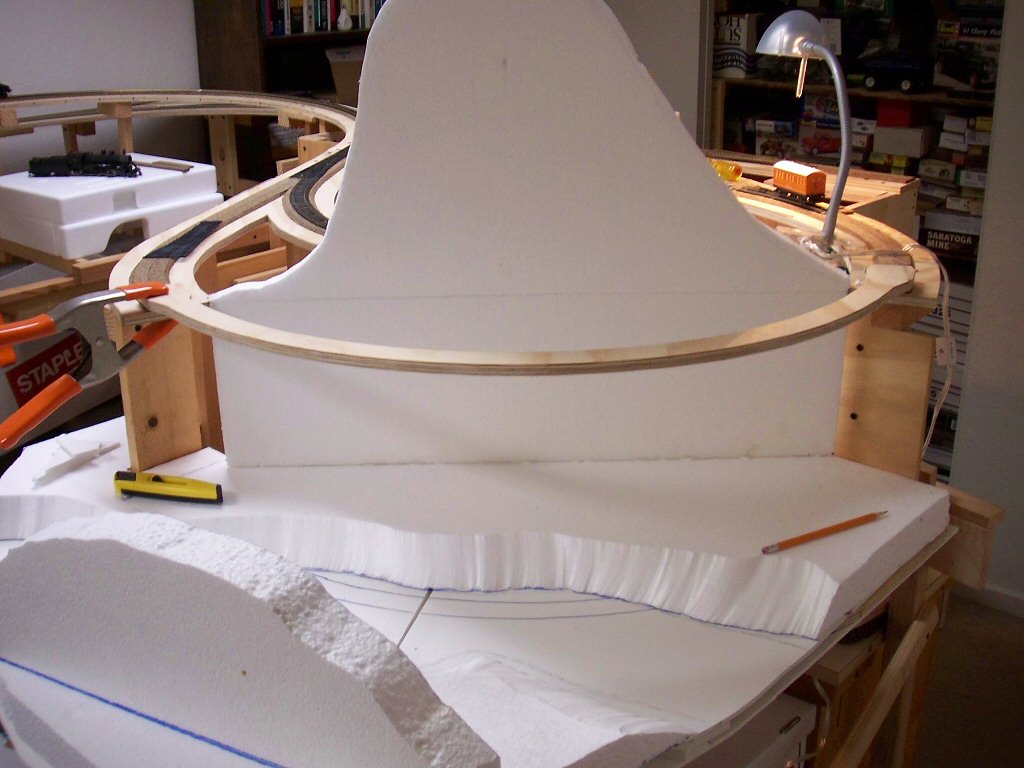
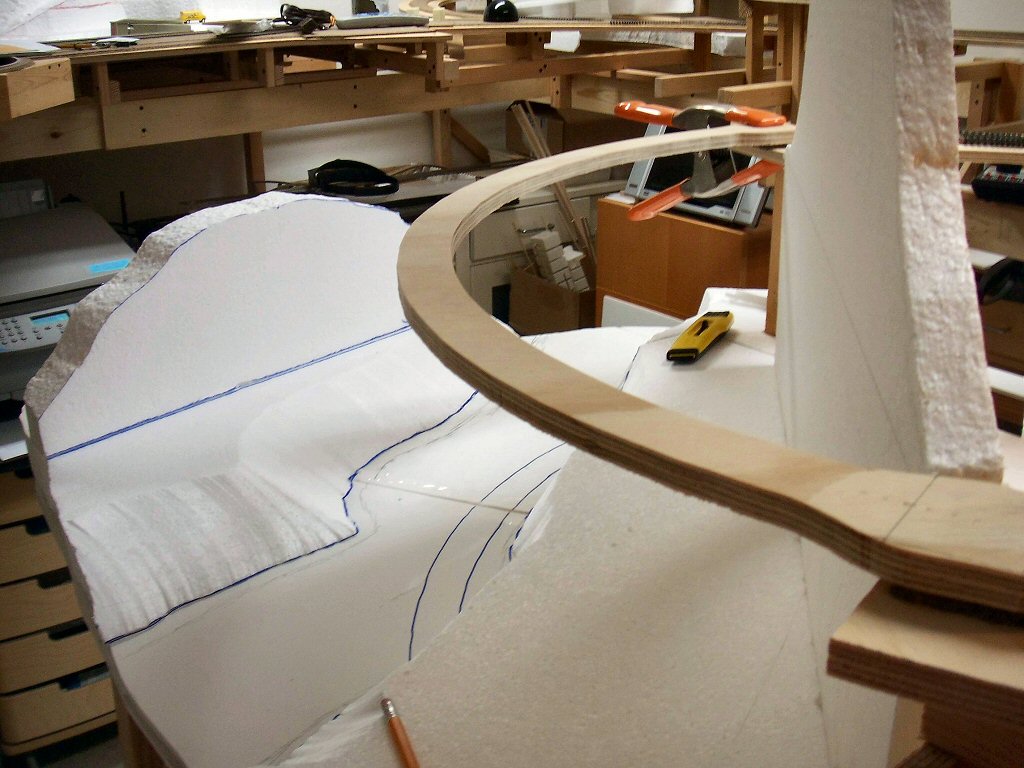
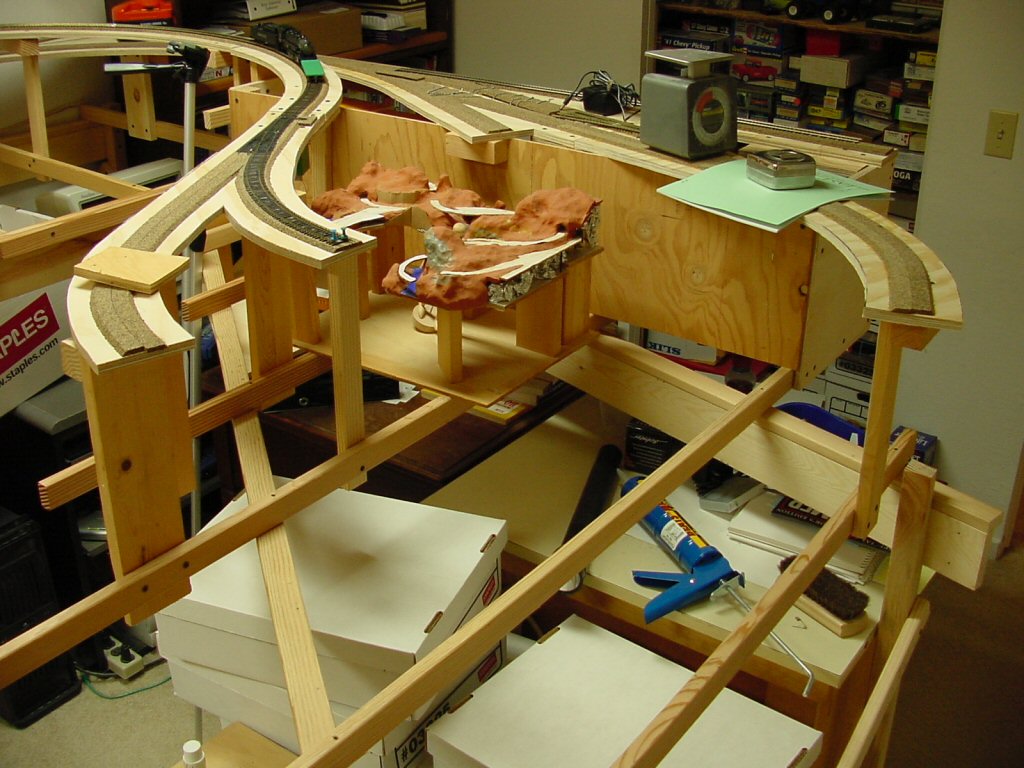
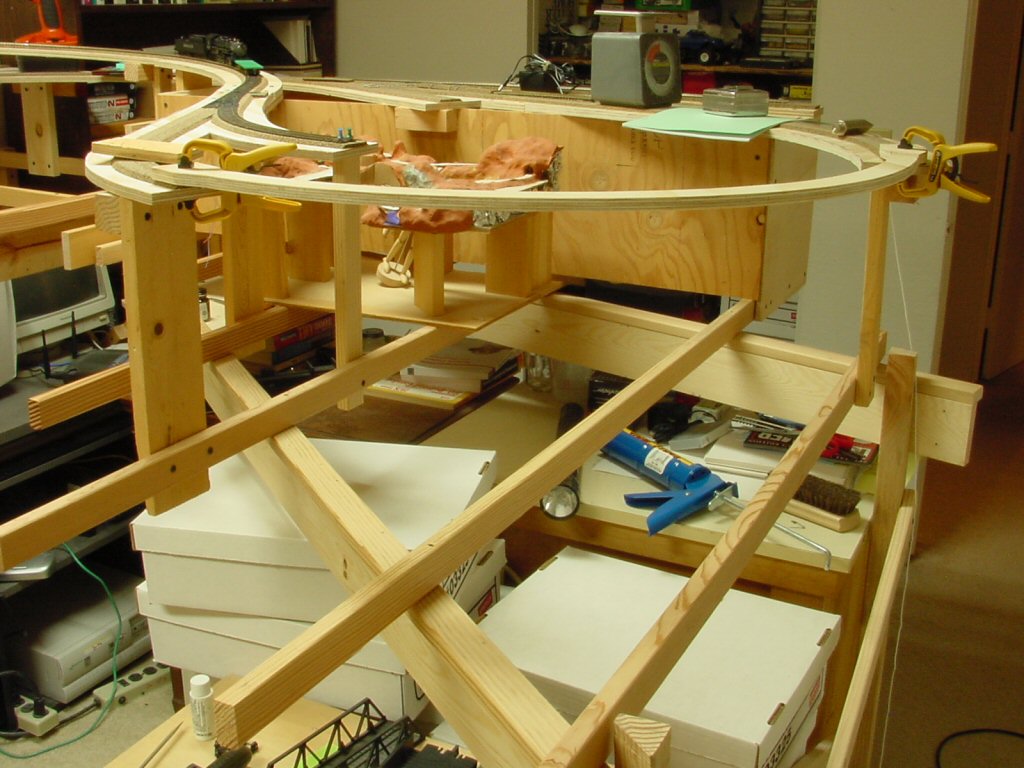
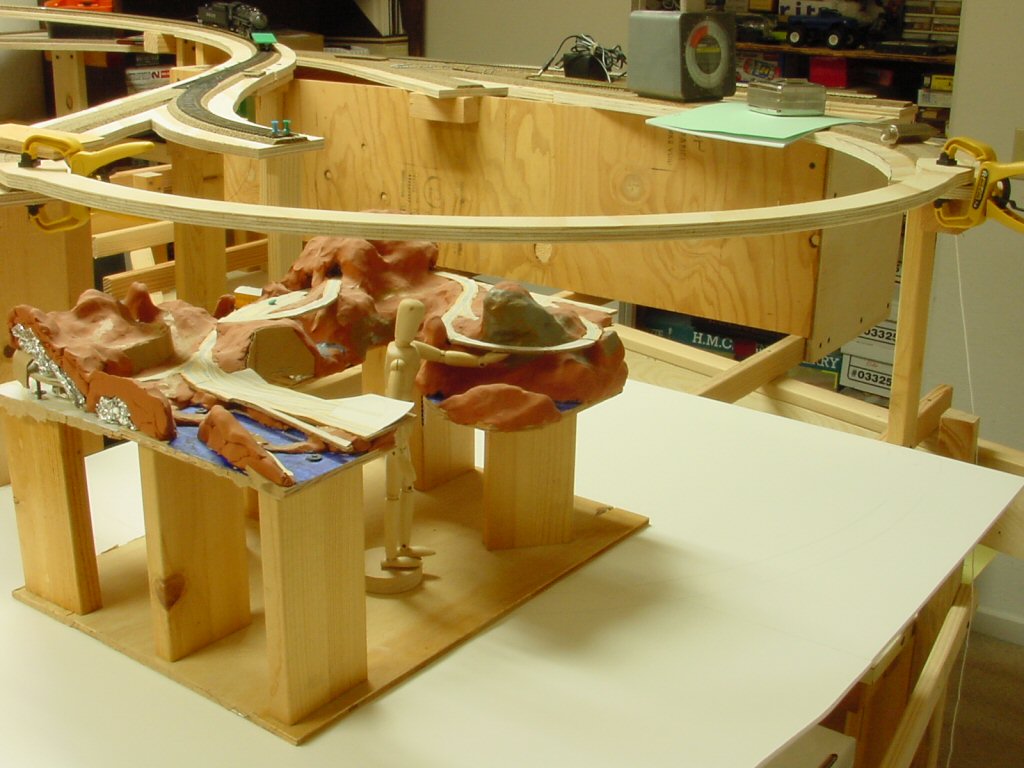
Now that I’ve framed out Crazy Horse Canyon it’s time to start designing and building the bridge.
Building a big bridge like this is a bit of a chicken/egg exercise. The bridge is actually dictated by the track plan. The scenery is dictated by the bridge but the scenery must be laid down under and around the bridge before the bridge is installed and the bridge legs will have to be adjusted on installation to match the actual contour of the terrain.
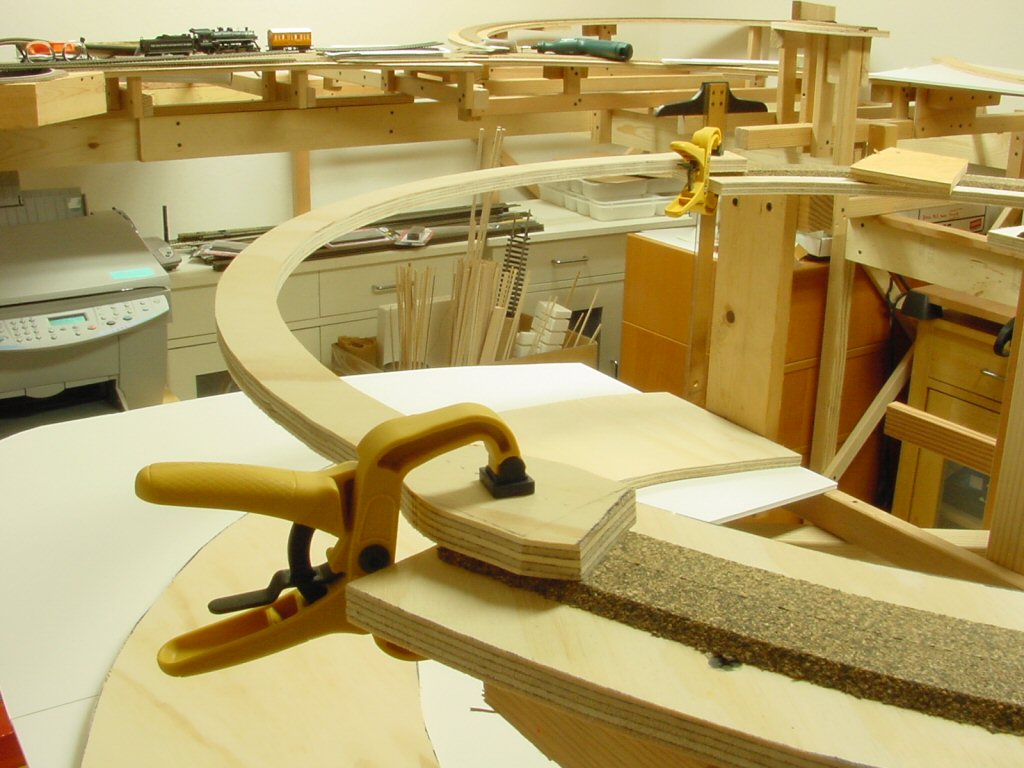
I plan on using two Micro Engineering “Tall steel viaduct” kits to build the steel bridge along Crazy Horse canyon.
The total bridge length is 37 inches or 268 scale feet. It is also a continuous 18” radius turn and covers 118 degrees. I’m using two Micro Engineering kits; a 150 ft number 75-514 and one 210 ft kit 75-515. Between them I have plenty of parts.
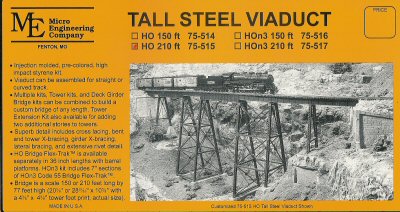
I really like the Micro Engineering kits but a want a taller, more spindly appearance to the bridge. Following the kit instructions will yield a bridge with proportions like this:
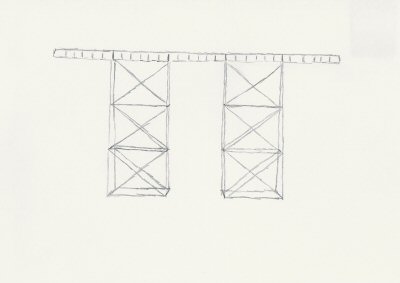
However, I’m going to shorten the tower spans and thereby make the bridge towers have a more tall/narrow look.
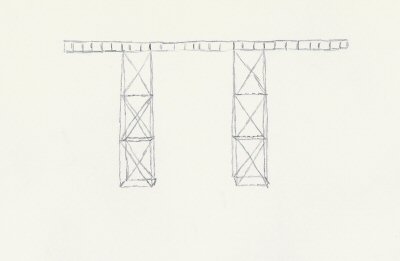
The “engineering justification” for this is that the piers have to be rooted in the stream bed and this makes for smaller concrete piers in the stream. This is simply a fiction to justify what I feel are more pleasing proportions.
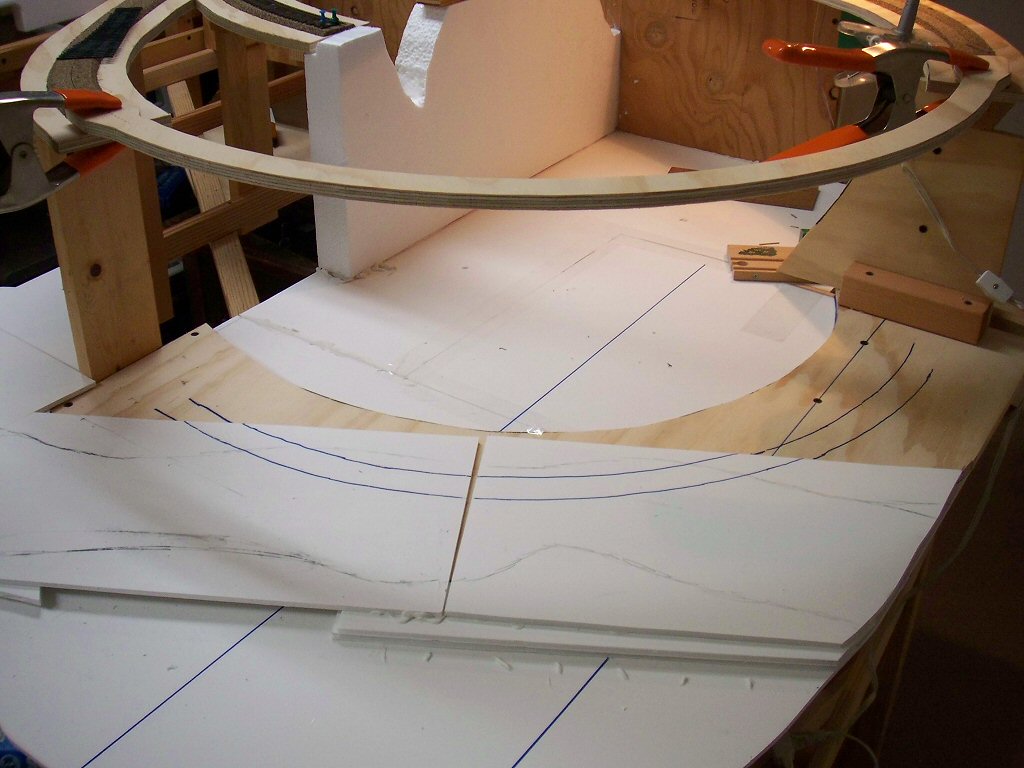
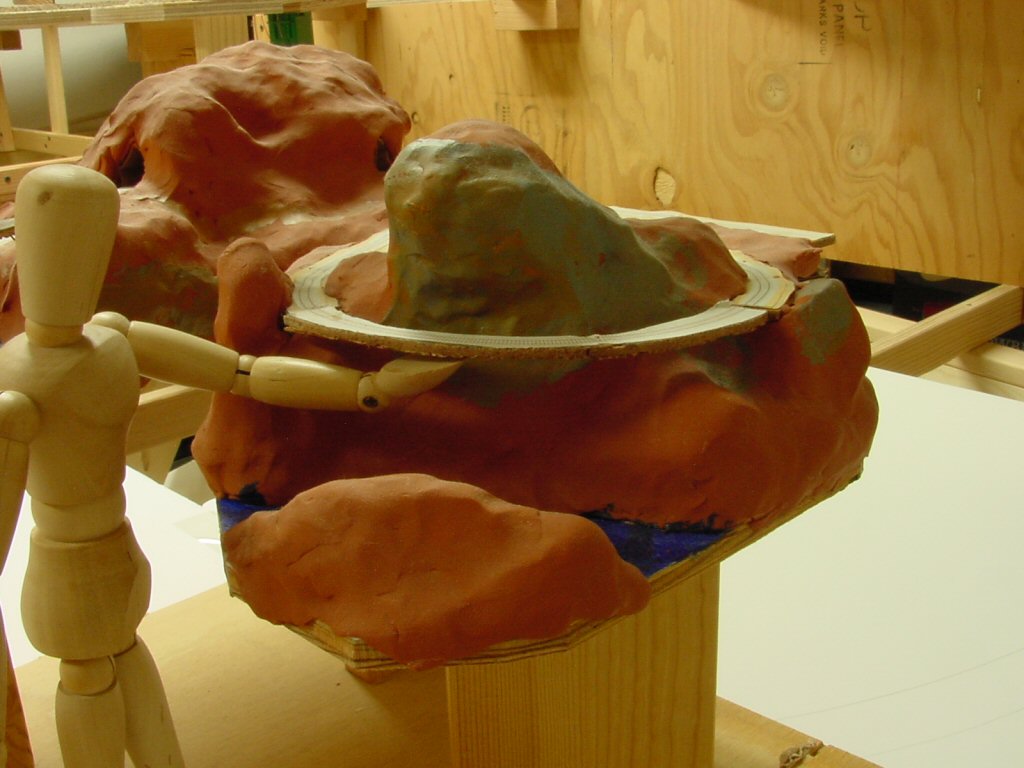
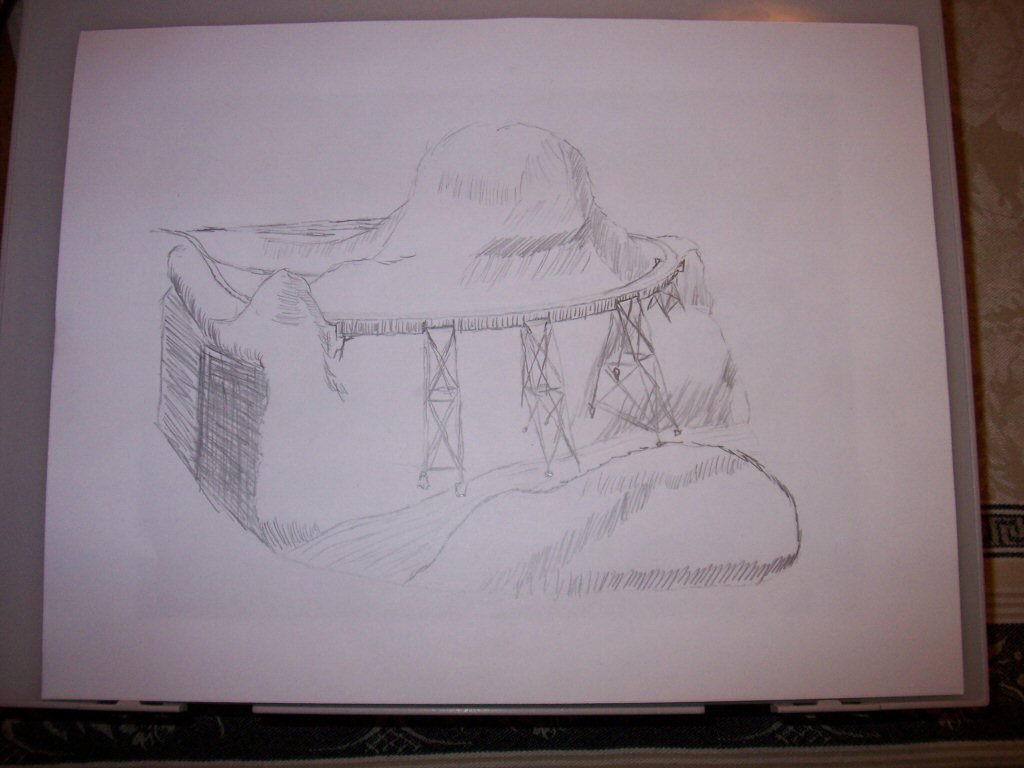
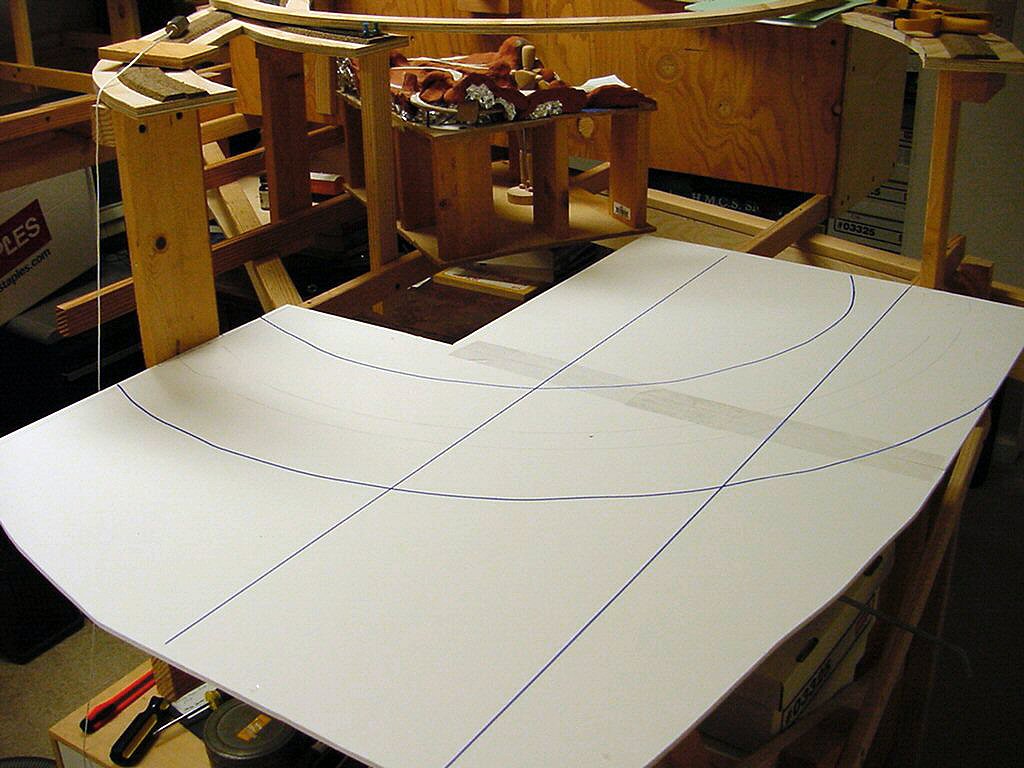
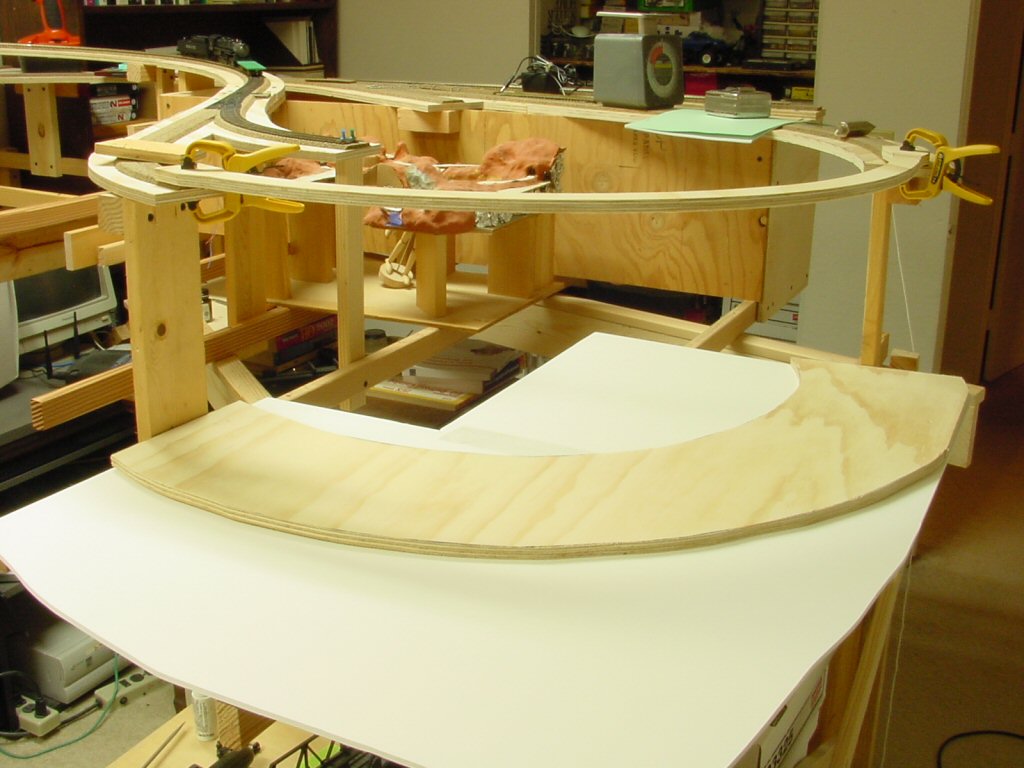
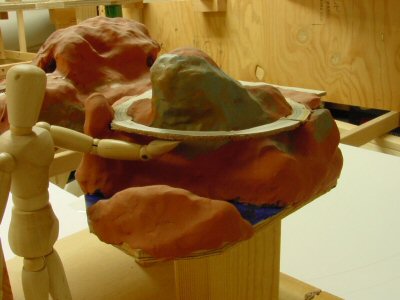
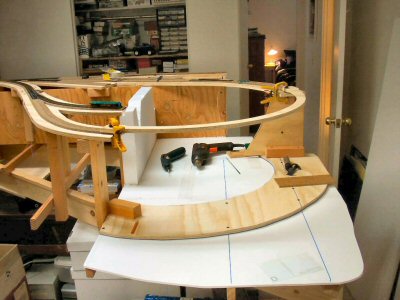
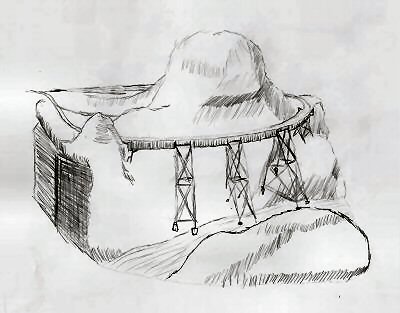
I have my planning model (photo a top of article) to show basic contours of the scenery but now I want to think about how the bridge will actually look in this scenery.
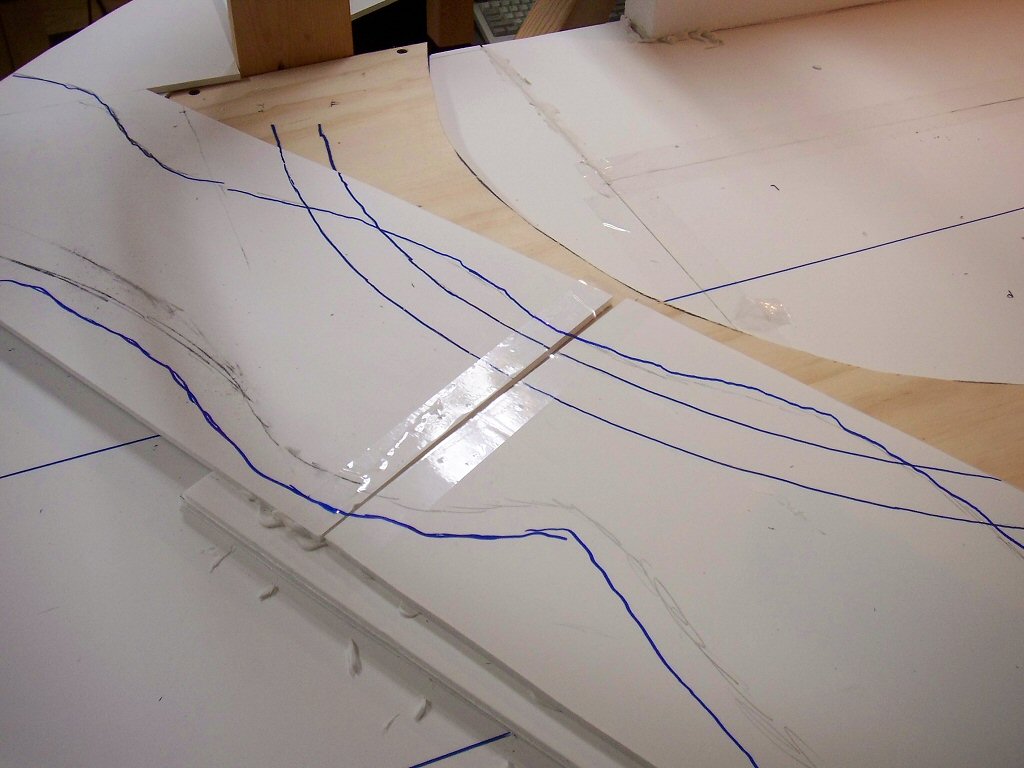
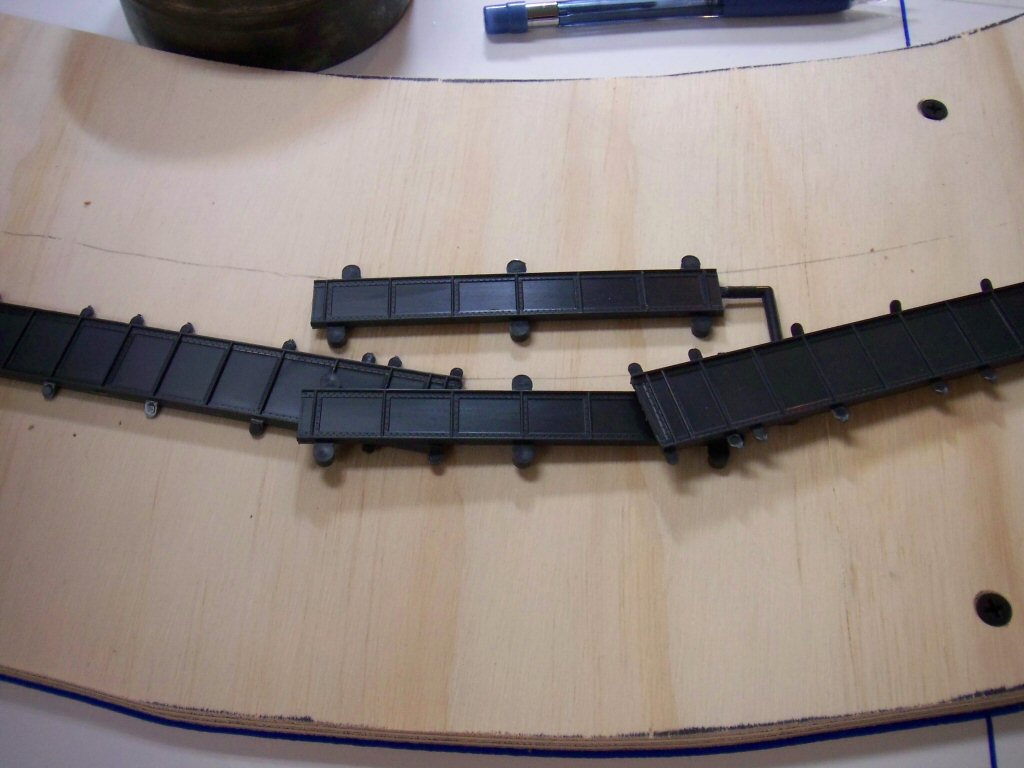
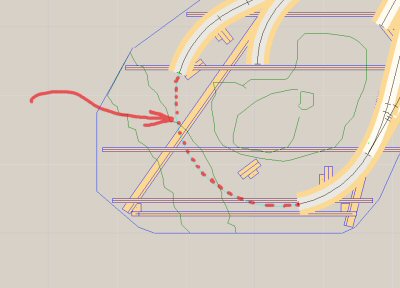
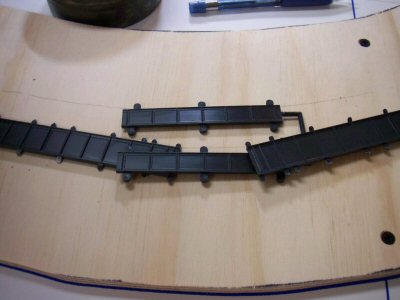
I laid out the pieces of the bridge to get a rough idea how many piers would be needed and roughly where they would be located.
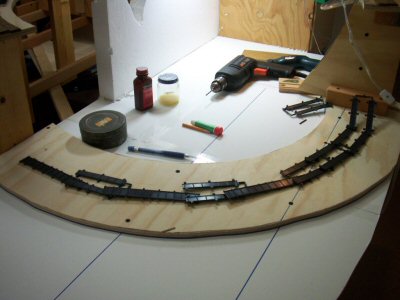
I overlapped the pieces where the towers would be to roughly account for where I was going to shorten the tower spans. This is just for scenery planning so it only needs to be accurate to the nearest inch or so.
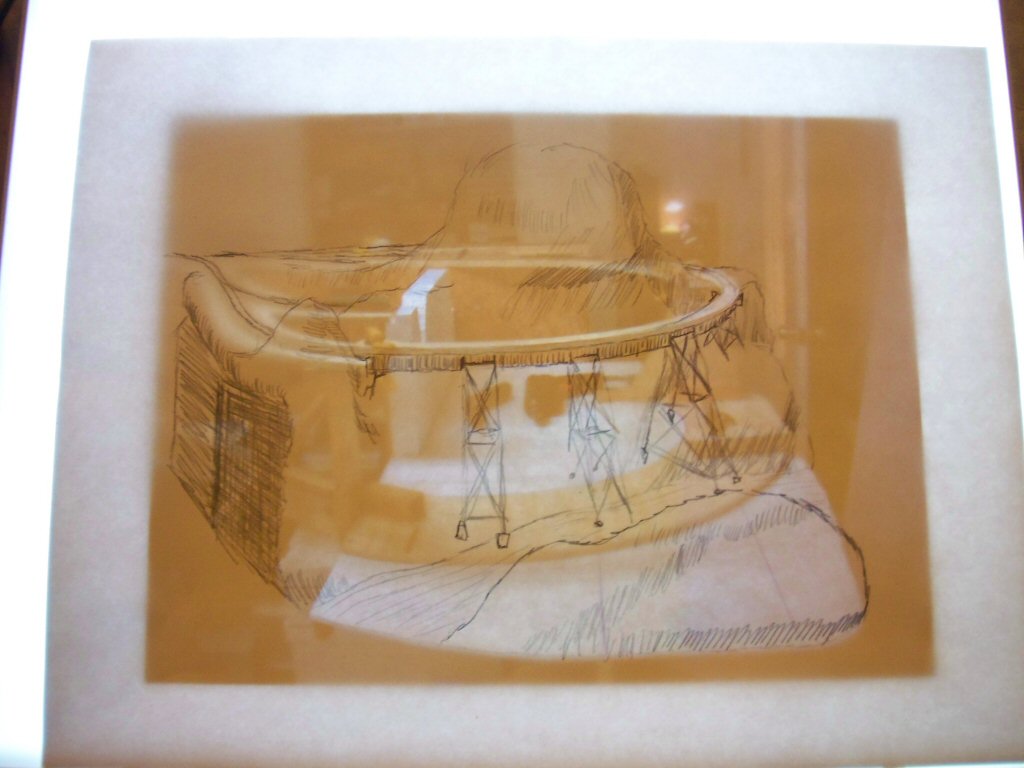
Now take this rough layout of parts and use it to guide a sketch of the bridge and the scenery around it.
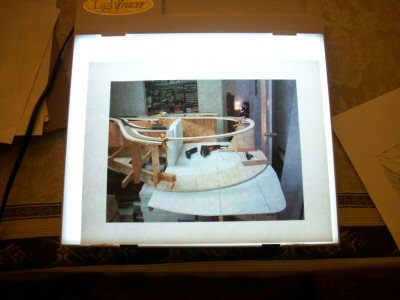
Acquiring basic drawing skills really helps you build better models. Pelle Søeborg’s article “Visualize your layout” in the November 2006 MR shows a very effective technique you can use when designing your layout. Søeborg shows using a picture of your layout and then use that as a guide to trace in a sketch of how the area will look with scenery. This is a great fast technique.
I started with this photo I shot of the area around the bridge.
Pelle uses tracing paper but I have a small light table made mainly for tracing and it allows me to use regular paper for my drawings.
Here I’ve taken a print of a photo and placed it on the table.
Then I sketched in the track locations, the bridge and the terrain around the bridge. s
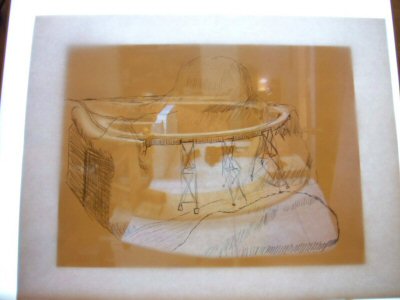
I turn off the light table every now and then to make sure I’ve added everything I wanted.
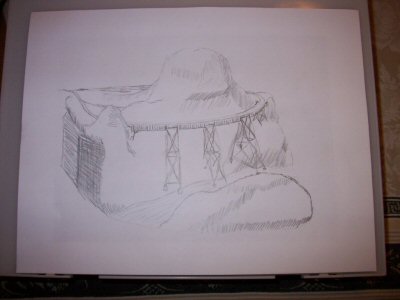
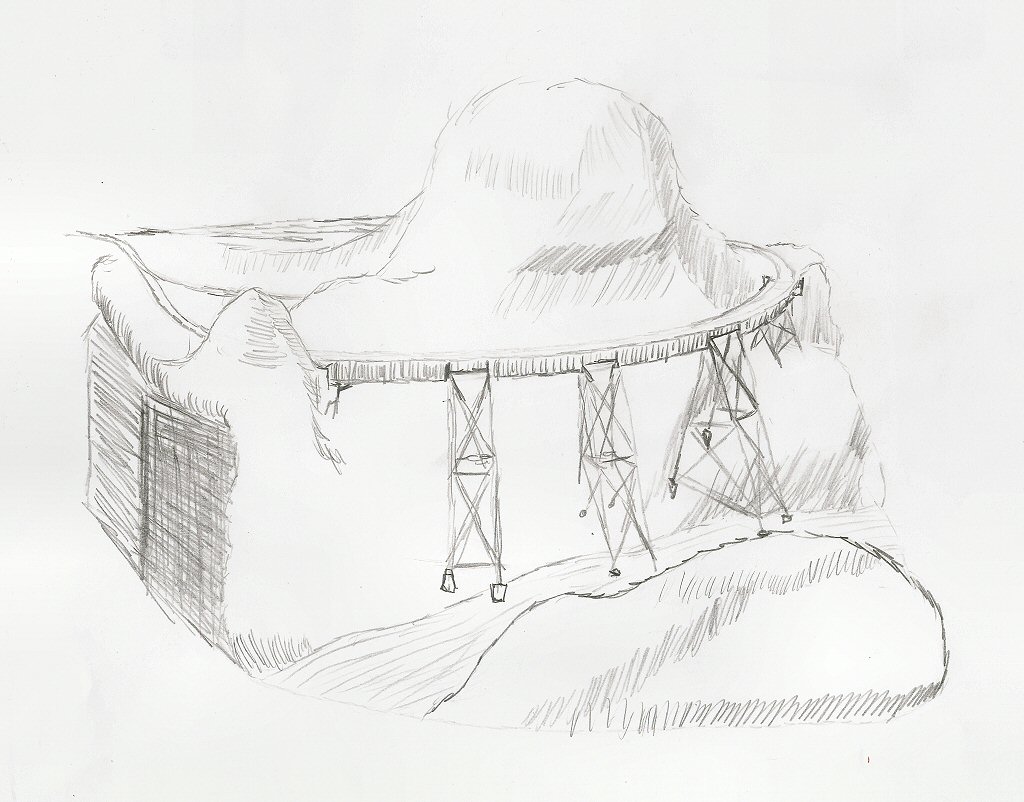
Once I’m done I take the drawing to my scanner and make a high resolution scan.
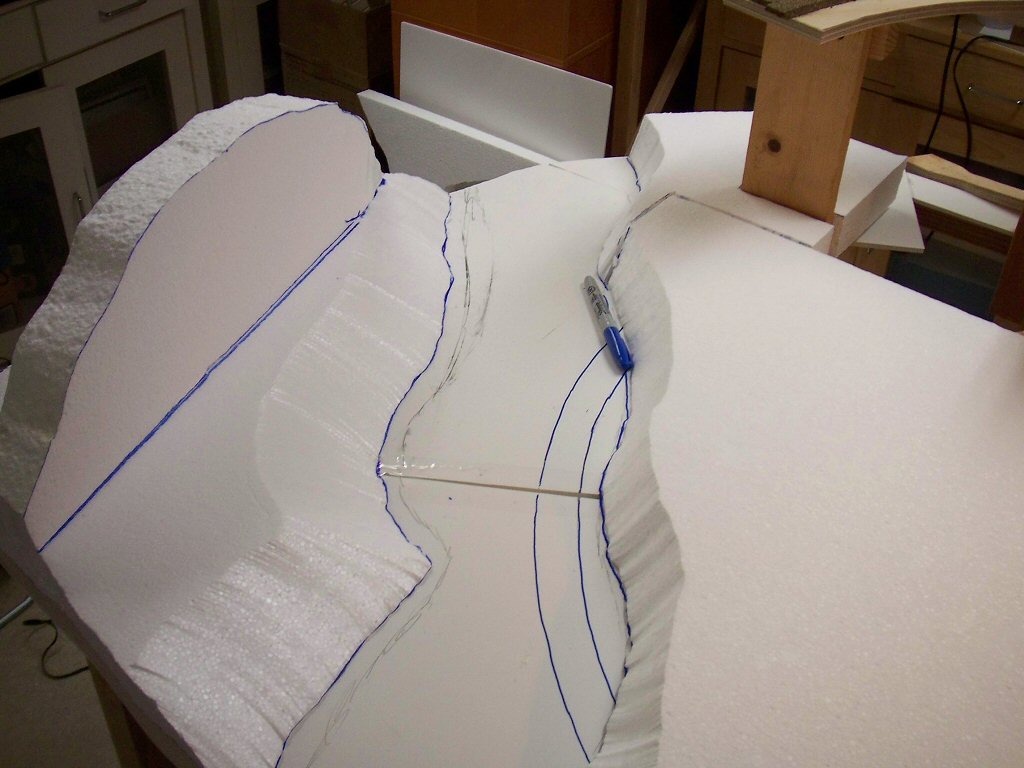
Next is the placement of rock castings and building up foam scenery structure.