Student projects


Cross-posted from my Autistry Studios blog.

Switching Track

Ryan is another of our railroad-minded students and he chose to model a railroad yard. We used a classic John Allen Timesaver track plan and we added an Atlas turntable at one end.

We built the layout on a block of pink foam-board and glued 1/4″ plywood on the sides and bottom making a light but extremely rigid foundation.

Switching Track

Ryan soldered all the electrical connections.

Ryan Soldering

Dan Running the Trains

Here the ground has been painted and the track has been airbrushed. Ryan is cleaning the paint off the tops of the rails.

Cleaning the Tracks

The temptation to run some trains as soon as possible was irresistible.

Running the Trains

Ryan and the Layout

Next we ballasted all the track.

Ryan's track

Then we got Ryan started building some structures. He quickly mastered the plastic buildings.

Ryan's building kit

Ryan building some structures for his layout

We have placed the buildings on the layout and we’ll blend the bases into the scenery in the coming weeks.

The turntable

A small place of our own

Ready for some more scenery, grass, trees and trains.

Looking down thw tracks

Picture 024

This is a quick progress update and a state-of-the-project report. Erik is one of our railroad-minded students at Autistry Studios. In the spring we brainstormed ideas by collecting and organizing photos of scenes that Erik liked.

We found several trends in the photos that Erik liked and the one we focused on was Northwestern Pacific Railroad scenes in and around Sausalito, California. In the 20s and 30s Sausalito had a large passenger facility with electric, steam, standard gauge and narrow gauge trains connecting to ferry boats to San Francisco.

Eric's Ideas

Sausalito

After we negotiated a footprint size for the project, Erik started by making a foam base.

Erik's Diorama Base

Erik has completed the bay shore with rocks.

Picture 024

Laid all the track and preparing the electric third-rails — actually fourth-rails in this case because the Northwestern Pacific had dual standard-narrow gauge track at this station. Erik also painted the rails and the ties.

Picture 025

The third (fourth) rails ready to attach and the station platforms.

Picture 023

Mike recently commented on Nick’s next railroad and I wanted to respond in detail.

Dan, a couple questions for you. I recently got back into model rr after only doing it as a kid…and those were the days when we’d run them like racecars to see if we could get train cars to tip off the track around corners!

[...]

So, I started from scratch and made a L-shape layout in a corner so far. It’s about 6 feet long on one wall and 8 feet on the adjacent wall.

Here’s my question.

I see that you use cork roadbed under your track. But What do you use for scenery ground? What I mean is this: do you glue the scenery to the plywood base, or do you use a styrofoam, or that putty compound?

If you use sytrofoam or something else, does it completely cover the plywood base, or do you use it only to attach certain scenery like a peg board?

Do these make sense? Please help…any helpful hints would be great!!!

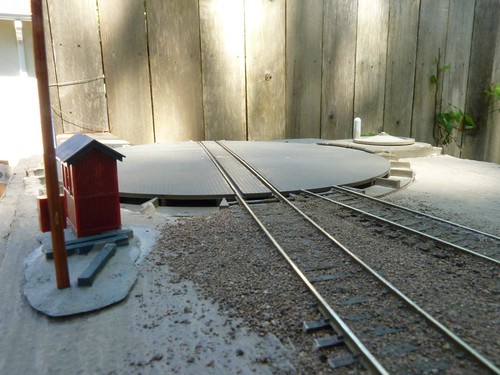
I know there are much more complex ways to build layouts but bare plywood is a worthy start and I think it is super important to be able to actually achieve a certain level of “doneness” in the scant time modern life gives us and bare plywood is FAST.

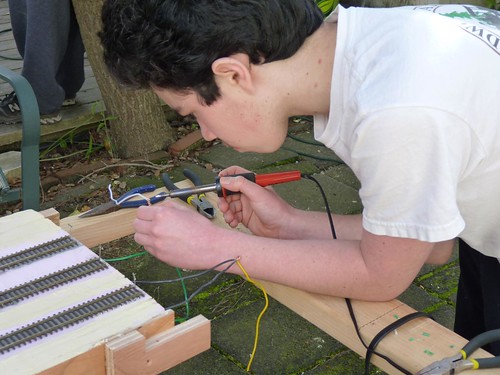
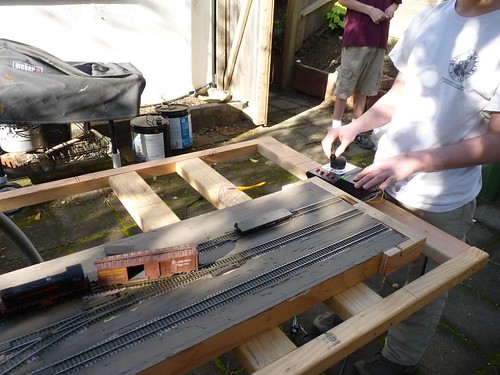
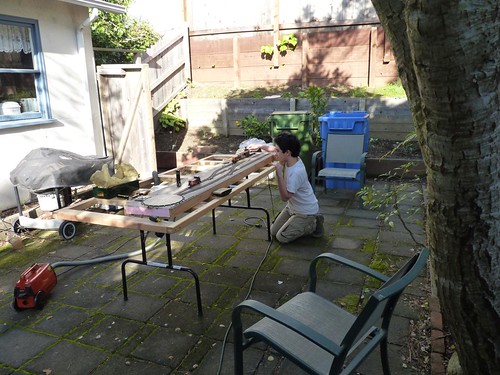
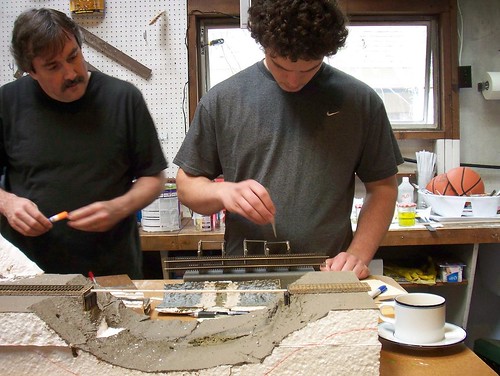
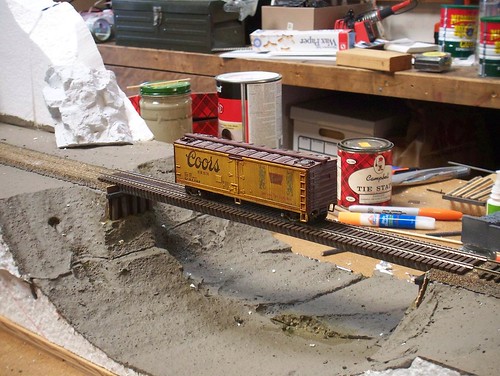
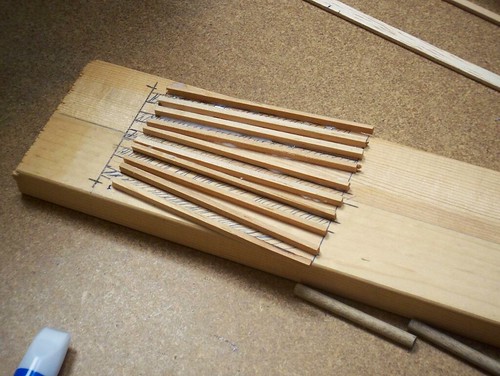
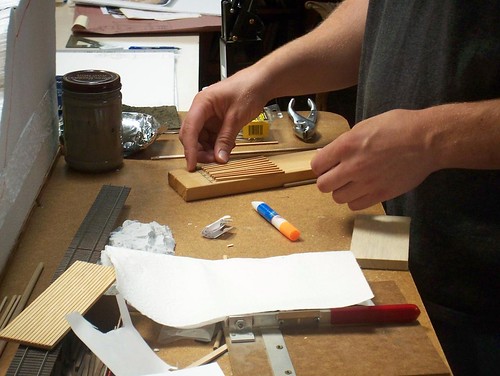
I would use cork under the track. Next I would paint EVERYTHING (except the track!) with a coat of dirt colored paint.

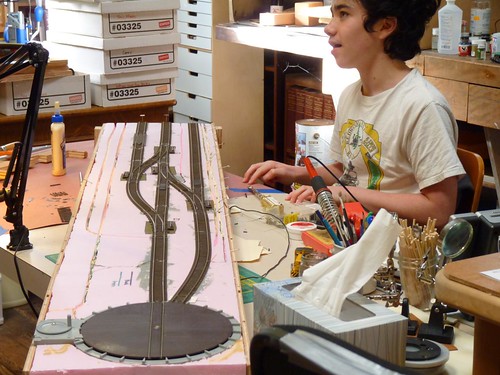
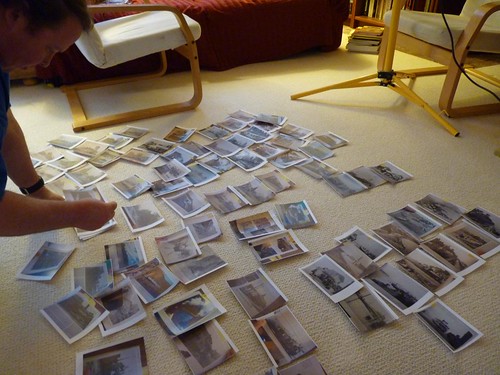
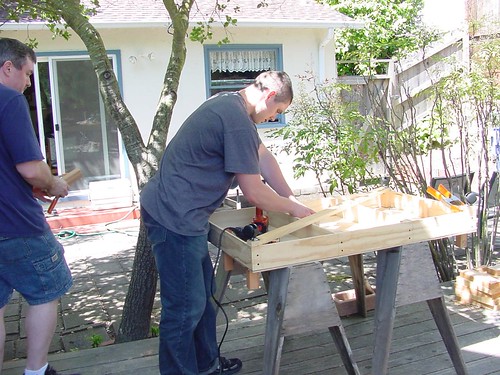
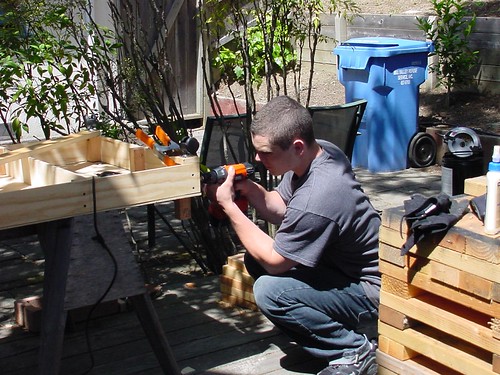
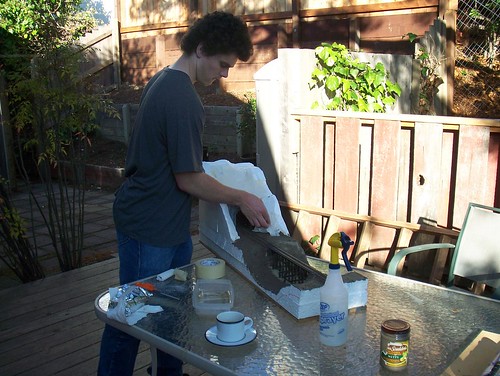
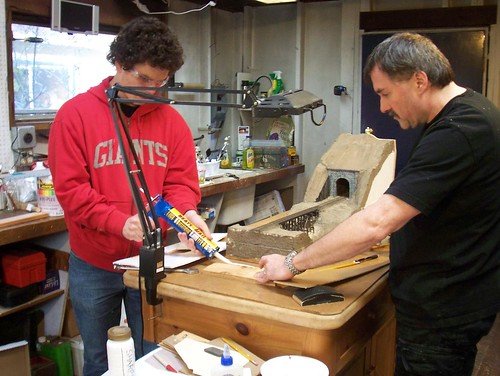
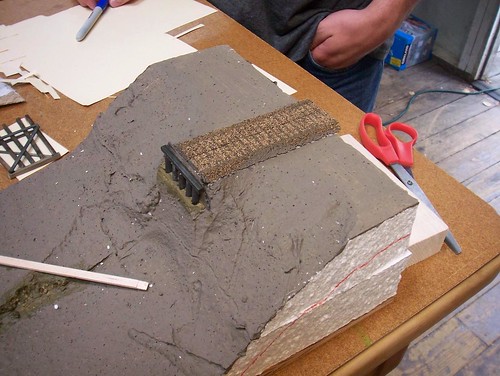
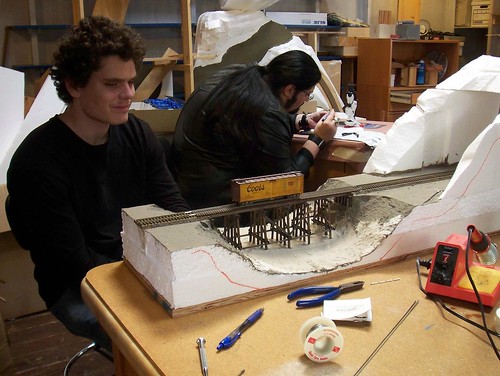
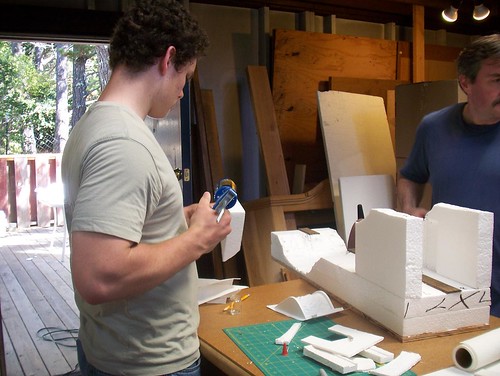
Here’s Nick doing just that with his micro layout.

Nick Paints Dirt

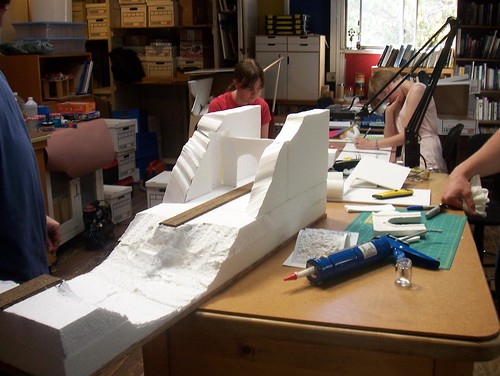
You can see two peanut butter jars full of two different colors of latex house paint. I get these colors by going to my local hardware store and they invariably have a stack of “rejects” where they mixed a can of color and the customer did not like it so they had to do another. They sell these for $5.00 a gallon. I look them over for a nice dirt brown/olive. I’d still buy a can at full price if they don’t have any rejects.

Anyway — paint over the whole layout with the base color so you cannot see any bare wood anymore.

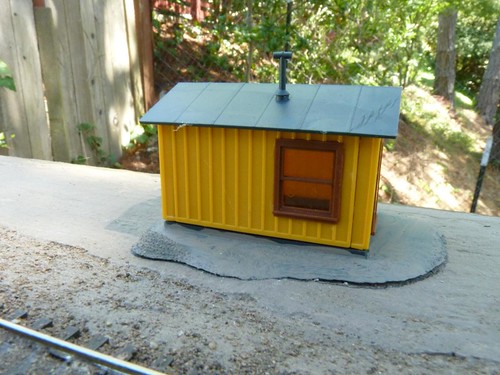
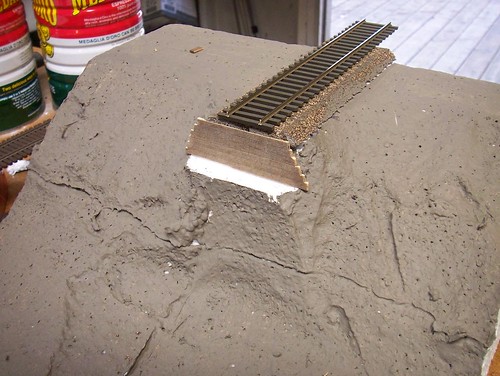
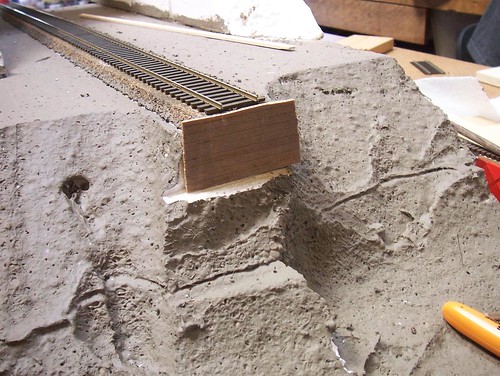
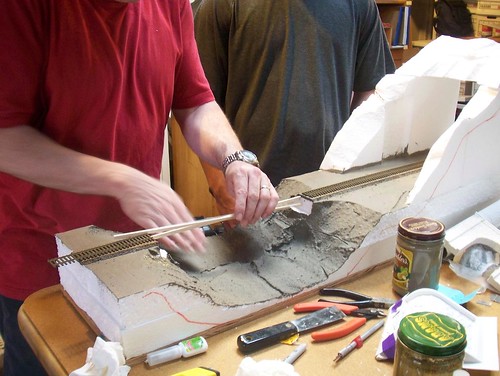
Next I use a brown dirt-colored fine paper mache product mixed with real dirt and white glue to make a “mud” and paint this everywhere too.

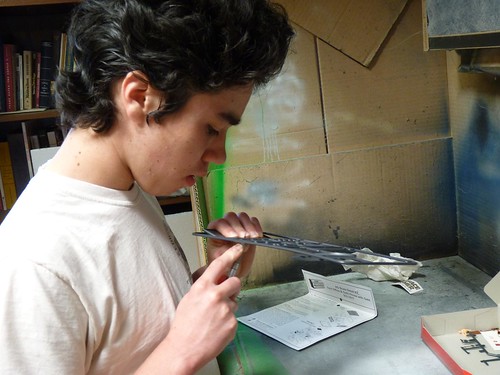
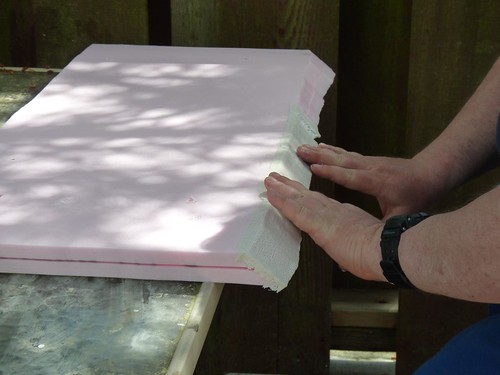
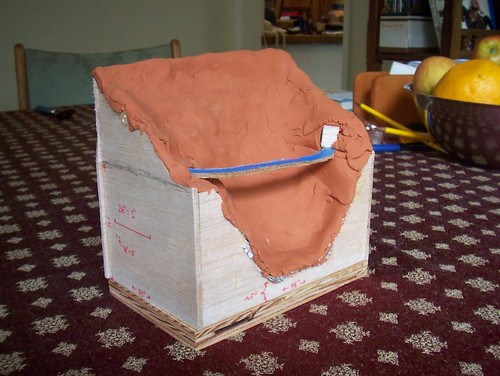
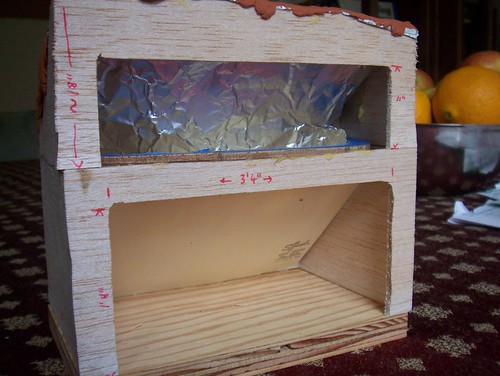
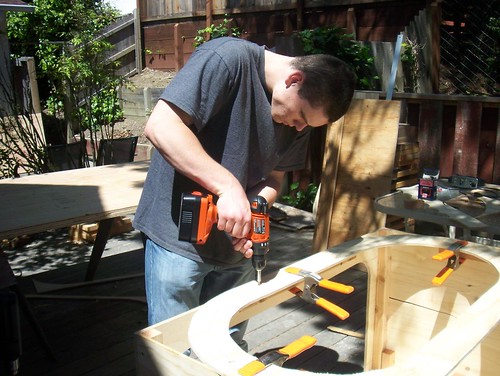
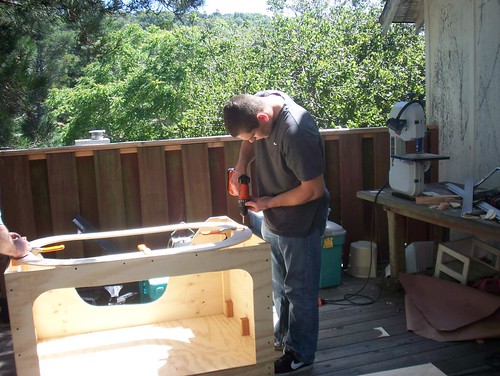
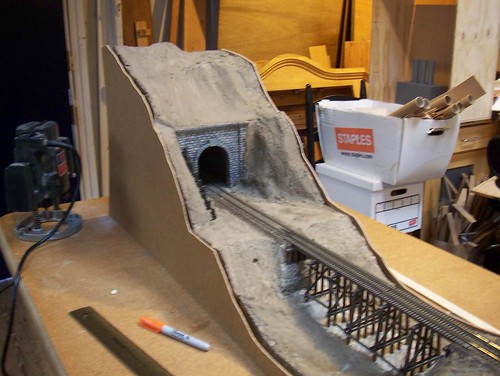
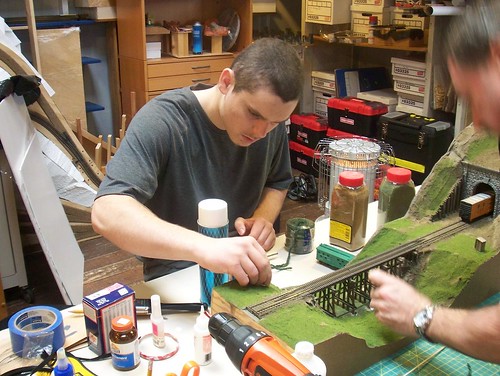
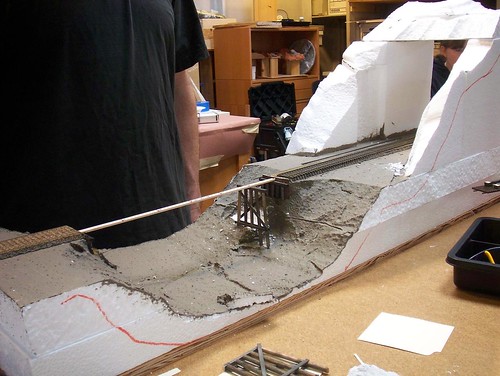
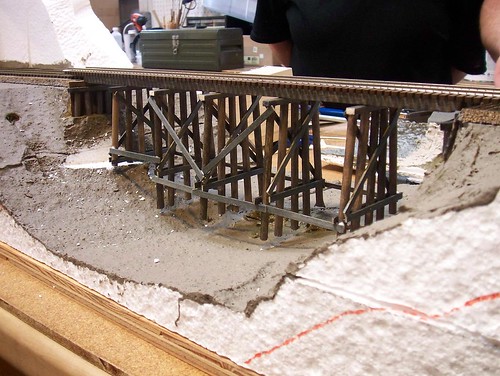
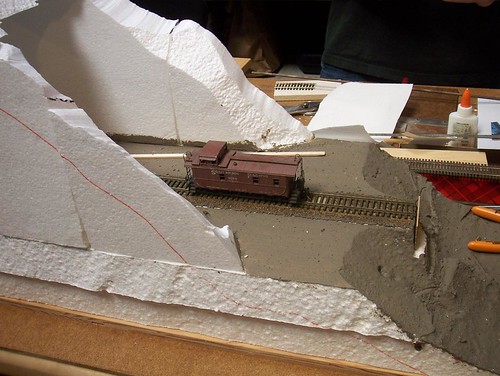
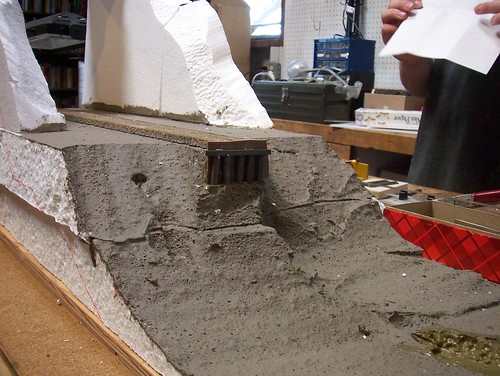
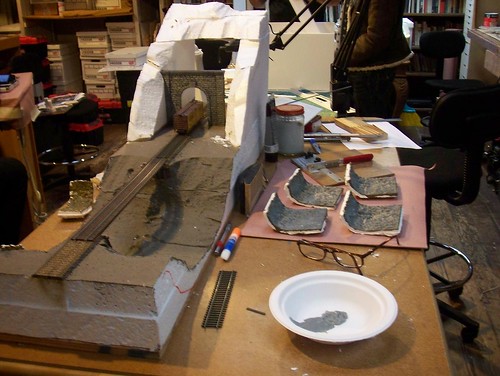
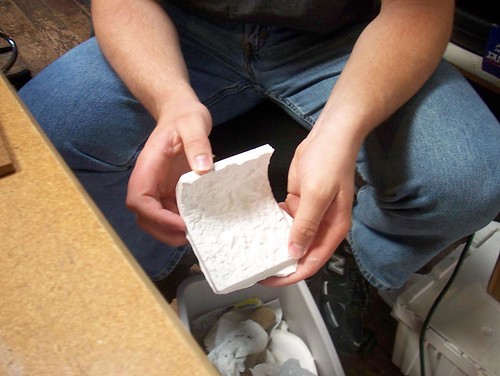
To make hills you can build them up out of Styrofoam (very messy) or just use wads of paper and cover them with plaster cloth like Nick is doing here.

plaster cloth

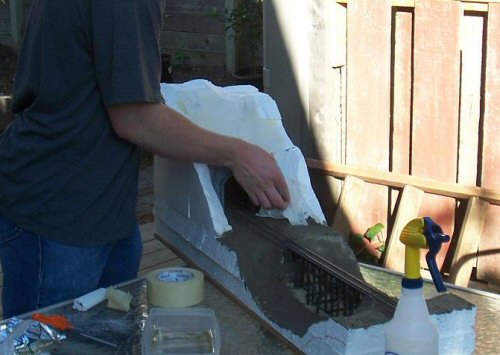
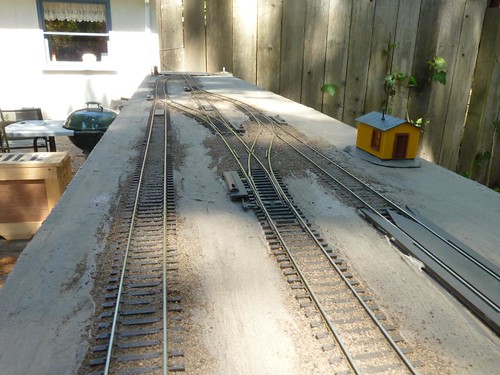
Then paint and mud the hill. Sprinkle real dirt and then glue it down by soaking with white-glue-water mix — with a few drops of Mr. Clean to break the surface tension so it soaks in better.

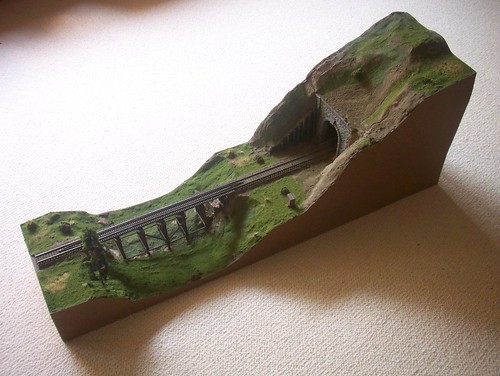
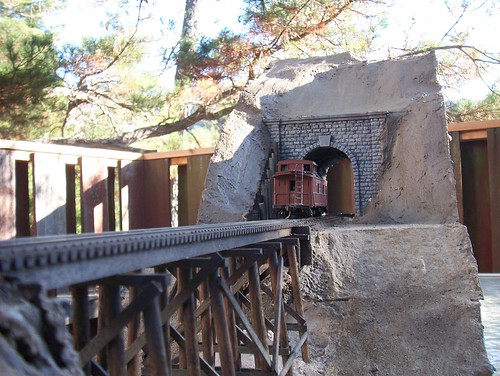
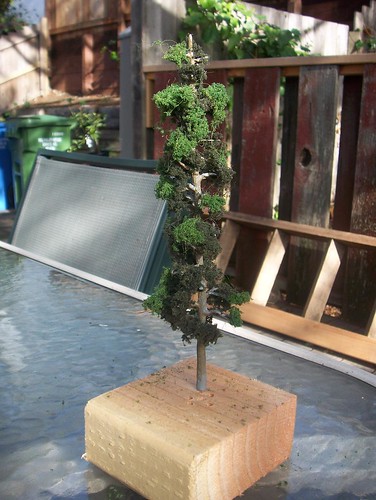
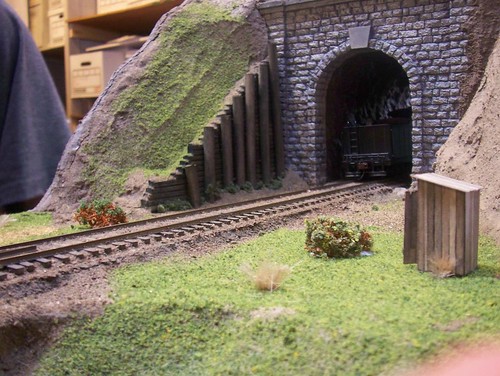
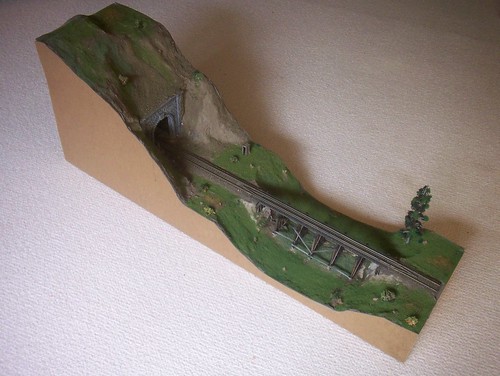
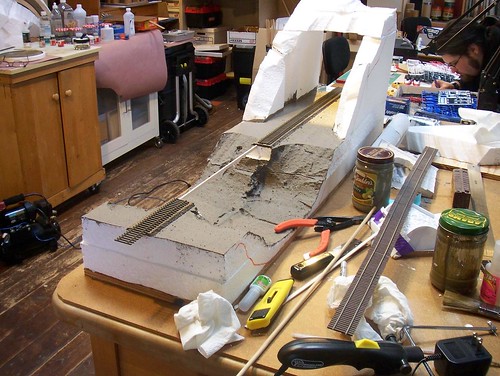
This makes a great “base” and then you can add rock castings, trees, grass, bushes as you go.

When you gotta go ...

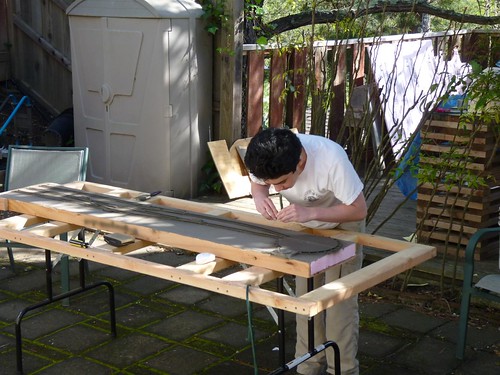
Keep an eye out for our next steps with Nick’s layout: we’re almost ready to build up the terrain.

Having had so much fun with our first micro layout, Nick wanted to move on to something more ambitious. After pouring over my 30 year stack of Narrow Gauge & Shortline Gazettes, Nick wanted to do a small lumber layout and we chose On30.

Bachmann On30 Porter 0-4-0s can negotiate a 12″ minimum radius and Nick wants a large trestle.

I had an idea but was having a hard time describing it to Nick so I made a quick planning model in 1/8″ = 1″ scale. The footprint is 30″ x 4 feet long and about 4 feet tall.

Nick's micro layout planning model

I made a pencil sketch to show how the bridge would look.

LayoutPlan

The lower back will have room for a separate small town/logging camp area. We may do this in HO scale.

Nick's micro layout planning model

We labeled lots of the construction dimensions on the planning model so it’s acting as kind of a 3D blueprint.

The frame is made of 3/8″ x 4″ plywood planks ripped on the table saw and connected with 2×2 blocks glued and screwed. We added casters so it is easy to roll around.

Nick Fitting the Pieces Together

Nick with the Power Drill

Next we built up the sides and made an oval of plywood as the roadway.

Nick Drilling

We’ll cut away the portion that will be spanned by the bridge.

Nick Drilling

Nicks Layout

Finishing up!

Nick uses plaster-cloth to cover the hillside above the tunnel.

Nick Building the Hill

We painted and ballasted the track, added a retaining wall and added an initial layer of dirt-glue-celluclay ground cover.

Retaining Wall

Nick's Train Approaches Tunnel

Ready for trim: we cut some pieces to cover all four sides.

Cutting masonite on the band saw

Fitting masonite trim boards

Gluing the trim.

Nick Glues

Now for some grass and trees.

Picture 005

A tree grows

Nick's railroad

Pretty much finished.

Nick's railroad

Our one structure is an outhouse.

When you gotta go ...

Nick's railroad

Nicks Layout

Continuing with construction of the bridge.

Bridge Abutment

Using a “storey pole” marked with the locations of the bents, we shaped each bent pretty closely to the contour of the ground where they would be planted.

Nick Measures for the Bridge

Then we glued the bents to the span — laid out upside down on the bench.

Upside Down Bridge

Once the glue dried a bit we set the bridge up and started gluing on teh cross braces. This really strengthens the bridge.

Building the Bridge

Dan and Nick Glueing

Finally we test fit the bridge in place.

Nick's Bridge

Once the bridge was planted we soldered up the approach tracks and it’s time to test that track again!

Nick testing the trestle

Next we made some guard rails by shaping rails as if they were going to be frog rails and soldering them together.

Nick soldering guard rails

All for now!

We started building out the bridge abutments by cutting away the Styrofoam and making a retaining wall out of scribed siding a stolen from an old Campbell tunnel portal kit.

Picture 017

Note that we pre-stained the wood with a simple ink-alcohol mix. Here’s the other side of the bridge.

Picture 018

The temptation to play with a train is just too much to resist!

Picture 030

We made little bents to go against the retaining boards glued earlier — the white glue is wet and still visible here.

Going Toward Tunnel

We’re following the basic construction techniques of the Northwestern Pacific Railroad as seen in their Corte Madera Creek bridges since we can walk up and inspect them today.

Picture016

Using six scale beams glued in two groups of three I made the main span and glued some Micro Engineering code 83 bridge track onto it.

Nick Needs a Bridge

In parallel while glue is drying we’re making more tunnel lining castings and painting the tunnel portal.

Tunnel Walls Drying

Using our jig we made the five trestle bents with profiles roughly matching the ground under them.

Trestle bents

Continuing our build out of Nick’s HO micro layout.

Nick's railroad

Once the base was set up and roadbed established we started to build up the hill and tunnel out of 4″ thick Styrofoam.

Picture 058

We cut a mock tunnel portal for sizing.

Picture 071

Then we gave everything that would become “ground” a good coat of dirt-colored latex paint.

Nick Paints Dirt

Then we started preparation for the installation of the trestle bridge by hot-knifing the end abutments and here I’m making a “story pole” that will be used as a template for the location and height of the bents. The track has been rough cut and painted but is not yet installed.

Picture 008

We used Micro Engineering code 83 flex track and here we’re preparing some matching Micro Engineering code 83 bridge flex track with appropriate ties and spacing.

Picture 013

To make the bents we made a jig into which 3/16″ dowels will be held while being glued.

Jig for Bridge Trussle Bents

Picture 004

While the glue dries on bent assemblies we started to make plaster molds of the tunnel interior using a Woodland Scenics mold.

Mold For Tunnel Walls

Next Page »