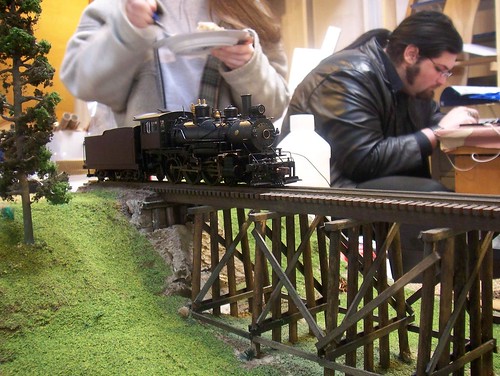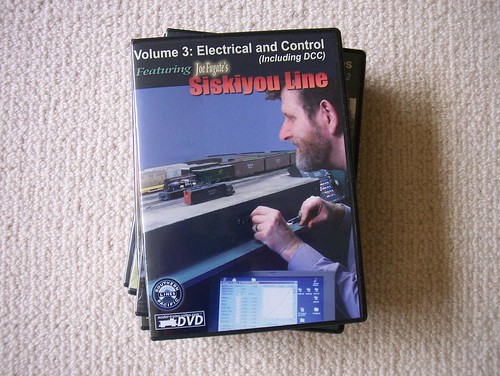
Joe Fugate was kind enough to send me a review set of his Siskiyou Line videos. The five volume set covers almost all aspects of the design, construction, and operation of his HO scale Siskiyou Line layout based on the Southern Pacific’s Siskiyou Line in the 1980’s.
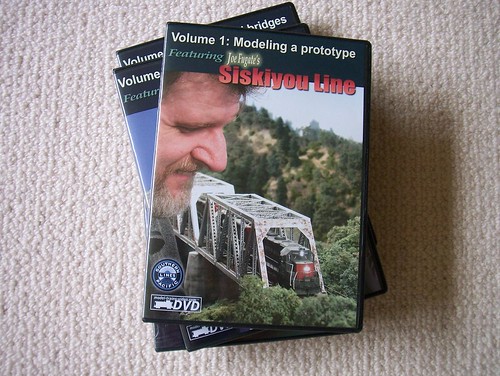
Please see my comments on Volume 1 here.
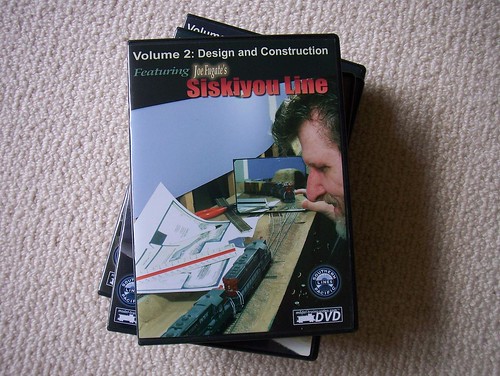
Volume 2: Design and Construction is mainly a case study of how Joe’s layout design evolved and an outlune of construction techniques used.
Starting with design and concept Joes walks us through each stage of the process beginning with the importance of finding a layout concept that really excites you. That excitement and engagement is really important since it is what will carry you through the work it takes to stick with the project.
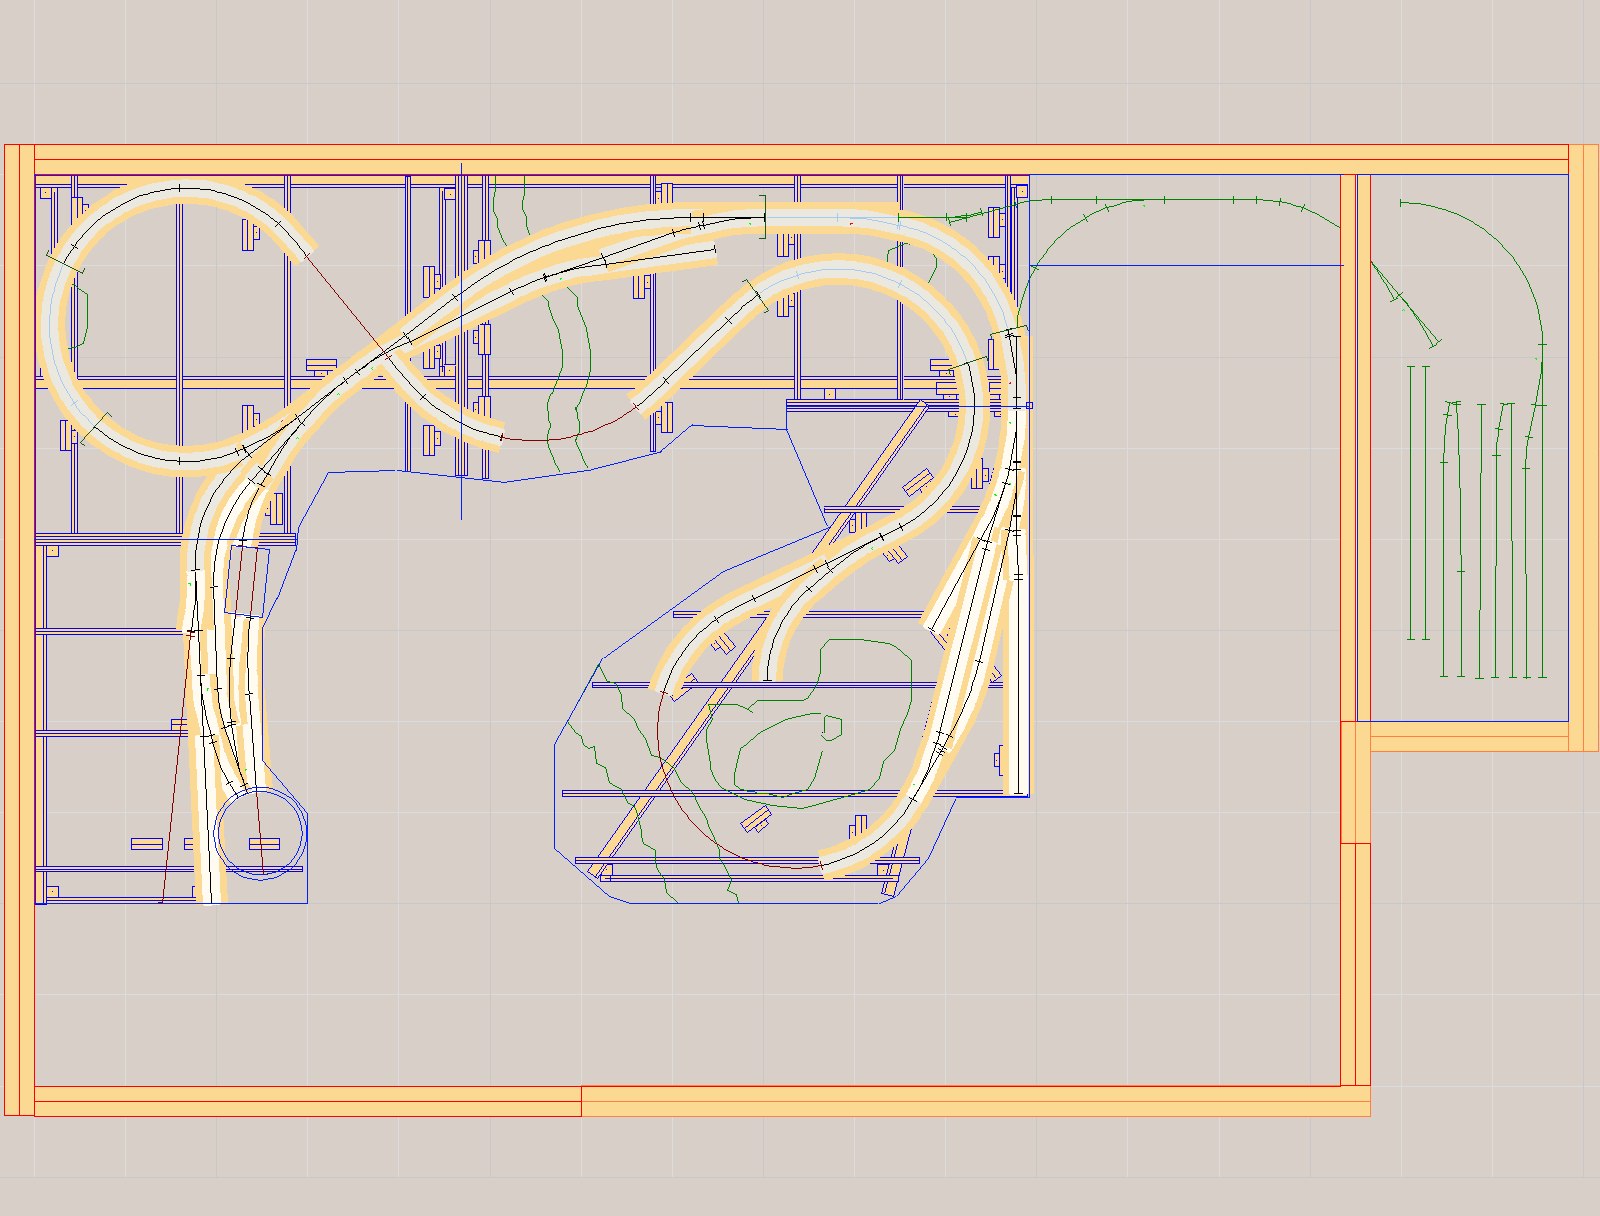
Joe goes through the role of a CAD system in designing a layout but his emphasis is on the design process, not on the mechanics of running a CAD program. I think this is a good point. WHAT you are drawing is much more important than how you go about making the lines on the paper.
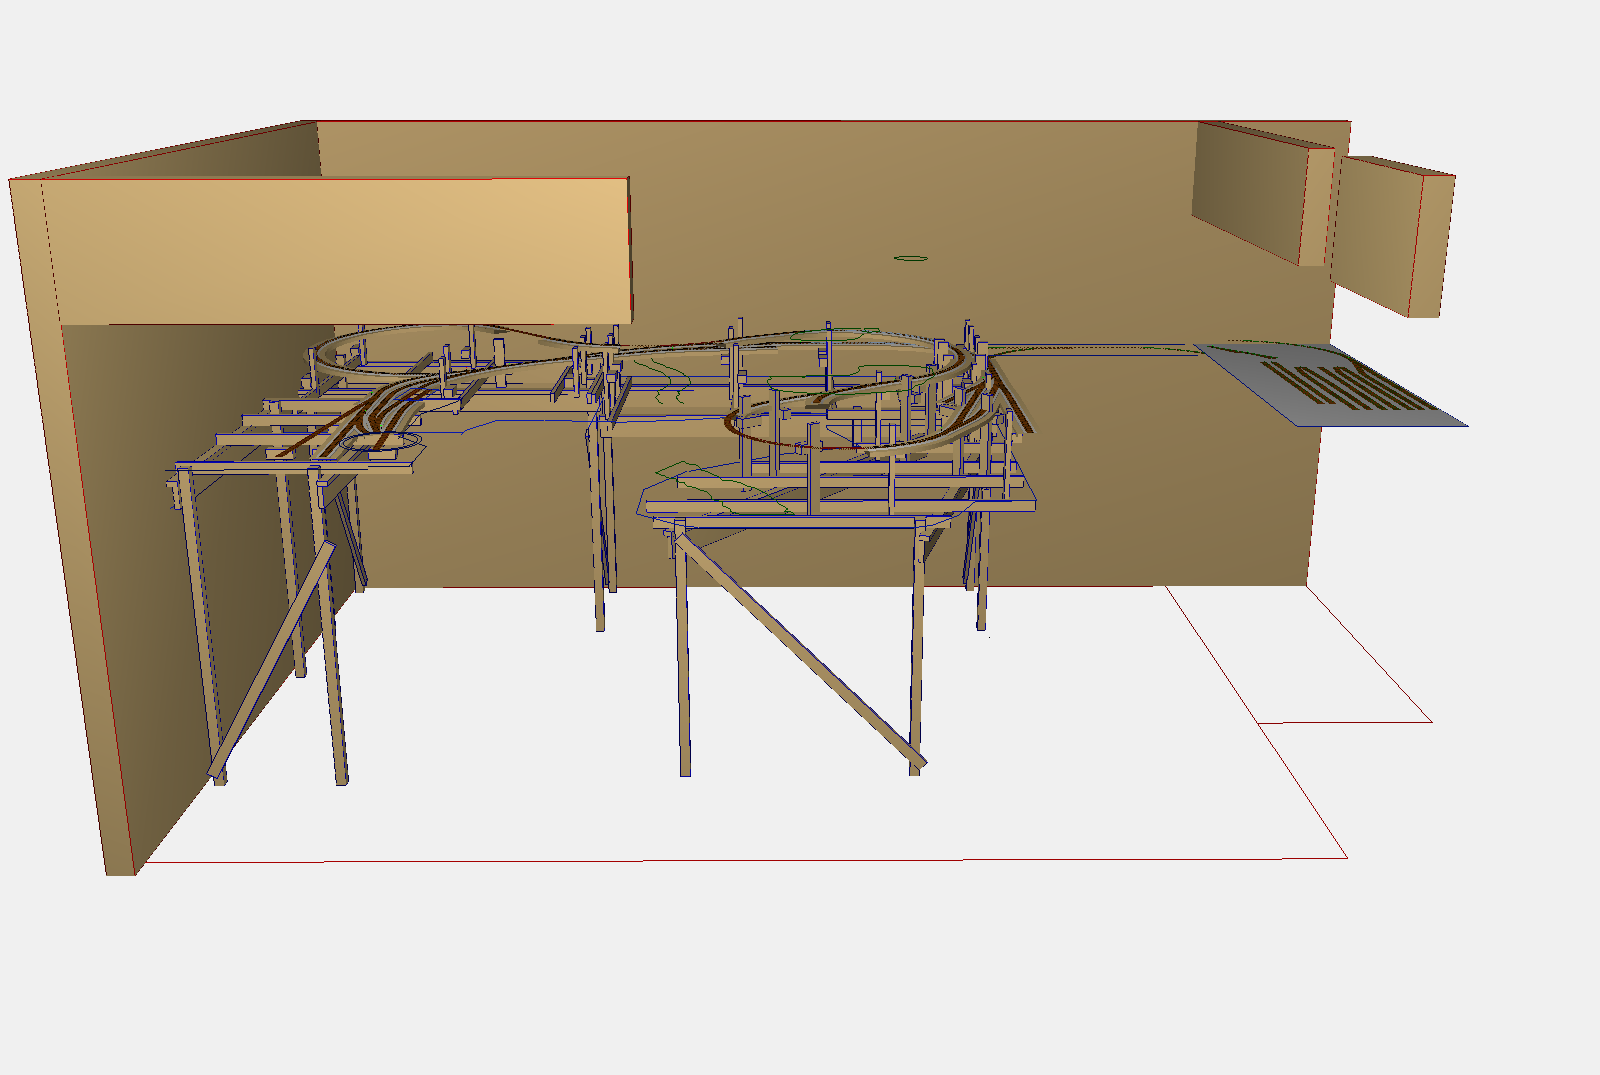
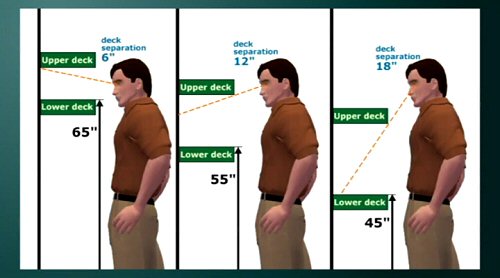
Early in determining how he was going to use his available space Joe decided that some form of multi deck style layout was what he wanted since it would significantly increase the possible length of the mainline. Joe goes into excellent detail showing how a mushroom style multi deck configuration works and his approach to construction. I think this will be really helpful to people curious about whether this is an approach they want to tackle themselves.
Joe demonstrates the process of creating a list of “Givens and Druthers” (In software projects I call these “Musts” and “Wants”) to help prioritize Layout Design Elements (explained below) that are contemplated for the layout. Additionally Joe shows how requirements for adequate aisle room, minimum curve radius, and room size and shape all interact in shaping the plan.
A Layout Design Element is a scene or other aspect that you really want reflected in your layout design. For example, Joe showed that one layout design element he wanted was the Roseburg yard; another was the bridge crossing the North Umpqua River. Looked at this way, track planning really becomes arranging desired layout design elements, adjusting their size and shape to fit the available space, and connecting with tracks.
This demonstrates for the viewer a very approachable technique to designing their own layout.
As Joe finishes his design discussion he emphasizes that a plan is only that. During construction, plans can change.
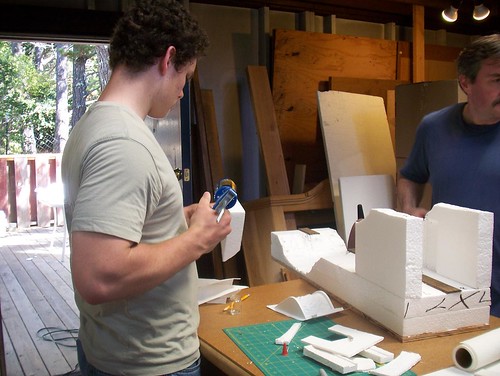
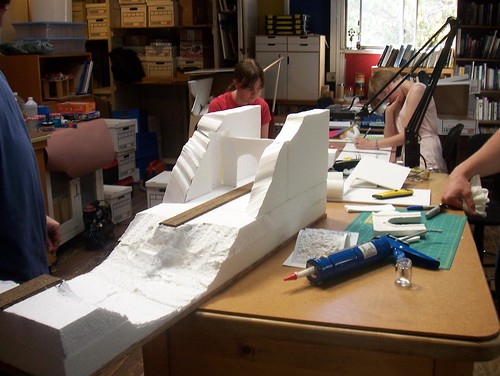
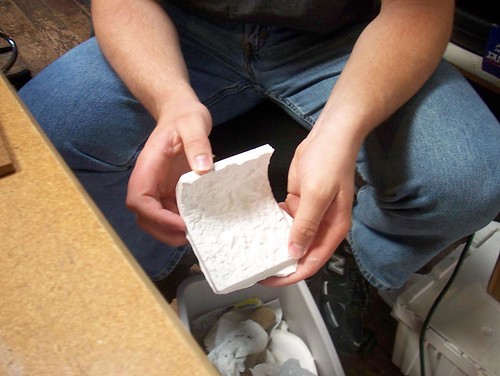
Joe’s discussion of benchwork construction very reasonably focuses only on those aspects that are unique because they are a direct result of his particular planning decisions. These particularly include details of how the mushroom aspects of the benchwork were constructed.
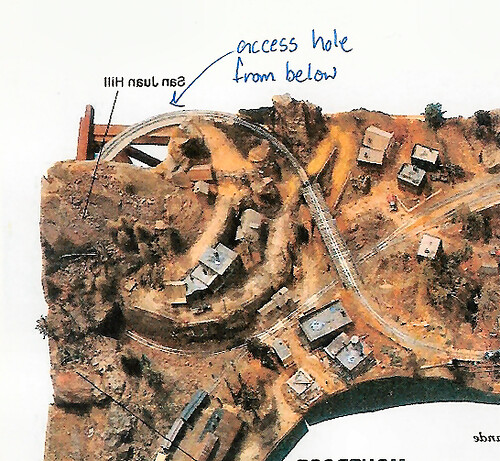
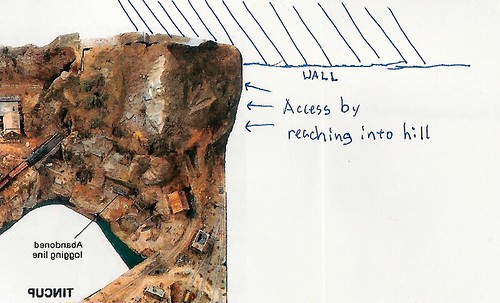
Joe gives a really interesting story about the trials-and-errors encountered in the design and implementation of the helix required to move trains between his lower and upper levels. This was really helpful to me in particular since it explains the trouble I’m having with my darn hill : From Joe’s disussion I see how I neglected to appreciate the required grade compensation caused by my tight 18” radius mainline curves adding effective grade to an already steep 4%+ grade. Argh for me – but also Ah ha! Now I have a better handle on how to fix the issue.
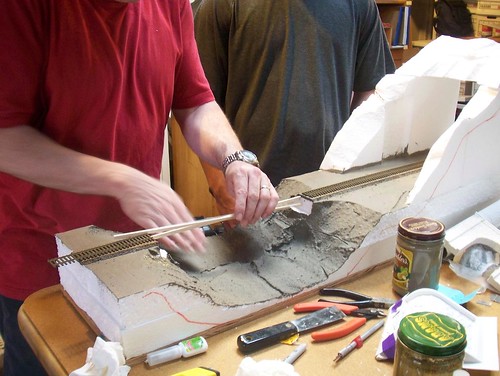
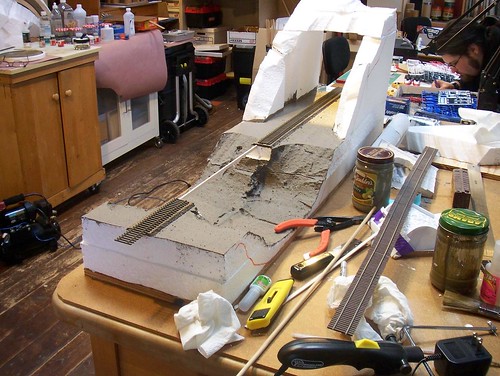
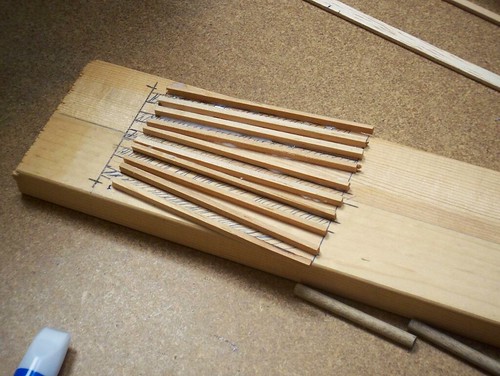
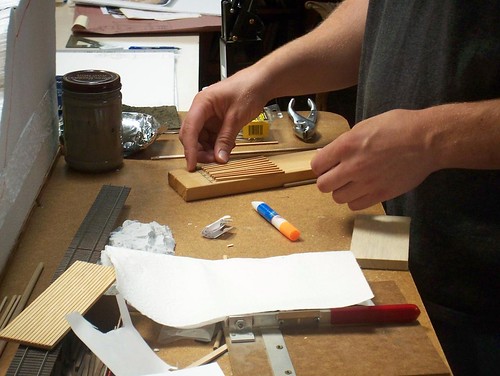
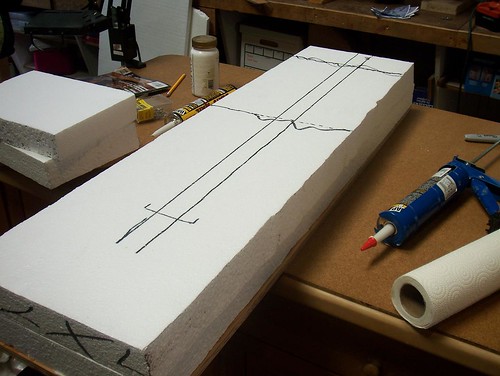
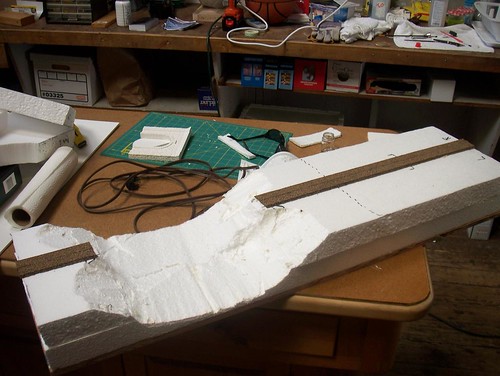
Joe details the very straightforward lighting system he uses on the layout and then moves into some straight How-To sections showing how he builds Masonite spline roadbed. Another how-to is on flextrack laying techniques.
Finally, included on the disk as Special Features are quick notes on how to add power routing and handling complex installation with his Easy Throw switch controls as well as a Power Point style presentation of metrics you can use to numerically measure and compare different tack plans.
Overall, I think the most interesting and useful thing found in this video is the problem solving process Joe demonstrates since this is where I really felt I was learning and gaining experiences that would help improve my own design and construction work. Although Joe flags this video as Intermediate/Advanced I think beginners will see how to avoid common mistakes and also learn from Joe’s experiences that mistakes can and will be encountered but can also be overcome.
I think viewers will get the most value from this video if they have seen Volume 1 first.
Joe’s DVDs may be purchased at model-trains-video and retail for $24.95 each.