Sat 28 Mar 2009
Nick’s Railroad Part 2
Posted by Daniel Swearingen under first micro layout , Layout Design , Model Building , Student projects1 comment / Leave a comment
Continuing our build out of Nick’s HO micro layout.
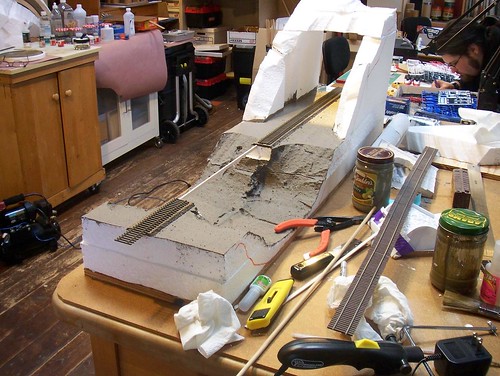
Once the base was set up and roadbed established we started to build up the hill and tunnel out of 4″ thick Styrofoam.
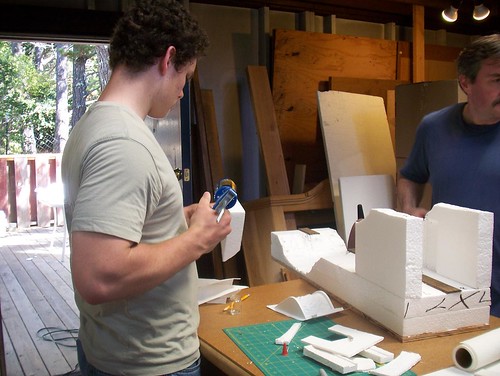
We cut a mock tunnel portal for sizing.
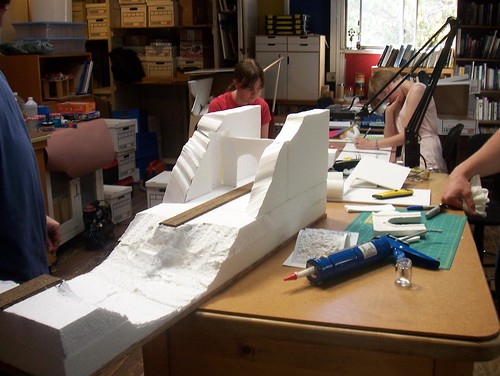
Then we gave everything that would become “ground” a good coat of dirt-colored latex paint.

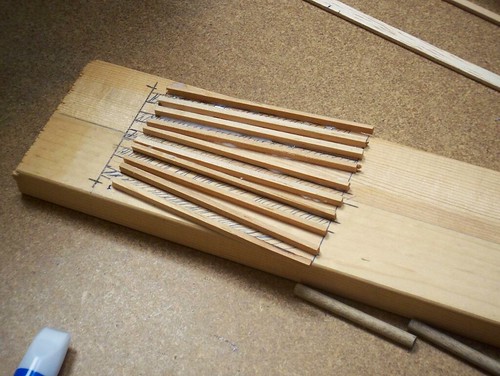
Then we started preparation for the installation of the trestle bridge by hot-knifing the end abutments and here I’m making a “story pole” that will be used as a template for the location and height of the bents. The track has been rough cut and painted but is not yet installed.
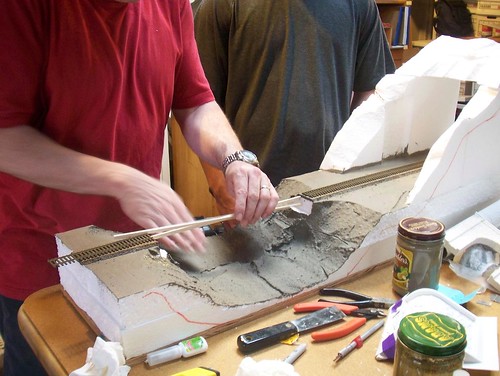
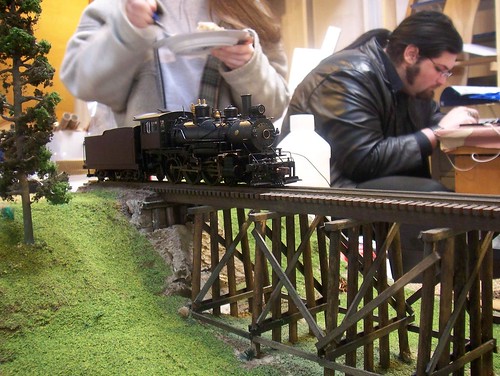
We used Micro Engineering code 83 flex track and here we’re preparing some matching Micro Engineering code 83 bridge flex track with appropriate ties and spacing.
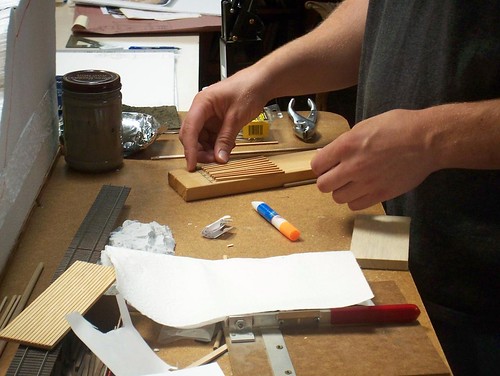
To make the bents we made a jig into which 3/16″ dowels will be held while being glued.
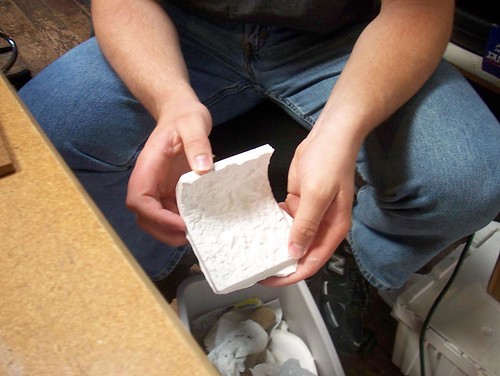
While the glue dries on bent assemblies we started to make plaster molds of the tunnel interior using a Woodland Scenics mold.
March 28th, 2009 at 10:19 am
Hey Dan and Nick,
This is starting to look great.
Janet