Mon 27 Feb 2006
Building the Benchwork
Posted by Daniel Swearingen under Layout Progress , Track[2] comments / Leave a comment
Yes, actual construction! I’m breaking from the ranks of arm-chair modelers where I have been comfortably hiding (and yet still whining) for many years.
As soon as I finalized my trackplan I built a planning model to confirm I liked the track alignment and arrangement. Now I was ready to start actually building benchwork.
One of the benefits of using a CAD system like 3rd PlanIt to design your layout is that it gives you a list of which materials needed and how much of each. Exporting this data I had:
L Girder, 1×4 = 489
Wood, 1×2 = 1635
Wood, 2×2 = 843
Where these last numbers are amount needed in inches. Converting to feet and then figuring out how many 8, 10, or 12 foot pieces I needed, I was able to make one trip to the lumber yard. Okay, one and a half trips because I oops’d at one point and did not leave myself enough long pieces so I had to run back and buy a couple extra 1x4’s.
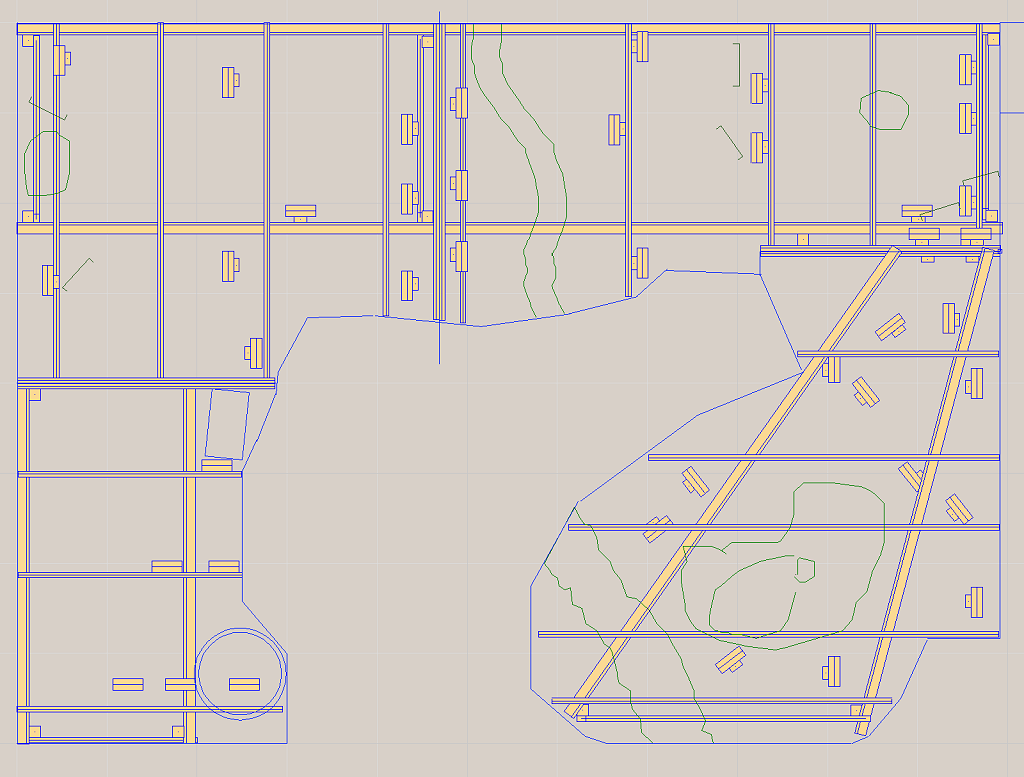
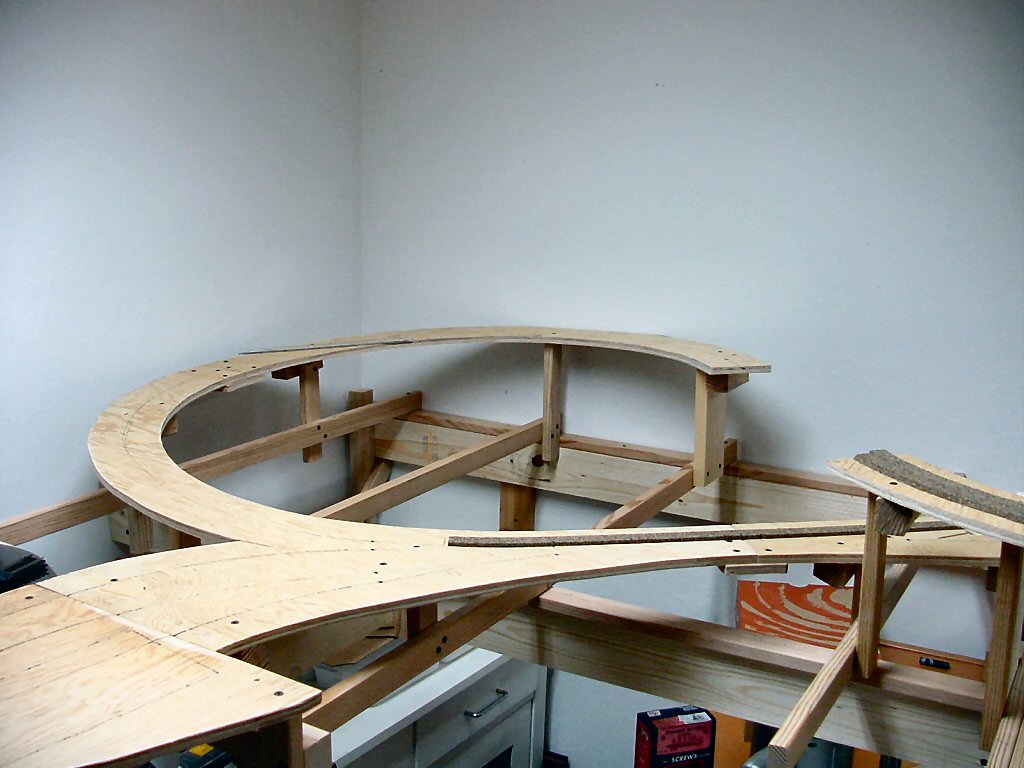
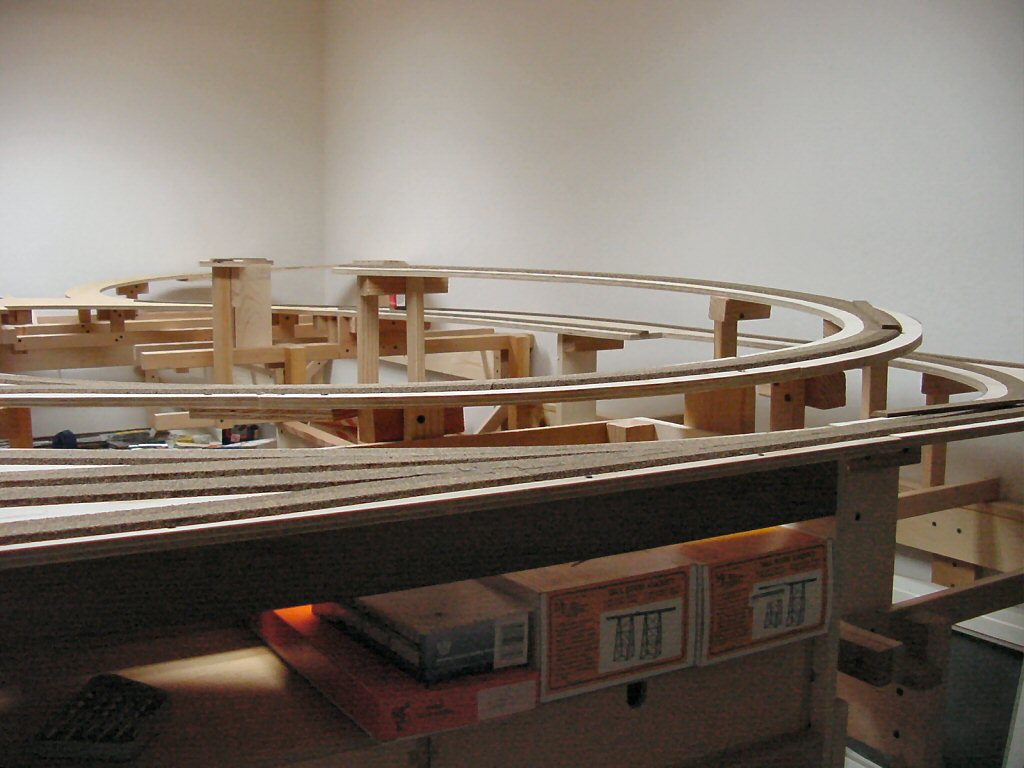
Benchwork with track.

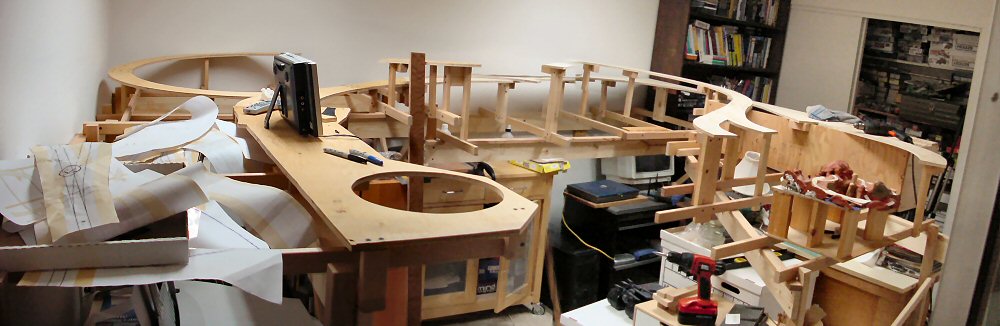
Benchwork without roadbed and track.
I’m building the layout into four big pieces. This is part of my plan to make the layout movable (but not necessarily easily portable).
It is important to get the first piece lined up well because it is much faster and easier going forward if you can just use the first section as your solid reference. Another decision I made was to build only the first section as a free-standing four legged section. All the other sections would have one end held up by its neighbor and the other end held up by its own legs. This minimized the number of legs needed and increased the amount of clear space below.
I built up the L-girders and cut all the legs and joists to length outdoors in advance, measuring from the CAD drawings.
Believe it or not, I live in an apartment. Let that sink in a second. An apartment. Not only do I live in an apartment, but my wife and I are spectacular pack rats. We have STUFF. My son has stuff too.
Therefore, one thing you will see in these pictures is that I could not actually start with an empty room. There was nowhere to put the stuff. An important factor in my design was that as I build a section, I move stuff under that section, clearing space to build the next section. That under-layout storage is important and was another motivation to have a rather high 53.5 inch track-zero height. I did have to fill the hallway and the living room with some displaced stuff over the one month it took to build the benchwork.
My son thought the whole thing was great. And yes, my wife is a saint.
Here’s the first section going up.

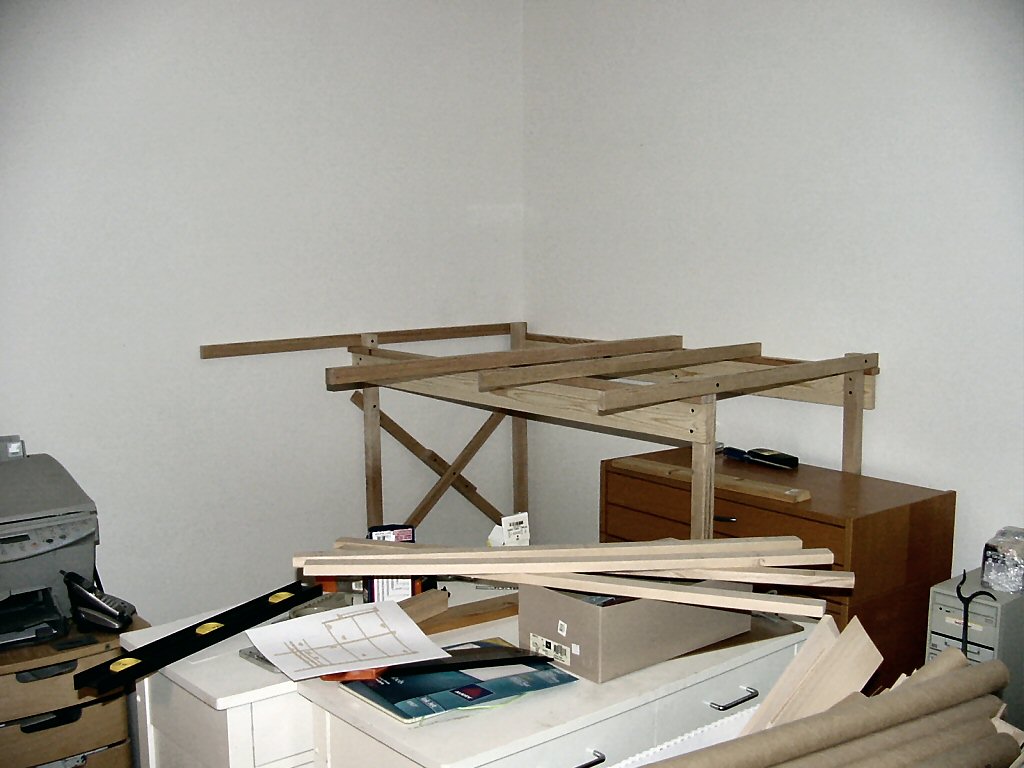
Once the first section was up it’s ready to hold up the next. I put ¼ inch lag screws on the ends of all the legs to allow the height to be adjustable for any irregularities in the floor.
Here’s the next section and as you can see I’ve already snuggled a bunch of stuff underneath. Note everything is on wheels so it’s pretty easy to pull stuff out if I need to get underneath.
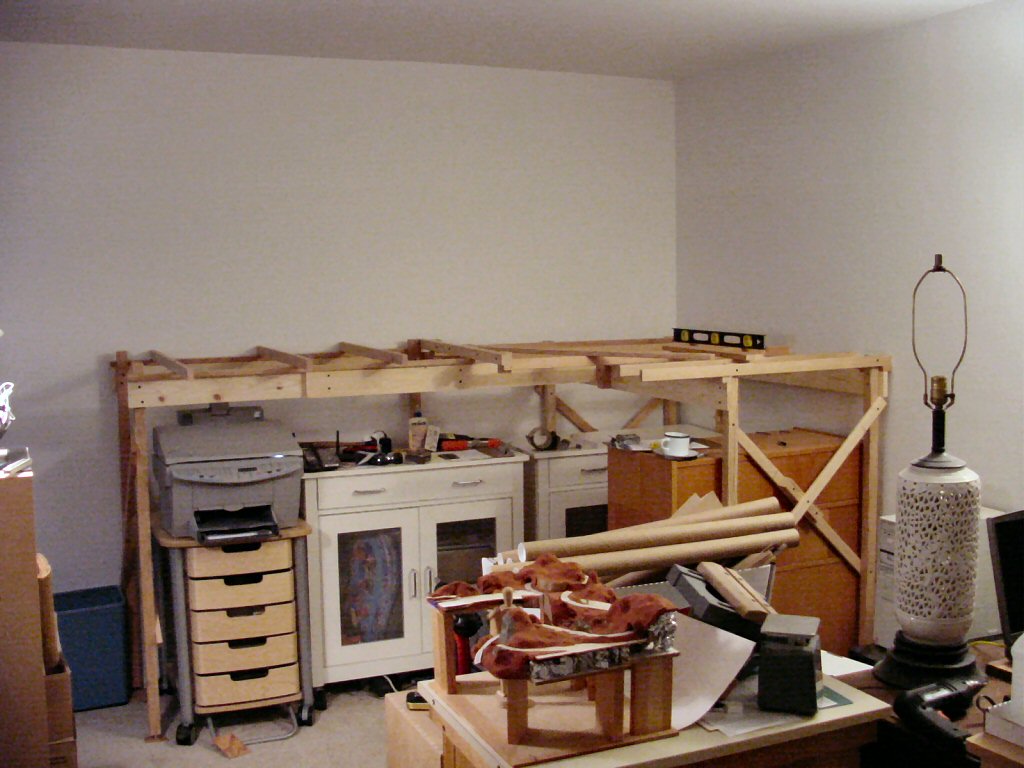
Continuing on with the third section. The sections are attached to each other only along facing 1×2 face plates at the section edges.
It finally dawned on me that I need more light in this already effectively windowless room. I bought a couple fixtures and put decent (relatively expensive) “full spectrum” tubes in them. I’m surface mounting everything since it all has to come out some day. I’ve tidied up the cords much better since this photo.
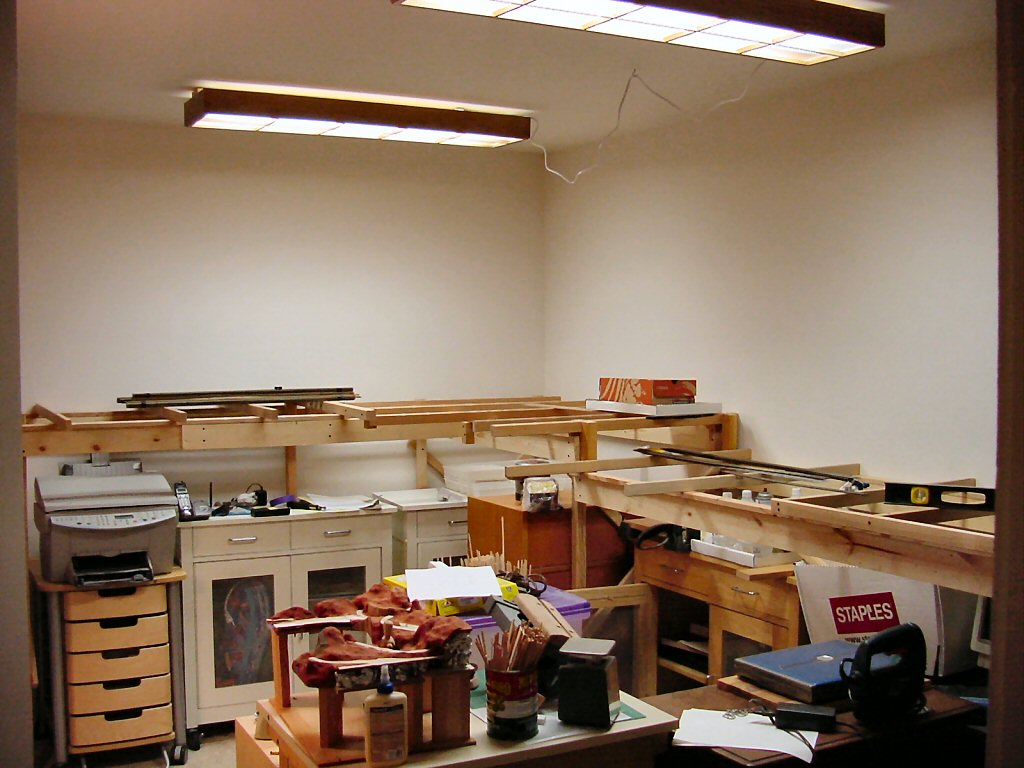
Note: this is just a start on the light. Fluorescents are an efficient way to get the bulk of the light into the space. I plan on adding many small halogen spots to give good shadows and a warmer color.
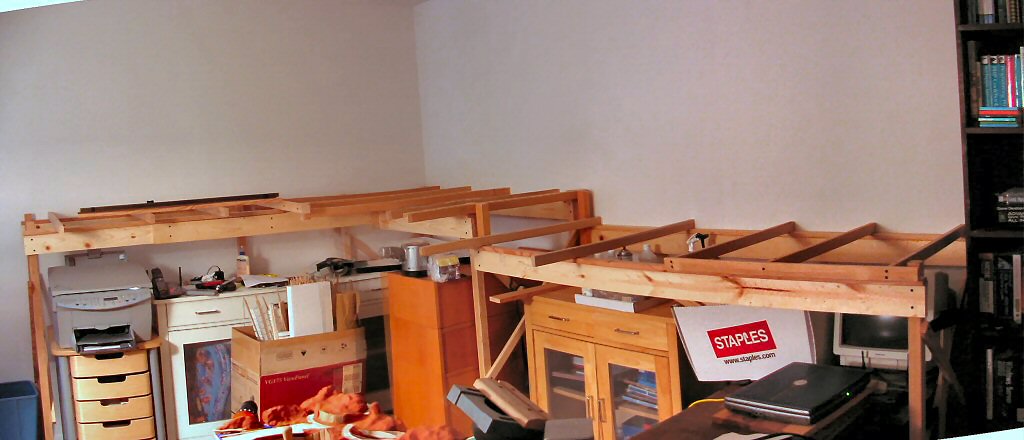
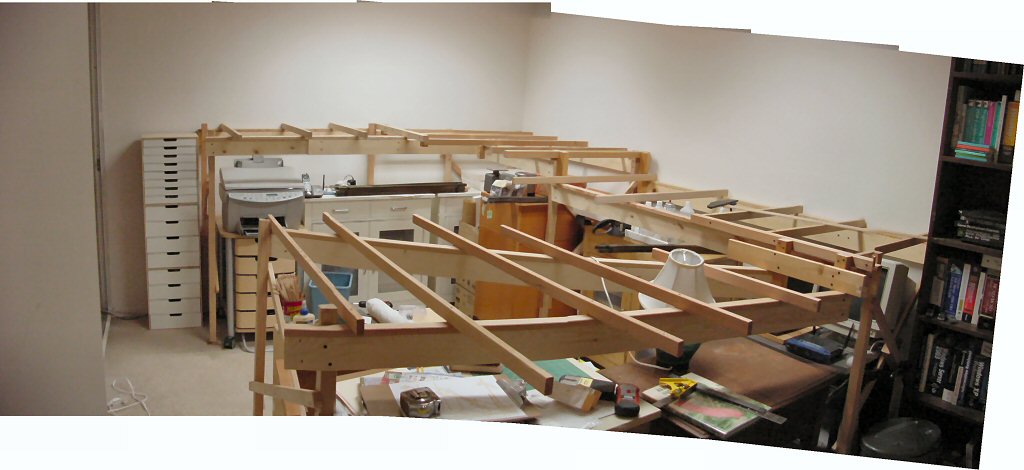
Last section.
In several of these last shots you can see that I’m using an image stitching program to combine shots giving a wider-angle view.
Roadway – note I use the term “roadway” to refer to the wood structure beneath the roadbed where “roadbed” is the stuff you actually put track DIRECTLY on. Some people say “sub-roadbed” — I use ½” plywood.
Building the roadway is one of those things that is REALLY hard without two things: the CAD system printing out full size paper templates and a saber saw. As far as I’m concerned there’s no other way to do it.
I actually made a paper model of the pieces of roadway to estimate how many sheets of plywood I’d need (three 4’ x 4’ sheets). By the by, unless you need several REALLY long runs, having the lumber yard cut 4×8 sheets of plywood into 4×4 sheets makes your life MUCH easier.
Anyhow, I printed out the full size templates from the CAD system (lovingly assembled from many 8-1/2 x 11 sheets of paper) and staple them to the plywood. I just staple them on long enough to copy their outline onto the wood using a nice new black sharpie pen. You can use a pencil if you want but the thick black ink line is easier to follow while cutting.
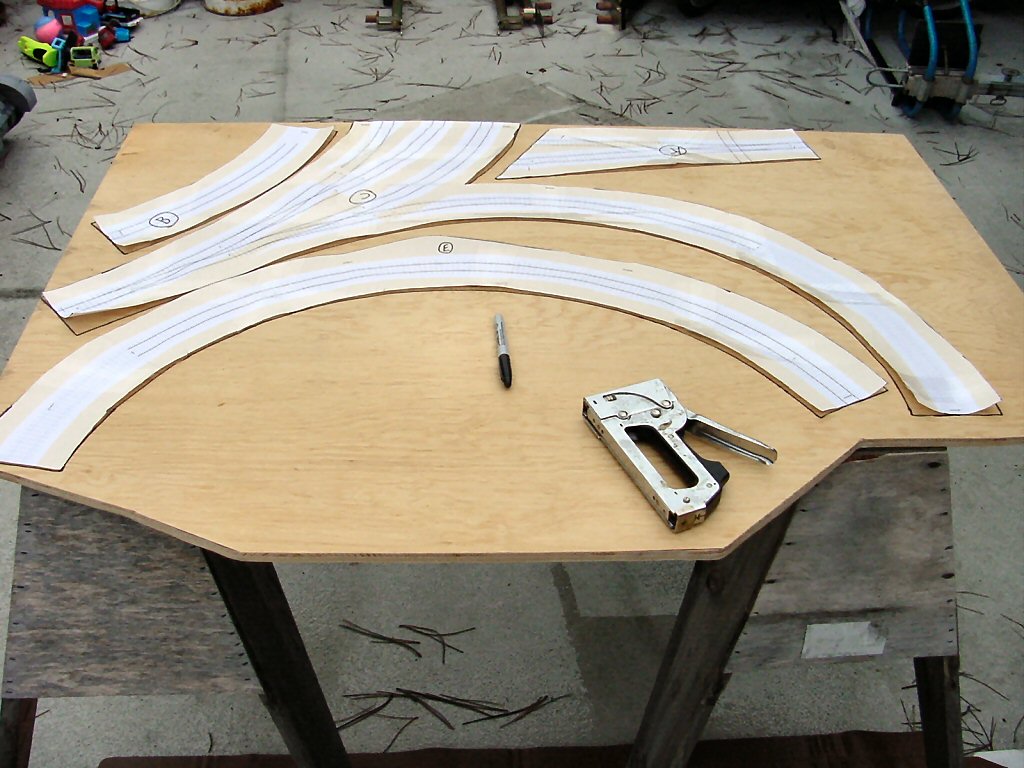
SAVE the templates: you will use them again later.
I don’t have any photos of actually cutting the plywood. It was threatening rain that weekend so I was hustling along fast enough to get it done yet still keep all my fingers. Besides the saber saw I also use a band saw whenever the shape of the piece is such that it fits through the throat of the saw.
Remember I said keep the templates? You need them to quickly and easily lay out the turnouts and the track locations. Once the roadway was installed, I would tack the templates over the pieces and use one of my trusty sharpies to trace slowly over the track plan, letting the ink soak through and mark the wood.
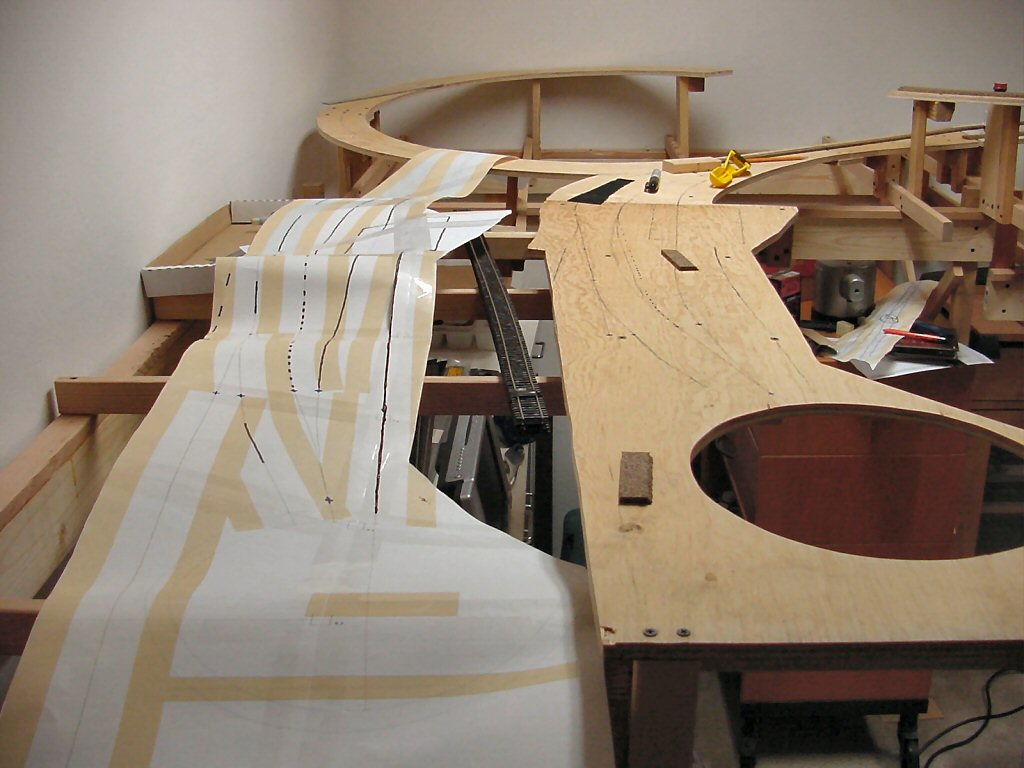
I was moving fast and the benchwork is definitely good enough but one thing I would change next time: Malcolm used 1×2 risers on his San Juan Central so I figured I would too. Next time: use 1×4 risers. The 1x2’s are plenty strong but because the 2 inches is so narrow (really 1-1/2 inches) they tend to be wobbly. For a small weight penalty, 1x4’s would have been much better.
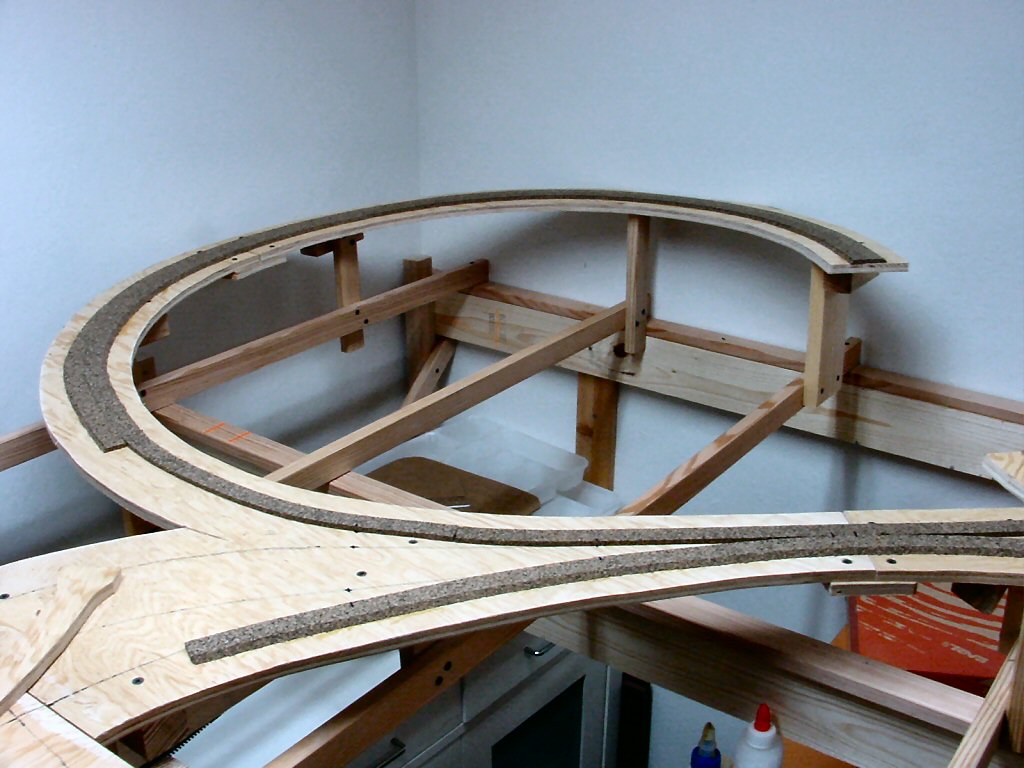
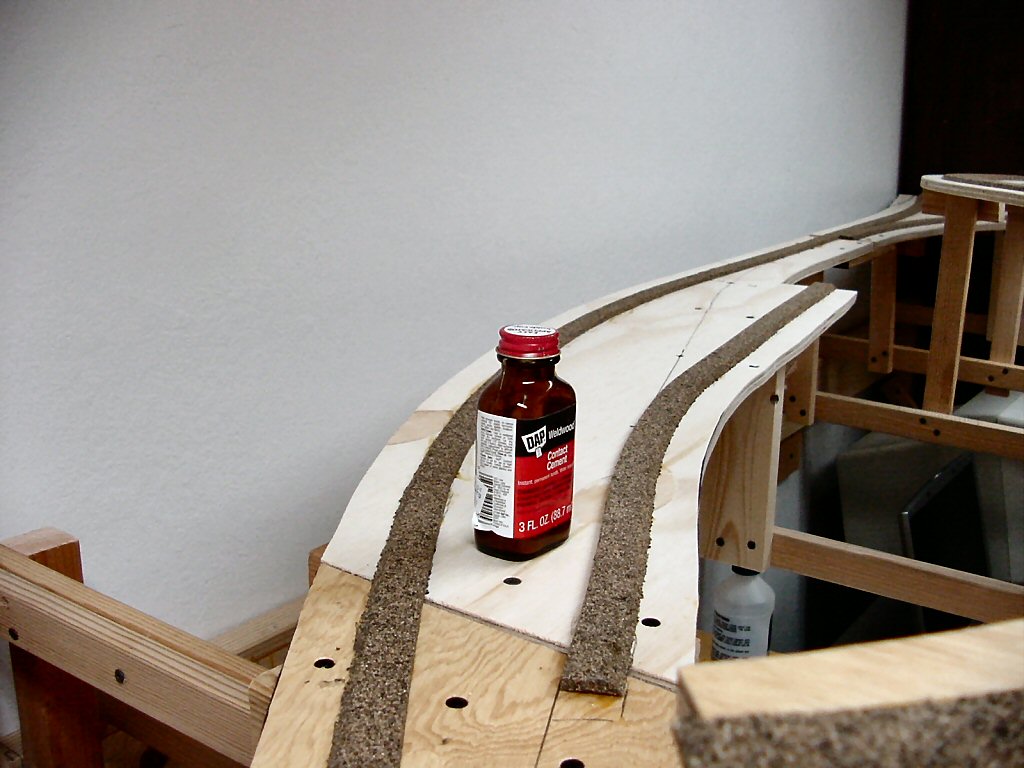
Cork Roadbed
It’s fast, relatively cheap, not too messy, and it’s good enough. If I was hand laying track I might have gone for Homasote but I just didn’t want to do it that way. Frankly, the old Tru-scale milled pine roadbed was pretty good. Now available from Trout Creek Engineering — the flat stuff you put your own ties on, not the stuff they made with ties and grooves cut into it. I’d probably do something like that before Homasote. Call me weird. The only thing halfway interesting about putting down the cork is that I would use contact cement alternatively with white glue to hold it down.
October 26th, 2006 at 7:07 am
Daniel;
Tru-Scale plain roadbed is still available..I
use it and just recieved another order a couple
of days ago (10/24/2006)from BK enterprises
Jim
October 26th, 2006 at 7:22 am
Hi Jim,
WOW, you’re right!
I found them at the Trout Creek Engineering website: http://www.troutcreekeng.com/bks.html
Thanks for the update.