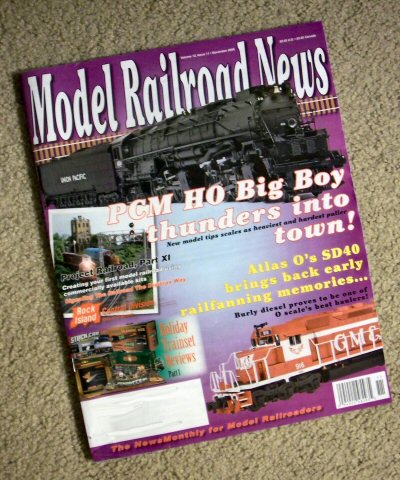
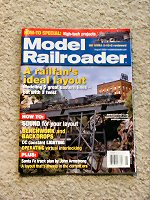
Product Review


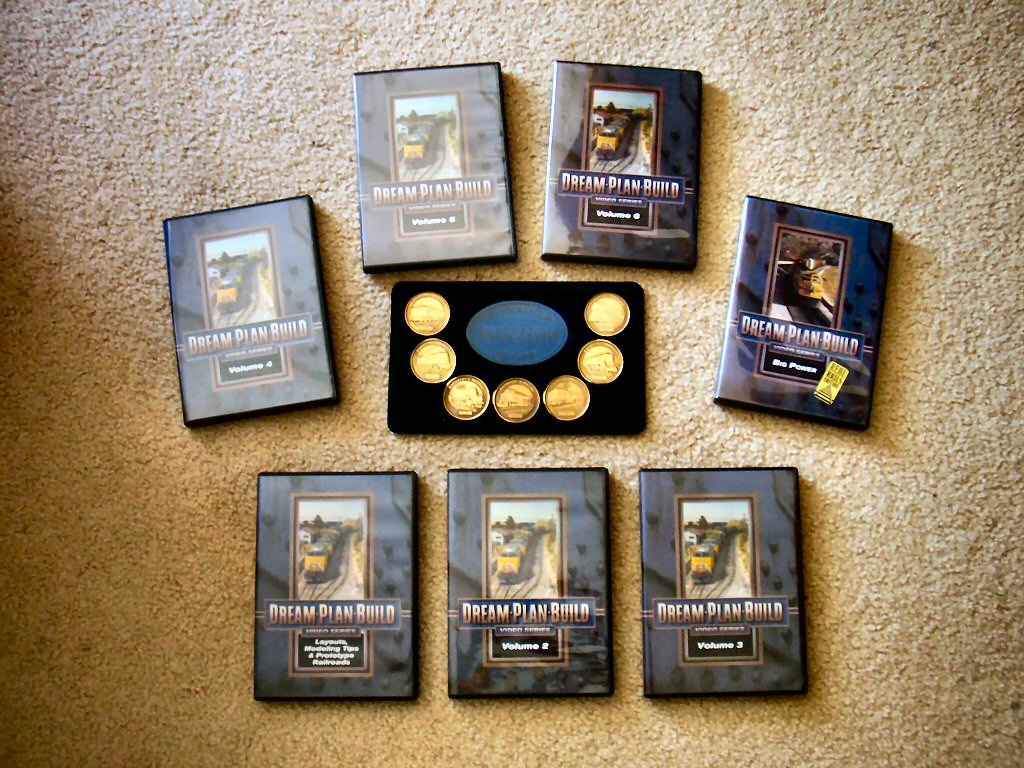
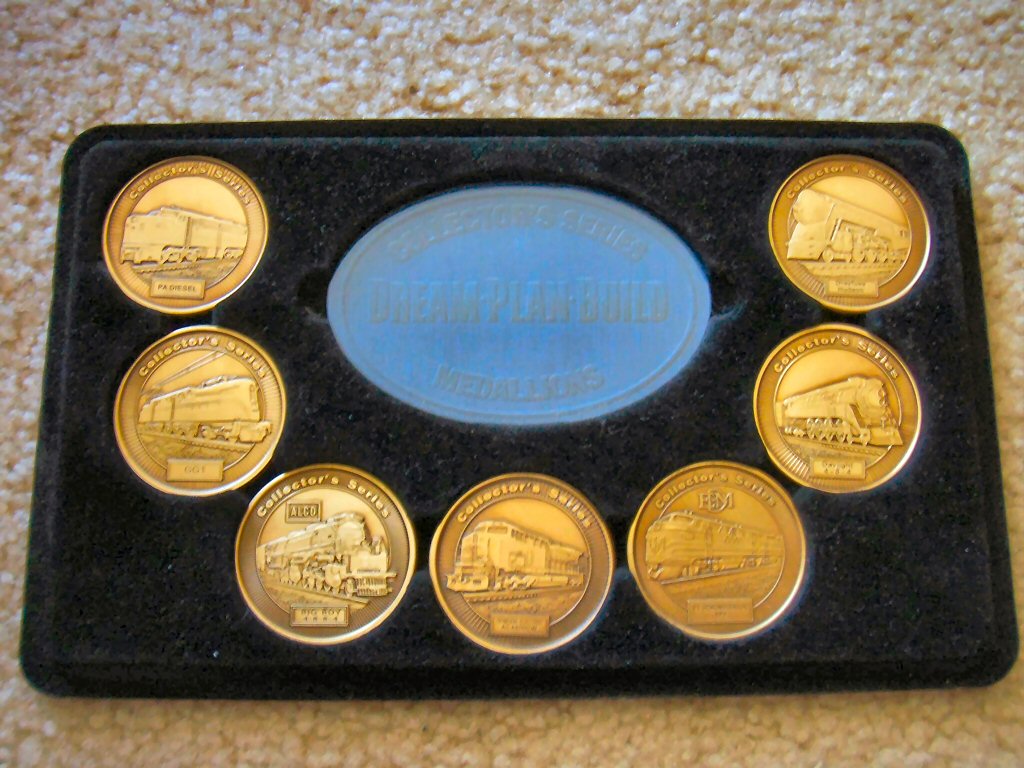
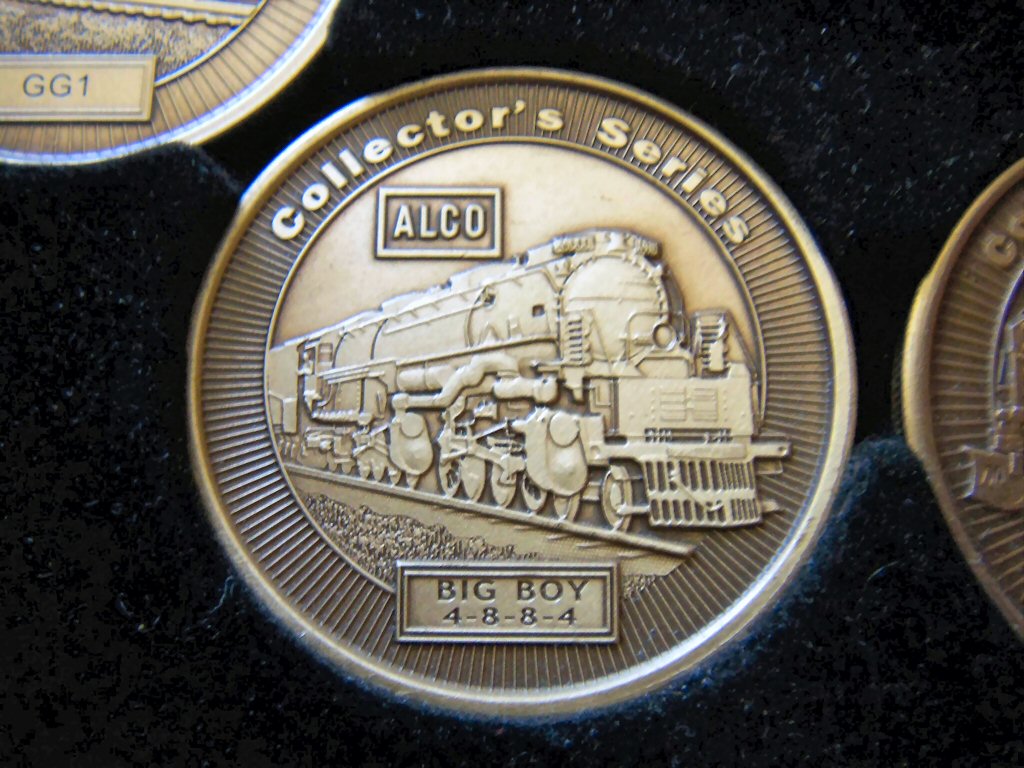
Okay, I admit it; I paid in when Model Railroader sent me an unsolicited copy of the first issue of their “Dream Plan Build” video series. Hey they included “collectible” coins too!

I saw this series as Model Railroader (MR) working really hard to remain relevant in a web age and changing modeler demographics that they do not seem to have a clue how to handle. I liked the first one enough to cough up the $24.90 and see how they go.

What I liked:

There is a fair amount of content on each disk, something like an hour and a half to an hour and forty-five minutes each sectioned into 12-16 articles.

I liked the modeling clinics. However, like the magazine, the emphasis remains on the beginner.

I liked the layout tours. I always like to see what other people have built. As long as it’s scale.

What I did not like:

Uck. The modeling clinics where the work ended up looking bad. Come on guys, do it over until it looks good! Video is really kind to most model work so it has to be really shoddy to look bad on video.

Argh. The layout tours of Lionel sets with scenery. I dare you: find one where they do not say “reliving a childhood dream…”  Scale railroading is a rejection of the “let’s see how fast the train can go” world of Lionel based layouts.

Snooze. The prototype tours. I model the 1920’s. I am not really interested diesel engines trundling around.

Recycled. The production values, style, and the sections look a WHOLE LOT like the “Tracks Ahead” series seen occasionally on PBS stations. Can you say “leftovers”?

Conclusion:

I wish Model Railroader luck but after a bit over a year and seven DVDs I’m not going to buy any more.

Yes, I did wait until I filled the little coin holder before I quit.

Yes, I’m weak.

I found an ad somewhere for this magazine Model Railroad News (MRN) and went to their website where I signed up for their “3 free issues” offer. MRN has been published since 1995 so while it was new to me it’s not really a new magazine. 

For this review I looked over their “About MRN” page and decided that this part of their description most accurately describes what Model Railroad News does:

Model Railroad News provides timely, in-depth coverage of new products, model railroading news, and includes highly regarded product reviews.”

MRN has chosen a pretty tight focus and within this focus I think they do a good job. They do not do “how to build my first 4×8 layout” or “buying my first air brush.” What you find here is lots of news about what manufacturers are doing and the product reviews are detailed and very well photographed.

After reading my three free issues I must agree that MRN’s explicit focus on product reviews and industry news works much better than Model Railroader’s implicit semi-random move in the same direction.

If this sounds interesting to you I recommend you try out the three free issues. I know from corresponding with some people around my “What’s messed up with Model Railroader” series that this magazine could be exactly what they are looking for.

In the course of building a detailed layout, which takes professionals months and amateurs years, you can forget that there are easy and fun projects that you can knock out in a few hours.

My son is interested in trains but right now he likes cars better. So far his feedback about the layout has been “where are the freeways?”

Last time we were in a hobby shop he wanted a school bus — but not a yellow one, a white one. He ended up picking a Trident #90076 ($14.99!!) School Bus. They are really good looking models. I bought two.

I pulled off the front and rear bumpers which are mounted by long pegs and these also serve to hold the body onto the chassis. I painted the body with silver since white will not cover school bus orange easily. Next I painted the body a satin white and that’s it.

I have since mounted the clear red warning lights and I picked out the turn signals and running lights with Tamyia Clear Red and Clear Orange but my son is busy playing with it now so I’ll have to add pictures later.

Ok: got a hold of the bus for a nanosecond.

I’ve had several people write me and ask if I think they should buy 3rd PlanIt because they like the plans I was able to make with it.

3rd PlanIt (3PI) (http://www.trackplanning.com/) is a CAD system strongly optimized for drawing model railroad track plans. I’ve been using it off and on since 2000 or so. I was a semi-experienced AutoCAD user many years before that.

The Good:

  • I designed my layout and continue to maintain the plan as I build in 3PI. It has been stable and productive for me to use. I use version 7.10.006 which was released March 2, 2004.
  • I find the feature set of 3PI powerful and fun to use.
  • If 3PI was being maintained I would recommend it highly.

The Bad:

  • No updates were been released between early 2004 and early 2007.
  • 3PI is the product of one man, Randy Pfeiffer. I truly believe his work is very good (again — I’m a happy user) but it can be a problem when a company is essentially one person. Occasionally Randy gets committed to other tasks such that purchase orders sometimes do not get processed in a timely fashion.
  • NOTE: (February 2007) Version 8 has been released!! In April 2005 the next version, 8.0 was coming “soon” and Randy Pfeiffer gave a detailed view of what he had been running into as he implemented threading to 3PI. I’m a Win32 C++ developer myself and his commentary looks legitimate. See his posting at the Yahoo! Group 3rdPlanIt : 3rd PlanIt Users Group

Bottom line:

NOTE: (February 2007) Version 8 has been released!! I like the product. It took a long time for Version 8 but it looks good. I can now recommend that other people buy 3PI.

The continuing saga of my learning curve building Central Valley Model Works turnout kits. In part one I did the basic assembly.

Now that I’ve added some track around my turnout I can actually run trains over it. The turnout works very well but I did not do a perfect job assembling it. I’m trying to be a very harsh critic of myself because several turnouts on the layout are in tough to reach places and I need to be very clear on proper technique before I build them.

Few things will ruin the enjoyment of your layout more than a turnout in the back corner that keeps derailing everything.

The main things I did wrong are not get the rails tightly enough around the frog and I did not snug the guard rails close enough to the stock rails.

Using an NMRA standards gauge you can see that the track gauge is correct but the width of the flangeway is not correct. For those not familiar with this tool the tabs highlighted in red show how wide the flangeway should be.

Given the way the frog casting works, snugging up the guard rail (the black plastic rail on the left) will be the easy fix.

One thing to watch is to make sure that the frog rails (the rails that are attached in a “V”) are pushed as far forward into the frog casting as possible. However, this can be taken too far since the geometry is such that if pushed too far forward the track gauge will become too narrow.

An easy fix: make sure the closure rails (by the arrow on the right)

are really tight to the frog casting. Note that the closure rail on the left of the frog (to the left of the RIGHT arrow) is loose. The closure rail on the right of the frog is pretty good.

Despite these obvious flaws the turnout works flawlessly (if a bit bumpy for some pieces of rolling stock) so I have to admit that the Central Valley design seems to be quite forgiving.

This is kind of like “what’s on my workbench” but more literally (pun intended) it’s: what’s piled next to my bed.

I collect a big stack until it becomes structurally unstable (i.e. I trip over it getting up in the morning) and then put away books that I’m not actually reading. Books here have a half life of about one month – after three months there’s really 100% turnover.

Make it Work: Earth and Make it Work: Maps – Really cool books that have scenery, terrain and map projects for children that are good experience for young model railroaders-to-be.

Small World, Dioramas in Contemporary Art - this is a book about dioramas as pieces of art. Gets me thinking about the reasoning and messages I want my work to convey.

The Callboard of the Redwood Empire Division of the NMRA – (site) yep, I’m a card carrying member of the NMRA and this is my regional newsletter.

Modeler’s Resource – (site) I subscribed to this for a year recently. More oriented to the sci-fi and comic book figure modelers but strays into lots of other areas too.

Model Railroad Planning 1998 – I’ve bought several of the MR Planning “special” issues. I recommend buying them from a newsstand so you can look it over first. Some issues have lots of things I’m interested in while others may have very little.

Scenic Express Catalog – (site) Great company that specializes in scenery materials.

Redwood Railways by Gilbert H. Kneiss – My favorite history of the Northwestern Pacific and the many predecessor railroads that grew and merged into the NWP. Compared to other sources it gives a broader background of the people and history around the railroads in northern California.

The Art of the Miniature – my favorite “dioramas as art” book. Lots of insight on, and examples of composition and lighting ideas.

Make Magazine – wild and inspiring gadget building projects.

The Narrow Gauge & Shortline Gazette – (site) I own every issue. Over the years has consistently maintained excellent quality. Ok, maybe a couple years in the 80’s were a bit weak but still worth every penny.

PC Gamer – notice what you are reading this post on? A computer. Computers and software are my day job and are also a fantastic modeling and research tool. As computer games increasingly become immersive sensory experiences I see model building design converging with game design (and movies, for that matter).

Model RailroaderSigh. I have a strong emotional attachment to MR because of its place in my personal model railroading history but MR is getting increasingly dotty with age. I have issues back to the late sixties and will cherish them always but my model magazine subscription dollars may soon go elsewhere.

Railroad Model Craftsman – (site) The quality of this magazine is steadily increasing.

Scale Rails – “free” with your membership in the NMRA. Good thing. Ok, I’m being harsh, the particular issue shown had a couple really good articles in it (even if the engine in cover photo has a big old feather duster feather draped over the cab). And hey! They STILL haven’t paid me for the guest editorial I did for Tom Troughton back in 2004!

Walthers catalog – still the “Sears Catalog” of model railroading. Like MR, Walthers has a powerful emotional tie to my model railroading history. Walthers’ catalog combined with their website and on-line ordering are a huge aid in any large modeling effort.

Books of Clark Kinsey photos – Wow. I just got these a couple months ago and they are simply gorgeous books. A great online source for Kinsey photos is here at the University of Washington Libraries Digital Collections.

Ok, so far this first turnout is kicking my ass. I’ll produce a real “how to build these turnouts” article — when I really know to build one of these turnouts. Right now, I’m severely learning. Think of this as a “still clinging to the cliff” kind of report although I’m still having fun and I’m still happy about choosing the Central Valley turnout kits.

Central Valley Model Works (CVMW) has been around since the late 1940’s. However, their CVT system of styrene tie strips and turnout kits is relatively new. I’m building most of my track using Micro Engineering code 83 flex track. Code 83 you say? Yes, I have some old Rivarrosi and IHC engines that I actually like, and code 70 is too low for their (way too big) flanges so code 83 it is – good enough.

For turnouts I originally intended to use Walthers/Shinohara code 83 #4’s – these are excellent turnouts but were completely out of stock for the foreseeable future during the end of 2005 when I was putting all my materials together. I procrastinate enough at the best of times and having any real excuse to stop forward progress is simply too risky so I shopped around for an immediately available alternative. The CVT turnouts had been on my short list and they were available. I ordered straight from CVMW and they arrived quickly.

The pros, cons, and costs of the CVT turnouts are obvious:

Pro: great detail – museum quality looks.
Con: you need to build them yourself and I feel it’s fair to say that they are one notch more difficult than the normal way one would scratch build a turnout and obviously way more work than a pre-built turnout.
Cost: very comparable with other turnouts. Not really a factor in the decision.

I picked a spot on my layout to lay the first turnout.

An easily accessible simple siding on the mainline. The CVT instructions (yes, I actually read them) say to start by gluing down the tie strip onto the layout. However since this was my first one I chose to do a quite a bit of dry fitting on the workbench before doing anything on the layout.

I made a drilling template out of ¼ masonite and drilled the “throw” hole and holes for feeder wires. Then glued the tie block down with contact cement and glued down a small piece of roadbed to be the foundation for the switch stand.

I’d love to say “then I just attached the rails and away we go” but there has been a lot of learning. Central Valley recommends barge cement diluted with MEK to attach the rails. I tried it and this is a really good recommendation — but there is still some art involved.

After some work I got my first turnout installed and working.

I’m using Tortoise switch machines and I’m using 1/16” square brass rod to throw the turnout.

During initial track planning I specified an 80′ turntable at Tiburbon. Eighty feet looked long enough given the types of engines I wanted to run. This worked out to 11 inches in diameter and this felt ok given the overall size of the scene.

The plan was to scratchbuild the turntable but those of you who have done this before know: it’s really easy to build a turntable badly. Fortunately, I realized this immediatly after casually cutting a rough 11 inch diameter hole in the main track sheet of Tiburbon.

First: a rough hole will not do the job.

Second: it became clear that a precisely built and aligned pit, bridge, and approach tracks are required or I will be very sorry indeed.

Third: since this turntable is in the IMMEDIATE foreground of the scene it must be tidy looking.

Enter the Walthers 90′ Turntable kit (unpowered) on sale for $31.98.

I’ve had spotty to poor experiences with Walthers plastic kits but I figured for $32 I’d get at least a few pieces I could use. So far it looks great. Simple and tidy. With some easy modifications will turn smoothly. I plan on turning by hand since the table is right at the edge (will I regret this?).  

I’ll have to enlarge the existing hole but it basically fits and now I can turn a USRA 2-8-2 Mikado if I want. I’ll post details on cutting and installation soon.

« Previous PageNext Page »