Layout Progress


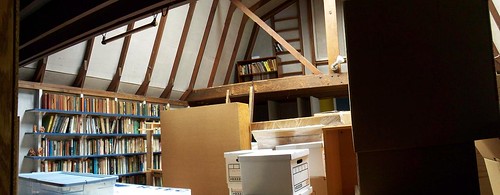
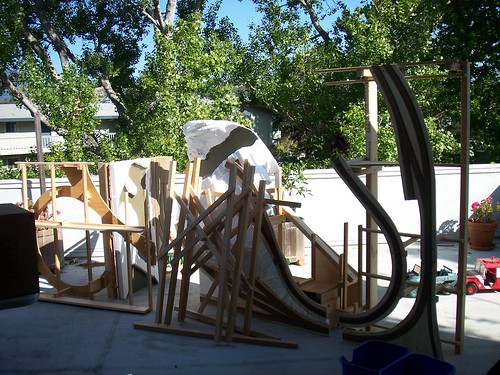
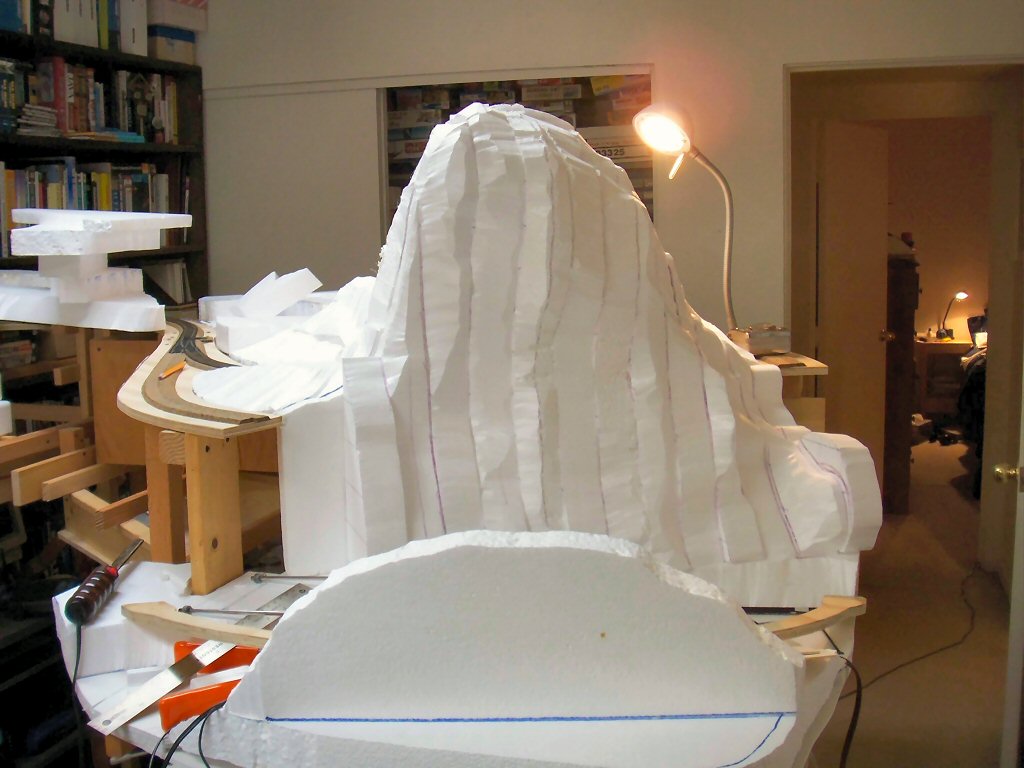
I haven’t written much lately but I’ve been building a LOT. As I mentioned in July, We moved to a new house with a workshop . The plan was to use the shop space for the layout (of course) and a workshop space for model building.

So much for plans. We’ve started teaching “build stuff” workshops on weekends for
teenagers/young adults. We started with a three month class meeting for four hours on Saturdays. That filled so we added a Sunday section. The projects are really great and since part of what the kids are doing will be blogging about their work I’ll just show a sample of what they are doing and I’ll provide a link to their blogs once they are up.

Ian is building an Airbus 380 in 1/144 scale.

Picture 004

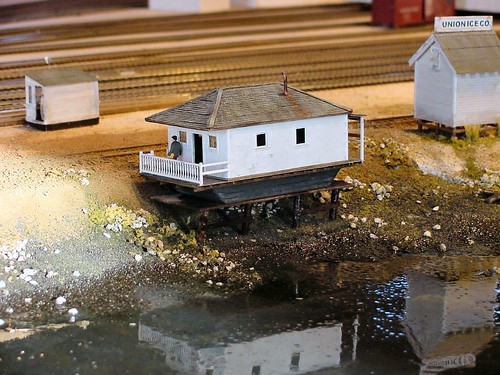
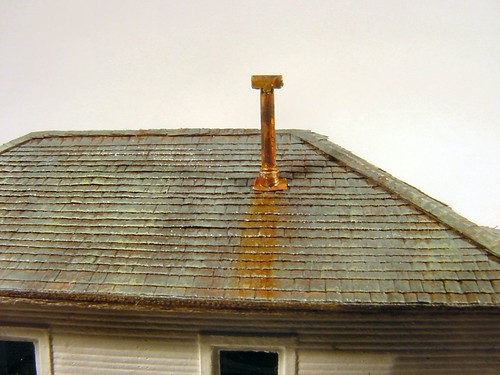
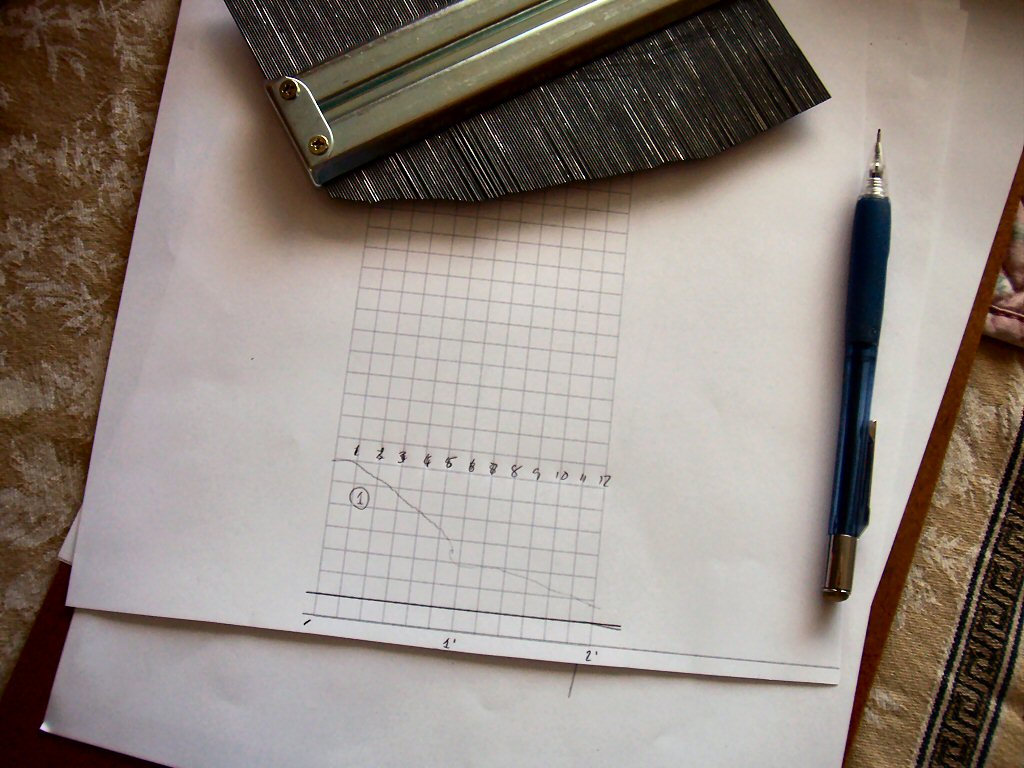
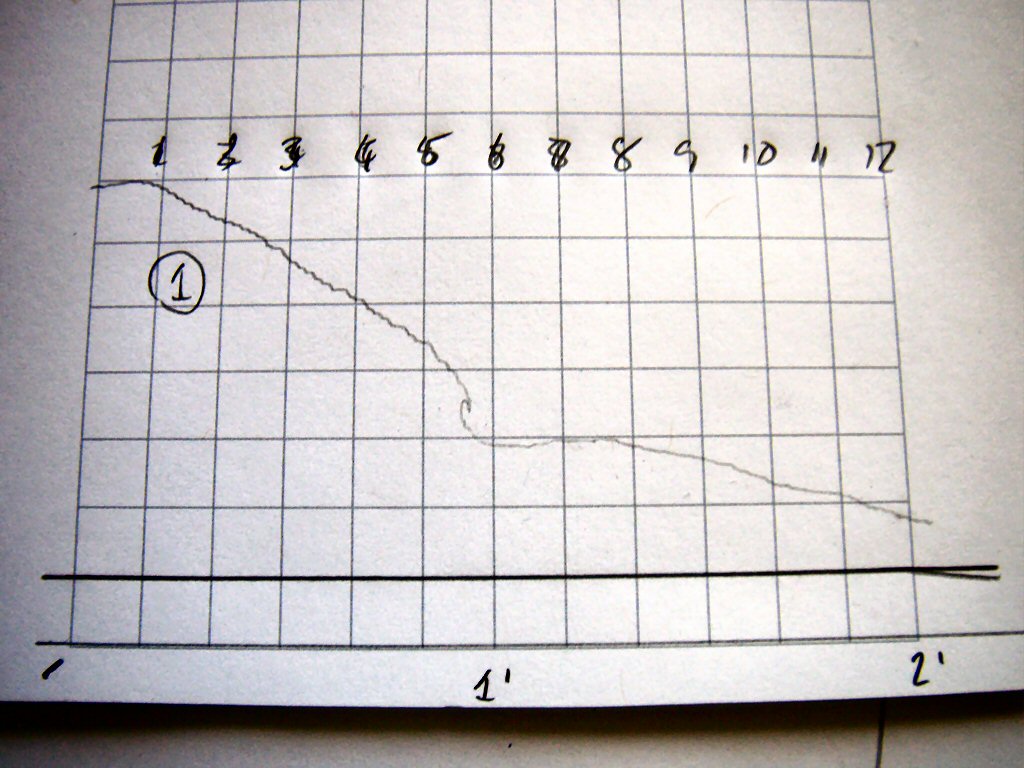
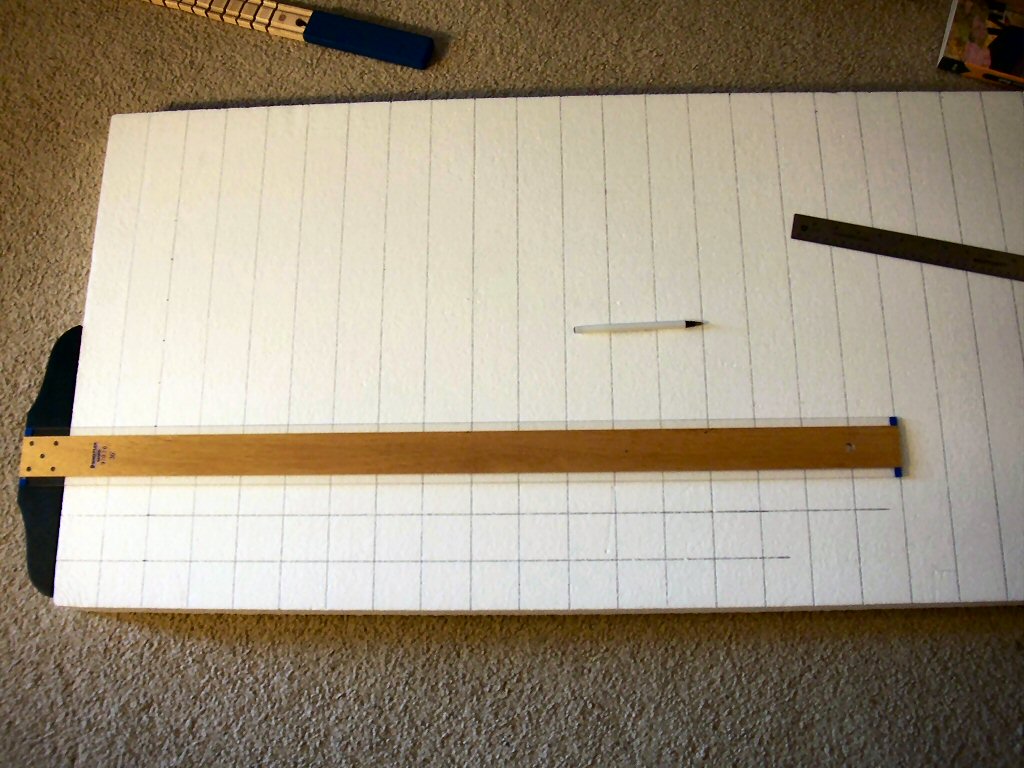
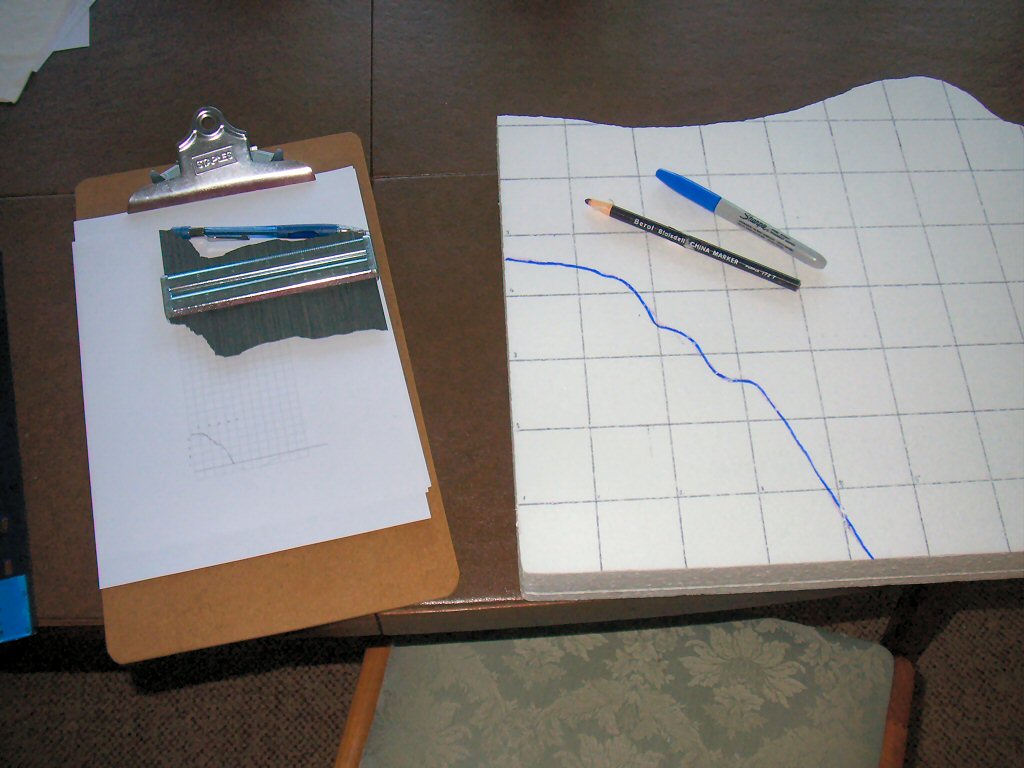
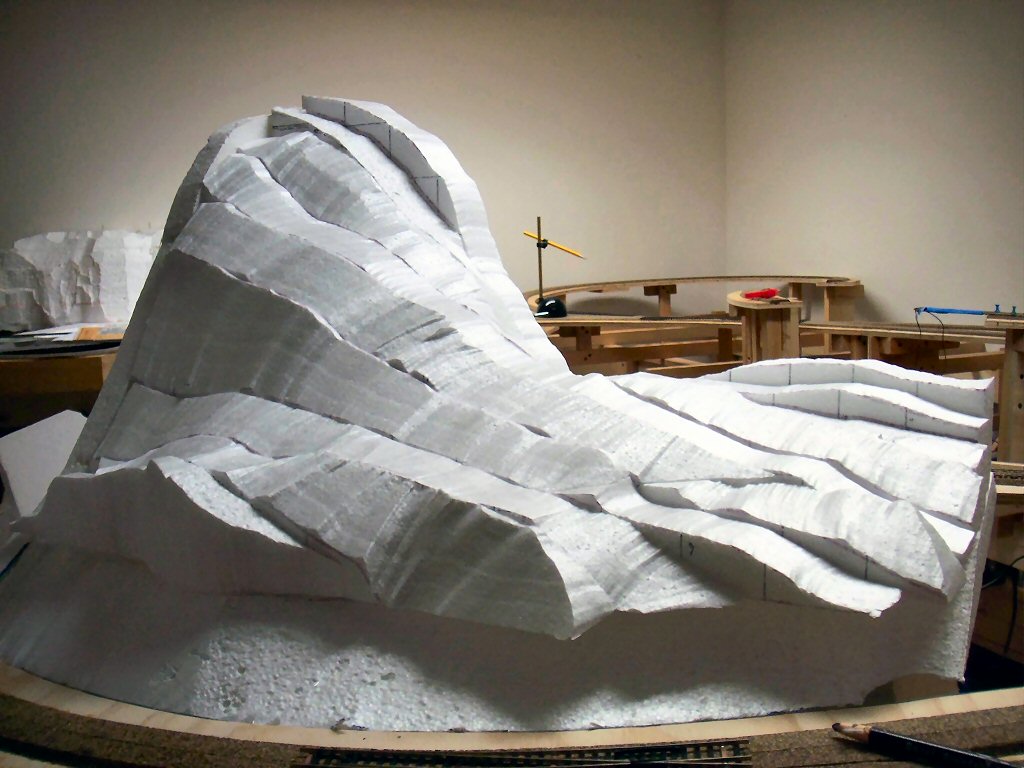
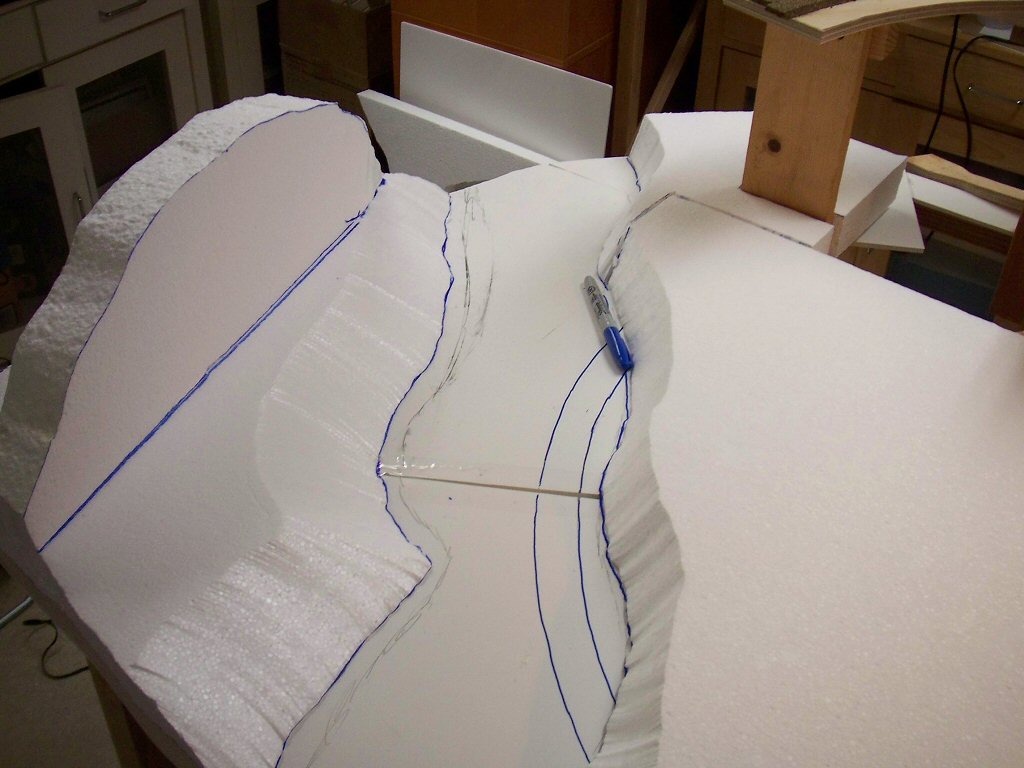
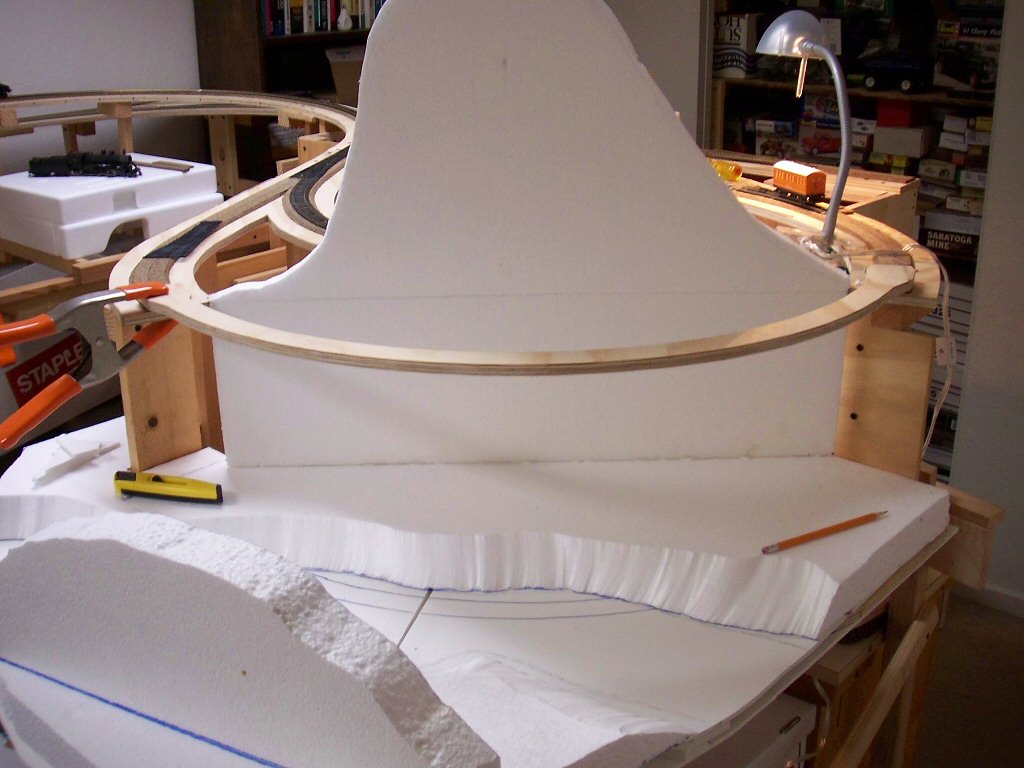
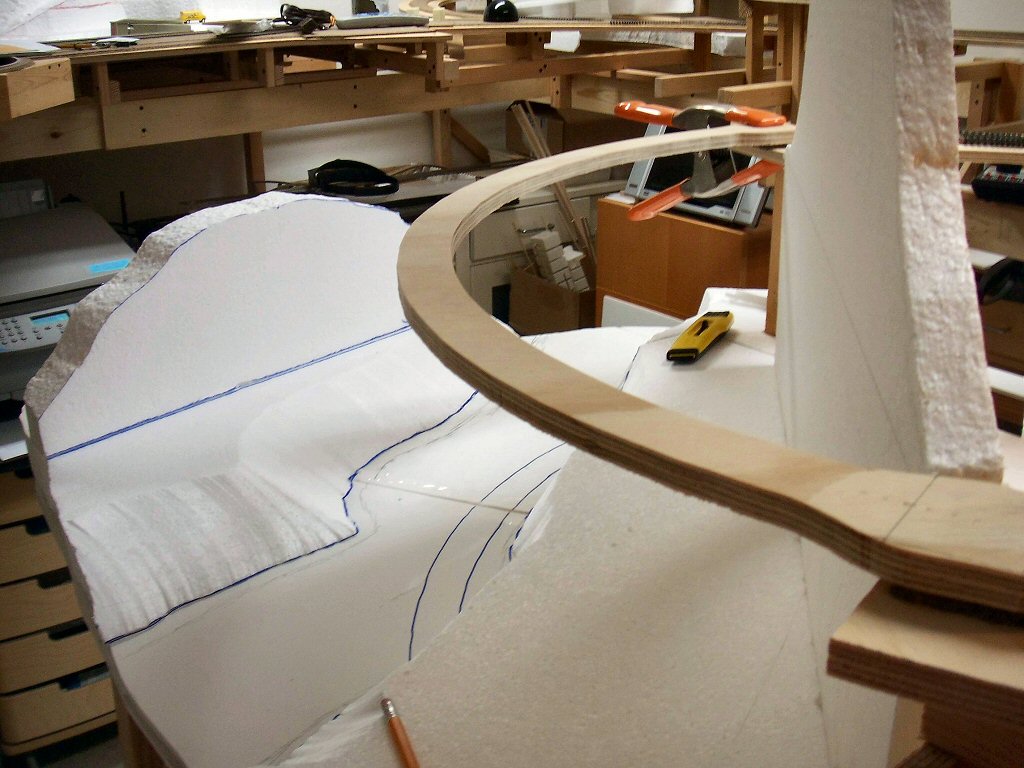
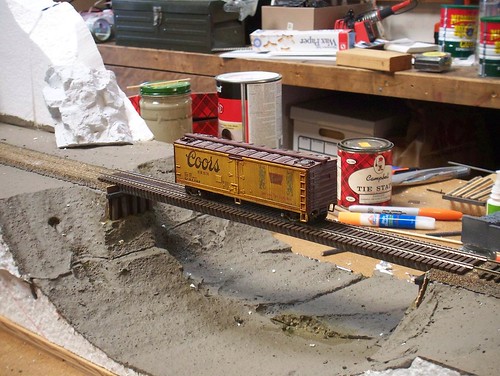
Nick is building a micro layout in HO with a bridge and tunnel – the only model railroad project!

Picture 027

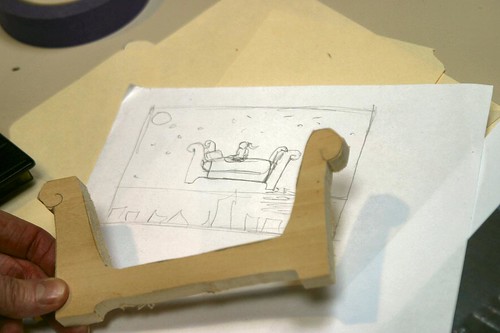
Sarah is building a fantasy diorama of a bed flying over a city at night.

Picture 059

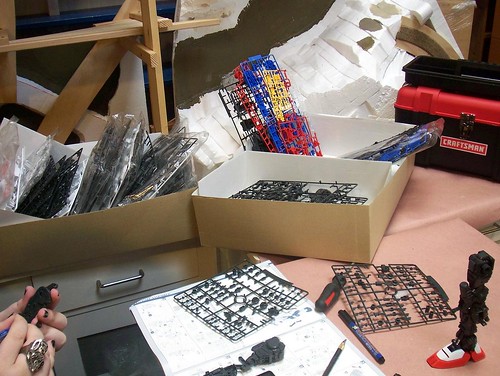
Peter is building a super complex Gundam kit with a bagillion pieces.

Picture 012

Phoebe is making a ¾” scale room box of a Vamire’s Steampunk style home.

Picture 055

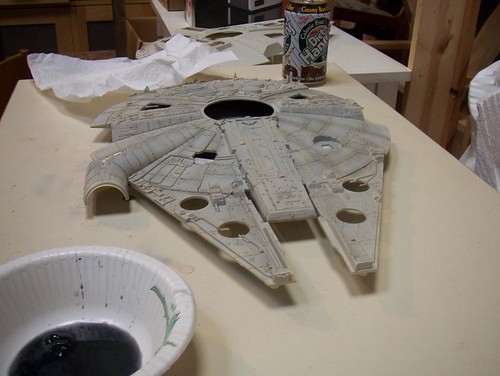
We’re all taking turns practicing airbrush and other painting techniques on my old model of the Millennium Falcon.

Millennium Falcon model

Kris is building a 1/48 scale tank for a diorama.

Picture 007

Not pictured: Reggie’s free-lanced 12” Globe, Devon’s Manga stage model and Steven’s world of eraser people.

It’s a huge amount of work but also tremendous fun.

barn full of boxes

Last time I was Packing. Now we’re unpacking.

This long July 4th weekend has been mainly devoted to getting the whole dang house out of boxes. Fortunately we’re moving from a 1300 square foot condo apartment into a significantly larger house with a workshop/studio outbuilding in the back. Moving from smaller to bigger is almost always the happier direction.

My wife and I have a lot of books and I have my over 40 years of Model Railroader back issues (and all the Narrow Gauge & Shortline Gazettes, and a bunch of other modeling magazines…). Incredibly the previous owner had the garage turned into an office/library with a loft full of bookcases.

upper deck of library

If the place had a 2000 sq. foot full basement with no obstructions it might be more perfect but this is northern California and full basements are not typically found until you go several states over.

In the mean time, I must get these boxes unpacked so I can use that studio!

barn full of boxes

Wish me luck! My son got lost somewhere back there this morning.

barn full of boxes

Phew. Moving our thousands of books is a real workout. We’re “only” moving about one mile away (four road miles) so I got it into my pea brain that we should do most of the moving ourselves. Yeah. Yeah. Yeah. I hear you. Next time I’ll pay someone else to do it.

I am actually enjoying going through all my modeling material I’ve been squirreling away for “some day” and I’m really feeling like some day is becoming Today. I have over 300 un-built model kits. Gulp. Time to get cracking.

Picture 001

The good news: My San Juan Central (aka Northwestern Pacific) was indeed portable!

The good news is that my big project at work – DARPA RealWorld successfully hit its two-year midpoint milestone. RealWorld is a $40 million, 4-year project to build a framework to allow war fighters the capability to rapidly create mission rehearsal “games” leveraging commercial computer game technology. My company, Total Immersion, is under contract to DARPA to build RealWorld. The bad news has been that I’ve been so slammed working on it that all modeling work ground to a halt.

More bad news is that I’m moving next month which pushes out resuming model work a bit more.

The good news is that I’m moving to a bigger place with a large external building I can use for a shop/modeling studio! I’m really excited about it.

Now I get to see how “portable” my San Juan Central really is.

While building Ark Number 4 for the Tiburon Railroad-Ferry Depot Museum I needed to make a weathered wood shingle roof.

Ark number 4 in place in museum

Here’s the recipe I came up with.

  • Apply Campbell Shingles or other paper/wood shingle material
  • Ink-alchohol wash lightly
  • Dry brush Tamiya XF-66 LIGHT GREY
  • Dry brush Tamiya XF-23 LIGHT BLUE, followed immediately by more ink-alchohol
  • Very lightly dry brush Tamiya XF-21 SKY
  • Highlight with china white pencil
  • Seal with Dullcote
  • Add more highligts with ink-alchohol and very small brush

Hindsight: airbrushing a control color to tone down the contrast would have made the effect a bit better.

The final result on the model:

Roof of Ark #4

Easy Rock Casting and Coloring DVD by Darryl Huffman

Darryl Huffman's DVD

How did you do those rocks?
.

This was Darryl’s topic sentence for this how-to video. This looked perfect for me since the point I’m at on my layout is how am I going to do all those rocks!? 

I’m building an HO standard gauge version of Crazy Horse Canyon from Malcolm Furlow’s San Juan Central on my layout. I’ve got the shape of the scenery roughed out in Styrofoam but I’m stuck on the step of actually building whole area up with rock castings.

The questions I needed help with were things like: How do you handle the seams between castings to cover large areas? How do you color everything?

Darryl is a regular contributor to several of the model railroading Yahoo! groups and I have seen many photos of his work from there and his contest entries at the Narrow Gauge conventions.  Below is a structure he built and entered in the modeling contest at the 2004 Narrow Gauge Convention.


I ordered the DVD directly from Darryl on his website and it arrived within a few days.

The 70 minute video is divided up into five chapters about making, blending, and coloring rock castings plus one neat extra chapter about how to use colored crushed plaster to make talus slopes and bunches of rocks and gravel.

Even though I’m using casting foam instead of plaster for my rocks, almost everything Darryl demonstrates easily translates into that material.

Darryl’s DVD does a great job at making the process feel approachable and yields great results. At $20 plus $5 shipping I think it’s a great value too.

Order direct from Darryl at his website http://www.darrylhuffman.50megs.com/custom.html


This is taking longer than I would like. I’ll talk about this more later but I’m now seeing that building up a layout out of foam may be a good technique but quite time consuming. 

I’m staring to think that building up out of foam has its place but not as the way to build your entire layout.

One area it makes sense is around Crazy Horse Canyon since I have a pretty detailed idea how the terrain will be contoured and it will be nearly all rock castings.

First, I really don’t think building up layer cake style works as well as making vertical slices. I see in the December 2006 Model Railroader that Pelle Søeborg also builds this way.

I started by drawing pencil lines on my planning model that I would turn into profile cut pieces of Styrofoam. Next I used a profile gauge to transfer the profile onto a scaled piece of graph paper that matches a 2” square grid.

Then I marked my 2” thick 2 ‘ x 4’ pieces of Styrofoam with a 2” grid.

Transfer the contour to the big board.

Cut with either a hot-wire cutter or my hot knife. If I can reach far enough I use the wire cutter since it does finer work but if not I use my hot knife which can reach anywhere. Then I place the piece in place.

The “back” side of the hill behind the canyon I measured by pressing the contour gauge straight down.

The “front” side of the canyon is mostly vertical and even has an overhang

so I pulled off the bit of modeling clay opposite the cliff and measured it by pressing the contour gauge straight into the cliff face.

As I add the pieces I place them unglued in position and then go back with a hot wire cutter and trim each piece to more nearly fair into its neighboring slice.

This makes a big mess even when you use hot cutting (although nothing like the mess you make sawing bead-board):

I figure nearly half of the styrofoam you buy ends up as unusable small scraps you have to throw away.

So far I’ve framed the canyon area and made a rough design plan for the bridge. Now I’m starting to rough in the scenery.

First I put down a couple pieces of foam core board to be the riverbed and sketched out outlines of the shore.

Then I cut some 2-inch bead board to fit these lines and the outline of the bench work (I’m going to need to start thinking about fascia material soon!).  I use a hot knife and a hot wire cutter to do all my cutting.

Once I had these flat pieces secured I cut some profile pieces to establish the high points.

Now I need to get some rock castings going.

Next Page »